This post describes the methods involved in deploying Office 365 User Layers in a Citrix App Layering environment. This post assumes you have the App Layering Enterprise Layer Manager appliance installed/configured, and an OS Layer/Platform Layer in place.
When you use an Office 365 User Layer, everything that normally resides under %LocalAppData%\Microsoft\Outlook is captured in a VHD file. In more familiar terms this means that your Office 365 OST file will be captured and roamed between sessions, which is a must for non-persistent environments. It is important to note that whilst the feature is named after Office 365, it works for on-premises mail too or other online mail systems.
Contents:
Useful precursor links:
To install and configure the ELM (Enterprise Layer Manager) on Hyper-V – http://www.jgspiers.com/citrix-app-layering/
To install and configure the ELM on ESX – App Layering – App Layers, Image Templates, and Publishing – Carl Stalhood
To install and configure an OS Layer, including Platform Layer and Image Template – http://www.jgspiers.com/create-update-os-layer-citrix-app-layering/
Requirements:
- To use Office 365 User Layers there is no extra licensing entitlement required. You simply need to run any version of XenApp and XenDesktop with an active Customer Success Services subscription.
- The feature was released originally for Desktop OS in App Layering 4.8 and support for Server OS was released in version 4.11.
- Any App Layering supported OS can be used with this feature.
- You have to use Citrix Profile Management when using O365 Layers.
- You cannot use User Layers and Office 365 User Layers together. User Layers will capture the same data anyway.
- You can use Elastic Layers with Office 365 User Layers, however Office must be layered in the base image and not delivered via Elastic Layers which is not a supported deployment method for Office.
Create Storage Locations:
Before you begin using O365 Layers, you must first create Storage Locations rather than using the main network SMB file share which is normally used for upgrades and so on.
A number of Storage Locations can be created, and you can map groups of users to different Storage Locations. The locations work in a priority format, so if a user is mapped to multiple locations, the highest priority location is used. If you later change the layer priority which affects multiple mappings for a single user, you must copy the affected user(s) User Layer to the new highest priority location they have a mapping toward.
Begin by creating the actual network file shares that will store the layers. You have to create a Users folder inside each file share so as an example:
- \\dc.jgspiers.com\Data\OfficeLayers\Users\
The Users folder also must be locked down with the following permissions:
| Object/Principal | Permissions | Applies to |
| Creator Owner | Modify | Subfolders and files only |
| Owner Rights | Modify | Subfolders and files only |
| Users or Group | Create folders/append data
Traverse folder/execute file List folder/read data Read attributes |
This folder only |
| System | Full control | This folder, subfolders and files |
| Domain admins and selected admin group | Full control | This folder, subfolders and files |
To create Storage Locations, you firstly need to enable the User Layer feature by navigating to System -> Settings and Configuration -> User Layer (Full) -> Save. Once this action is complete, the Storage Locations tab will appear.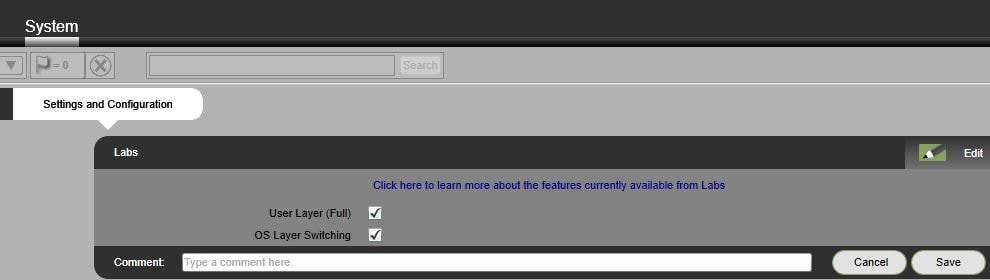
Next navigate to System -> Storage Locations -> Add Storage Location.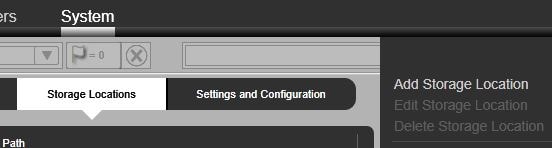
Specify a name and network path then press the down arrow.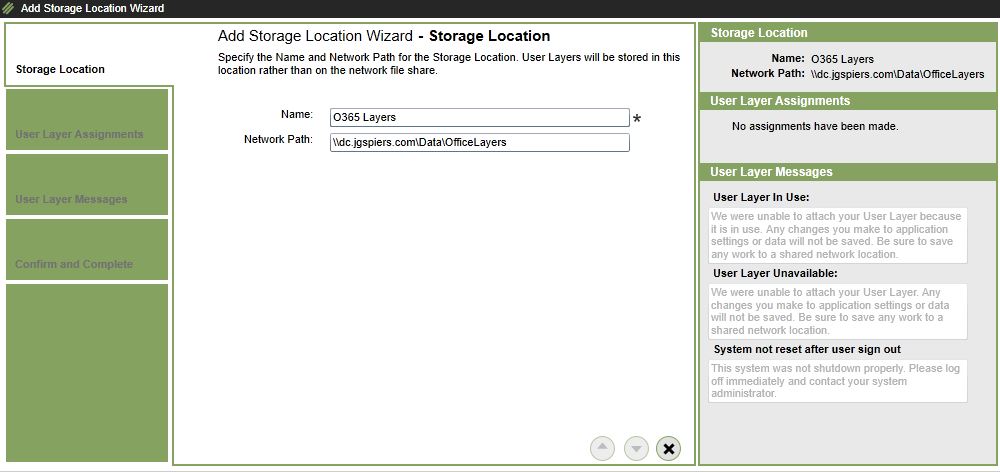
Select a group of users who’s O365 User Layers will be stored on this network location and click the down arrow.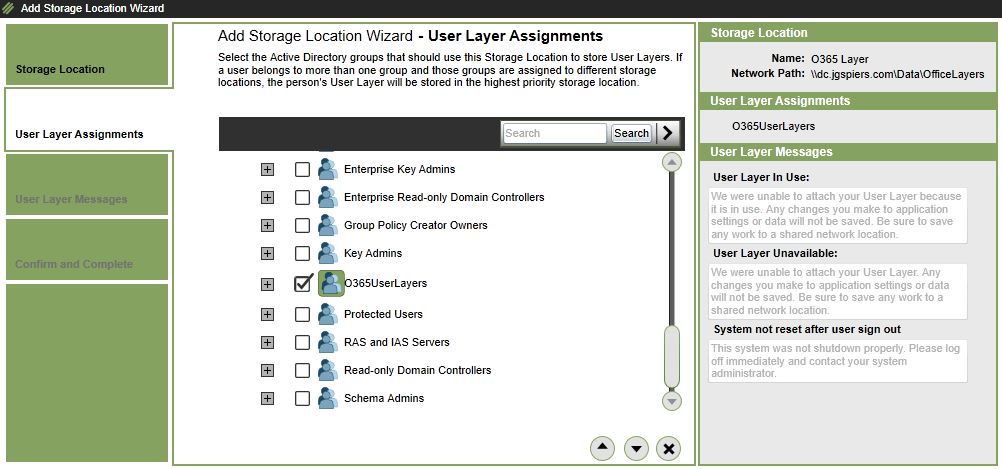
Choose to override or keep as default the messages displayed to the end-user if for example the layer is not available or is in use. Click the down arrow.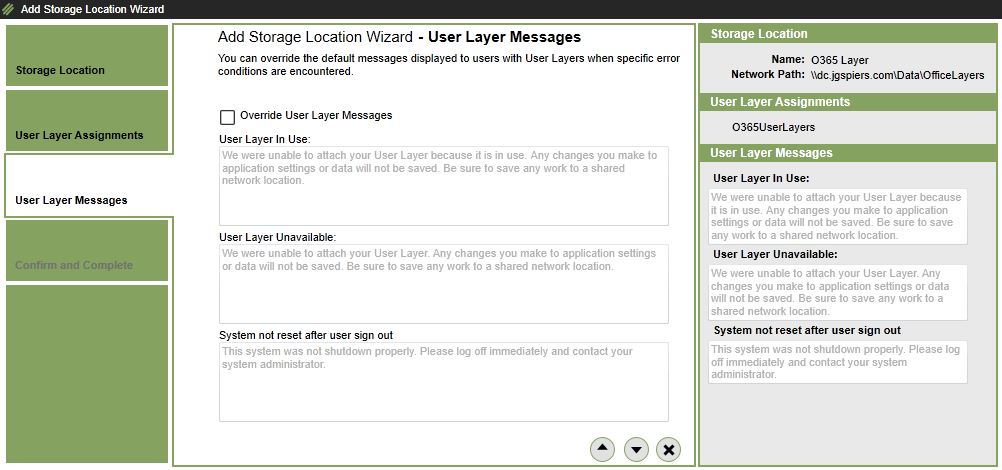
Click Add Storage Location to complete the wizard. Run through the same steps for any other Storage Location that you need to create.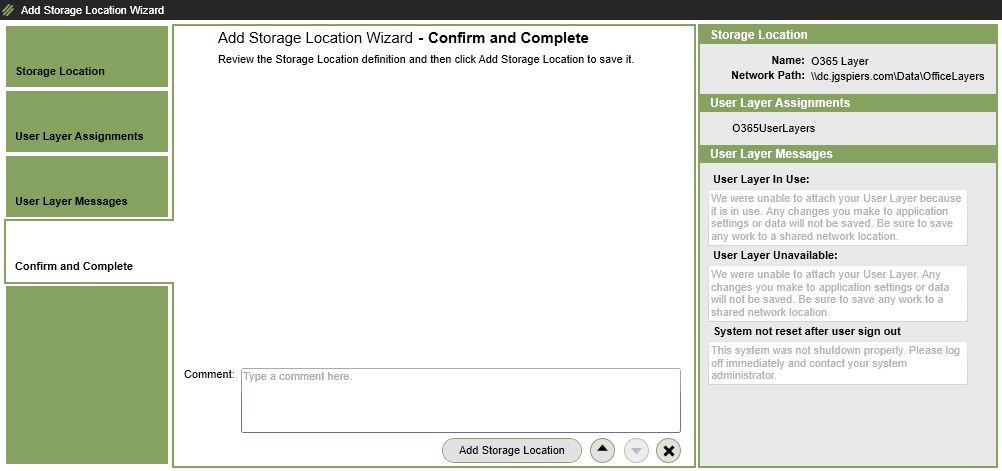
The Storage Location will appear as below and can be edited for example if you need to associate or remove group mappings. If you want to change the priority of Storage Locations use the Prioritize Storage Locations option under the Storage Locations tab.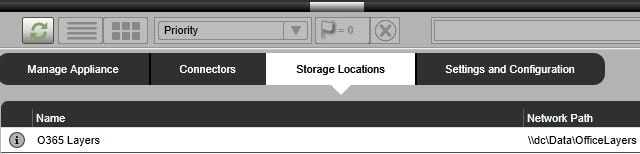
Enable Office 365 Layers:
Next navigate to Images and decide which Image Template(s) you want to enable Office 365 User Layers against. Any user logging on to that image who has a Storage Location mapping will receive a personal layer for their Outlook data.
You have the option of enabling either:
- Office 365 – for Windows desktop OS.
- Session Office 365 – for Windows server OS.
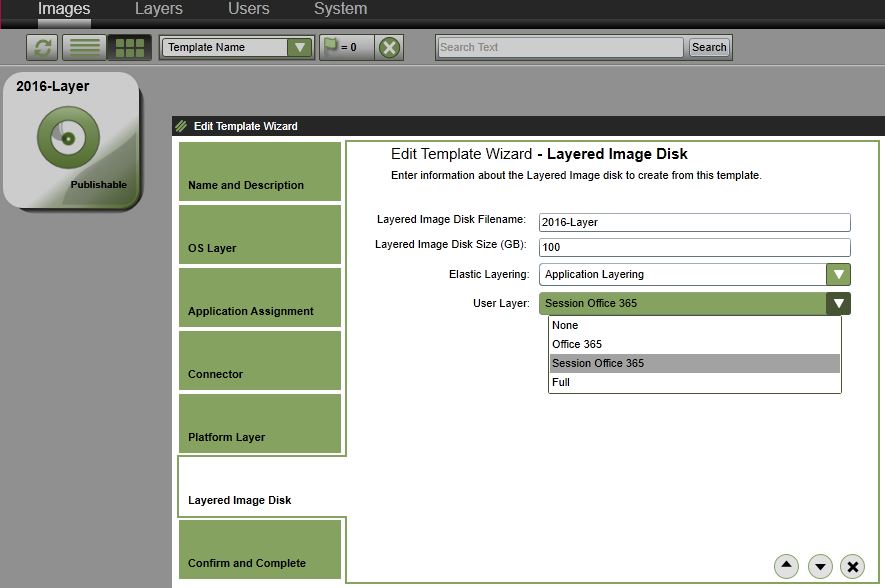
Once you have made a selection and confirmed it, publish the image out to your provisioning systems and then get ready for testing.
The results:
The moment you first log on to a VDA using an App Layering image that has Office 365 User Layers enabled, a VHD for your OST data will be created and stored in the Storage Location you set earlier. A domain_firstname.lastname folder is created inside the Storage Location for each user which holds the VHD disk. The layer is 10GB by default and grows as needed.
When you launch and configure Outlook, the OST will be stored in the VHD as you can tell by the size it has now grown to. 
A diag.txt file is created with each VHD that tells you the last log-on time and some details around the user and machine logged on to.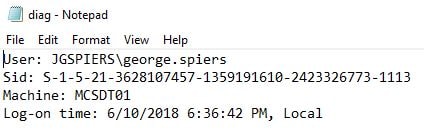
If we take a copy of the VHD and mount it to Windows, you can see that as expected my %LocalAppData%\Microsoft\Outlook folder was captured.
Pingback: App Layering – App Layers, Image Templates, and Publishing – Carl Stalhood
Austin
November 5, 2018Thanks for this article.
Here is the issue we are trying to avoid; Is it possible that the local Office files are not save under the User VHD as this will be taking up a lot of storage space. In a environment where we have thousands of users?
I noticed that when the user logoff, the VHD still has the office apps (Outlook, Access, Excel, Word, etc) saved. Can we avoid this.
Thanks
George Spiers
November 5, 2018Any writes will be directed to the User Layer. It is possible to exclude files and directories from the User Layer by adding them to the AlwaysOnBoot REG_MULTI_SZ registry multi-string under “HKLM\SYSTEM\CurrentControlSet\Services\unifltr”. However, you must never remove any of the default settings under that string, and Citrix would not necessarily support using this multi-string.
Kari Ruissalo
June 24, 2019Hi George,
Do you install the Office 365 from the click-to-run package from the portal.office.com or do you use some other installation media? If so why and what?
Also, if we need to support the Full User layer, that should also include the O365 stuff?
George Spiers
June 25, 2019Hello. Use the Office 365 Client Configuration Service: https://config.office.com/ to create an XML file and install Office 365 that way. Make sure to enable shared computer licensing:
Kari Ruissalo
June 26, 2019Thanks George. I actually found my way around this already. What about the Full User layer, should that work with O365 too?
George Spiers
June 27, 2019Yes Full User layer should work fine with Office 365.
Pingback: Citrix Virtual Apps & Desktops - 1912 LTSR | Highlights – IT BenchMarq
Pingback: Citrix 1912 LTSR | Highlights – IT BenchMarq