New in XA/XD 7.9 are Application Groups that can be used for failover & load balancing between applications assigned to multiple Delivery Groups and also to apply settings across applications consistently.
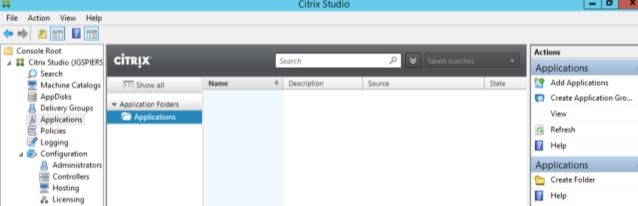
First create an application group by navigating to Studio -> Applications -> Create Application Group.
Click Next.
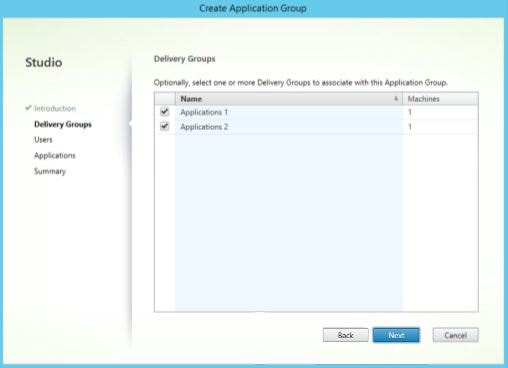
Select the Delivery Groups that you want to be a part of this application group and click Next.
Allow users defined at the Delivery Group level to access applications assigned to this application group or else restrict users at the application group level. Click Next.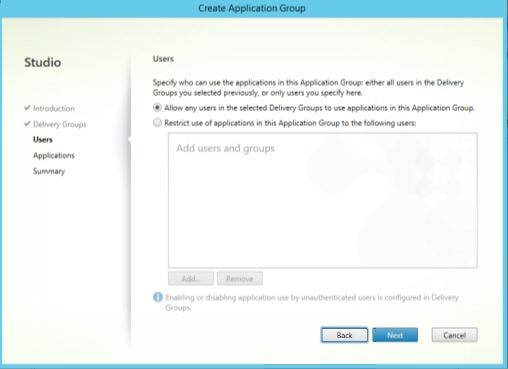
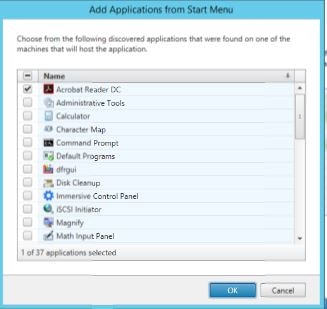
Select which applications you want to become part of this application group.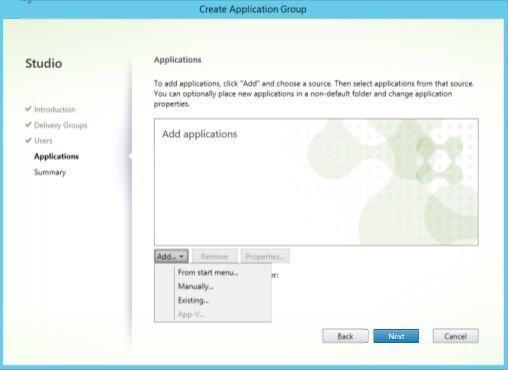
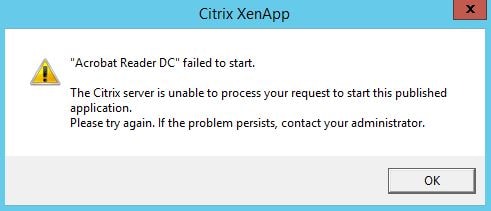
Take note that the applications you are publishing need to exist in each Delivery Group that makes up the application group or else you will get the below error when trying to launch from a Delivery Group which doesn’t have any available machines to serve the application.
Click Next once you have your list of applications gathered.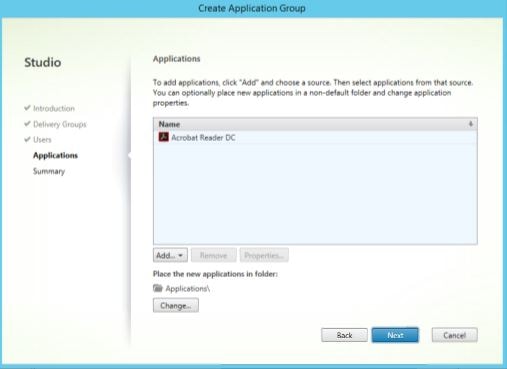
Specify an application group name and click Finish.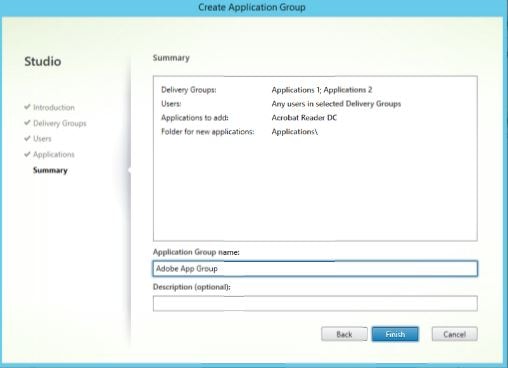
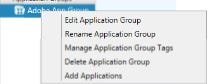
Now right-click the new application group and select Edit Application Group.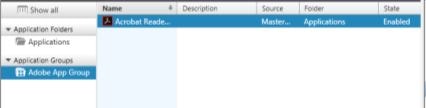
By clicking Delivery Groups we can see current Delivery Groups that are members of the application group. You can remove Delivery Groups, add and set a priority. Priorities determine either that connections are load balanced across the Delivery Group members or brokered on to a group that has priority. By default, priority for all members is set to 0 which means connections will be brokered on to each Delivery Group evenly. If a Delivery Group has a priority higher than 0, less connections will be brokered to machines within that group. In other words, the highest priority is 0. This may be useful if you have Delivery Groups with different hardware specifications or you have a Delivery Group that you want to use as failover (that group would be put in maintenance mode until the first/highest priority group failed).
With the priority set to 0 on all groups, connections are brokered evenly between machines as shown below. Note that VM1 and VM2 are in separate Delivery Groups.
Now set the priorty of Applications 1 to 1. Click OK.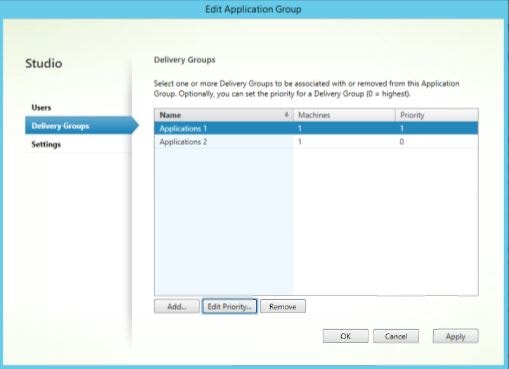
Connections are rightly brokered on to the Delivery Group with higher priority (Applications 2).![]()
Next we can put the highest priority Delivery Group in to Maintenance Mode.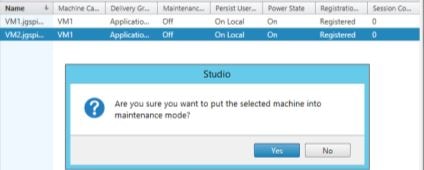
Connections are successfully brokered on to the Applications 1 Delivery Group which proves connection requests are still correctly brokered with success.
The other thing you should note is user association can be set at the application group level or Delivery Group level. You should only set resource assignment at one level or two at the very most if you really need to. This will help avoid complicated management. If you notice below, Applications 2 has priorty over Applications 1 and all users are allowed to connect to the applications assigned to this application group.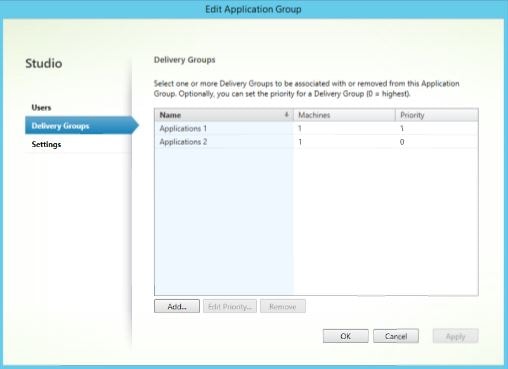
Next I am right-clicking the priority Delivery Group and selecting Edit Delivery Group.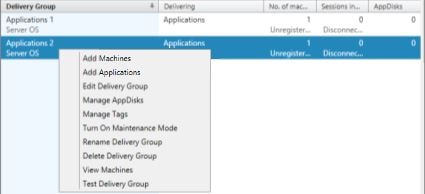
Clicking Users, I have restircted access to the priority Delivery Group to my Administrator account. So, the scenario we have here is Applications 2 has the highest priority however I’ve now restricted access to this Delivery Group to the Administrator account.
So when launching Adobe from StoreFront as george.spiers, I am not brokered on to the priority Delivery Group, instead I am brokered on to Applications 1/VM1.
And as expected the Administrator account is brokered on to the priority Delivery Group.
Why would you want to do this? Maybe you have deployed a new Delivery Group and want only certain users to connnect to that group for the time being for example to test the user experience. To accomplish this, we can set the user association at the Delivery Group level.