Citrix AppDisk is a new layering technology released in XenApp/XenDesktop 7.8 (all versions) that lets you layer additional applications on top of a Desktop or Server OS host (or both concurrently) instead of traditionally installing those applications directly within the gold MCS or PVS image. AppDisks will be replaced by Unidesk layering technology. Unidesk was aquired by Citrix in January 2017.
To read up on Unidesk see https://jgspiers.com/installing-configuring-unidesk-3-4-hyperv/
Remember the times you had to have multiple gold images? One for each department/specific application? How about that gold image with multiple applications installed, clogging up the OS? What about patching the different types of gold image operating systems? Citrix AppDisk blows away some of these administrative overheads. Now you can manage your OS and applications independently. The operating system treats these layered applications as if they are installed locally.
Even more, XenApp/XenDesktop Platinum customers can have AppDNA integration with AppDisk to provide instant compatibility reporting for your applications and operating systems.
Currently AppDisk supports XenServer and vSphere 5.1+. Hyper-V is currently not supported in v7.8.
AppDisk can be used with MCS 7.8 and PVS 7.8 or higher only.
With this release, AppDisk and PvD cannot be used together on the same image.
AppDisk is currently only supported with Windows OS.
An AppDisk cannot be attached to a running VM. The VM is switched off first before an AppDisk is assigned. There is no hard-limit on the number of AppDisk layers assigned to a VM.
AppDisks have versioning and rollback capabilities just like PVS vDisk versioning.
AppDisk is not assigned to user, it is assigned to Delivery Group (machine). This means all machines in the Delivery Group obtains the AppDisk. If you want to hide applications from certain users, Citrix recommend using Group Policy to achieve that.
AppDisks can not be assigned to dedicated or pooled static Machine Catalogs. Pooled random Desktop and Server OS catalogs are supported.
Applications that load drivers before the AppDisk drivers load (known as Phase 0 boot activities) should not be installed within an AppDisk. Applications such as anti-virus programs may be at subject. Any application driver that loads in Phase 1 or later in the boot processis supported.
Citrx where possible recommend the grouping of applications in to one AppDisk layer. The less AppDisk layers attached to a VM the less resources needed.
Citrix recommend that AppDisks are created on a clean image containing only the Operatig System, updates and the VDA. No other applications should be present if at all possible.
Machines must have atleast VDA 7.8 installed to make use of AppDisks.
When using PVS, the WriteCache will more than likely expand when using AppDisks because the merging between OS and Applications typically results in additional data being written to the write caches. This should be kept in mind. With AppDisks, you can decrease the OS disk size since the applications will now become separate.
Getting Started (with MCS)
To get started, you need a preparation machine. This will be a pooled VM that is a member of a Machine Catalog, but not a member of a Delivery Group.

Now browse to AppDisks -> Create AppDisk.

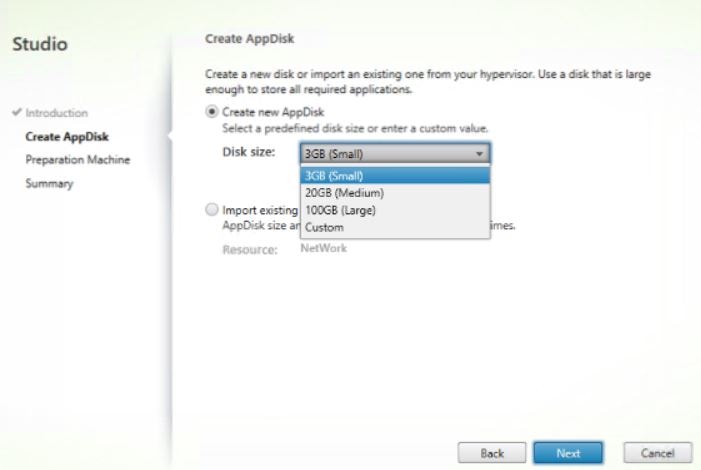
Specify a size for your new AppDisk and click Next. The minimum size is 3GB.
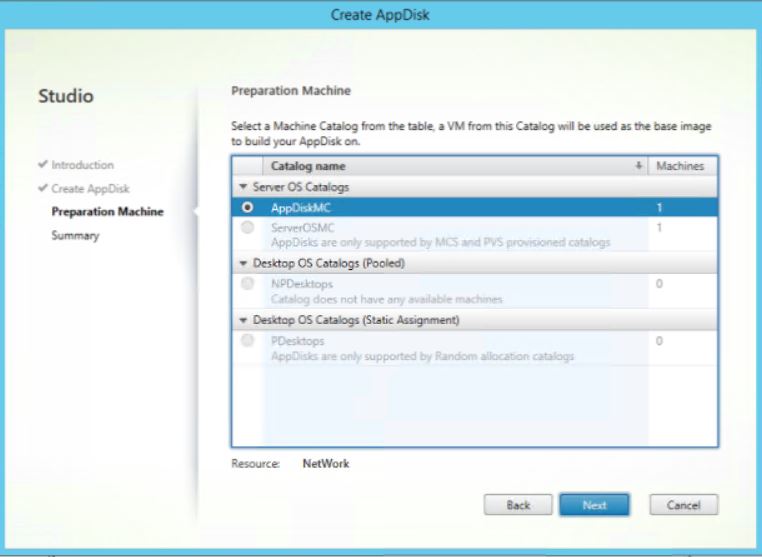
Select the appropriate preparation machine and click Next.
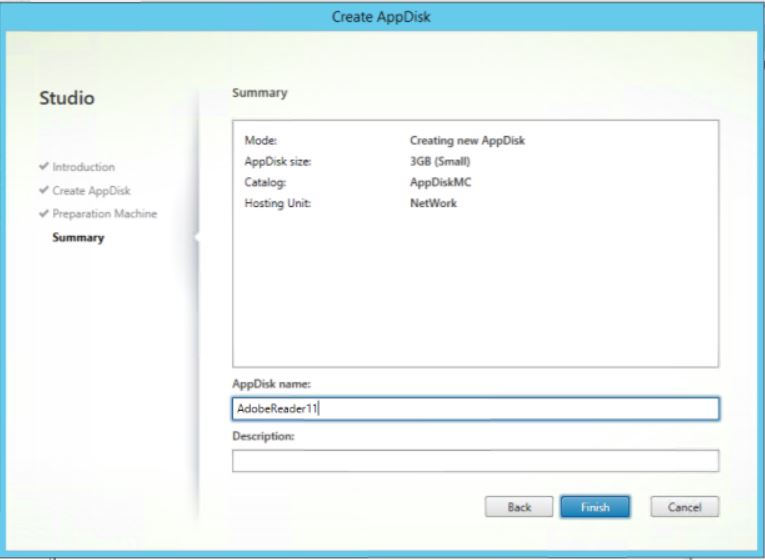
Specify a name and description, click Finish.
The AppDisk now shows as Ready to install applications. Take note of the Machine name – this is the machine we will now log on to and install Adobe Reader.
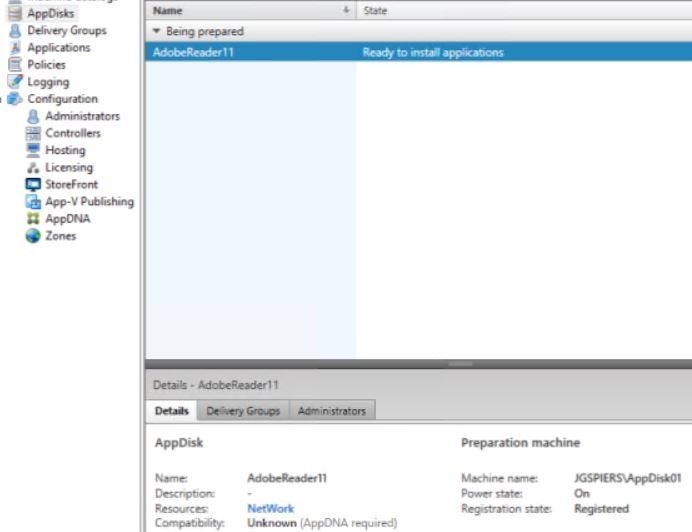
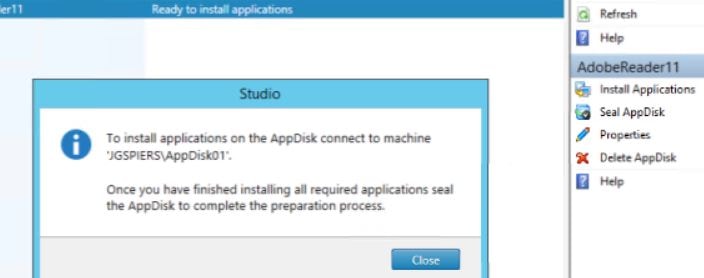
Click Install Applications for more information on the process. Click Close and log on to the preparation machine.
Install Adobe Reader or the application of your choice as normal.

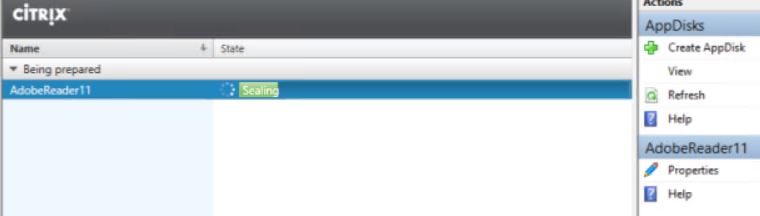
Log back on to Studio and click Seal AppDisk -> Yes. During this process the preparation machine is restarted in the background and the sealing process takes place.

The AppDisk is now ready to be added to Delivery Groups. Clicking on the Applications tab shows Adobe installed and the version number. 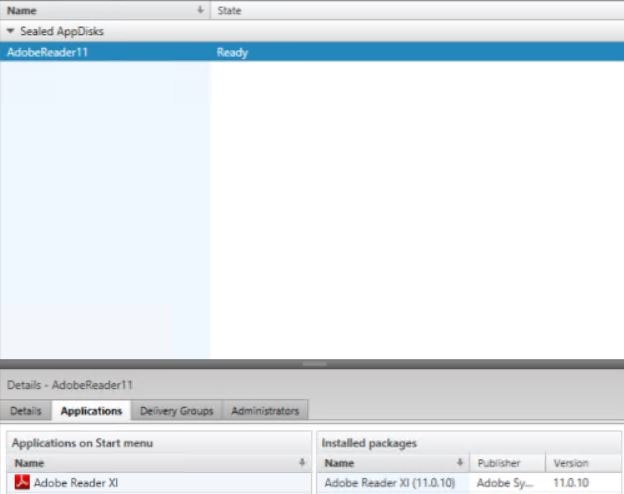
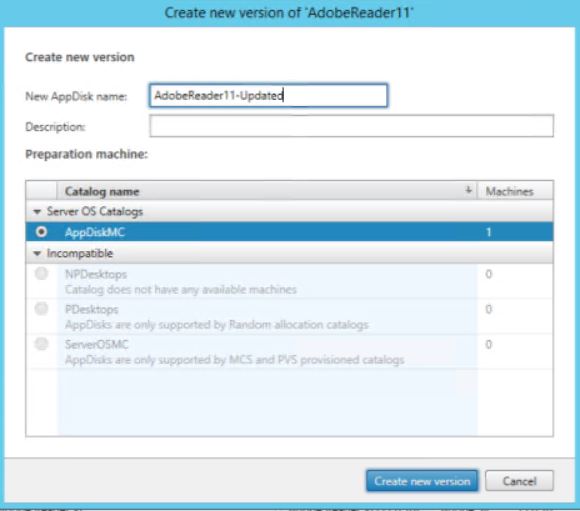
If you want to install new applications on to the same AppDisk or update Adobe Reader then click Create New Version.

Specify a name, description and choose the preparation machine. Click Create new versioin, log on to the preparation machine and perform the install/upgrade.
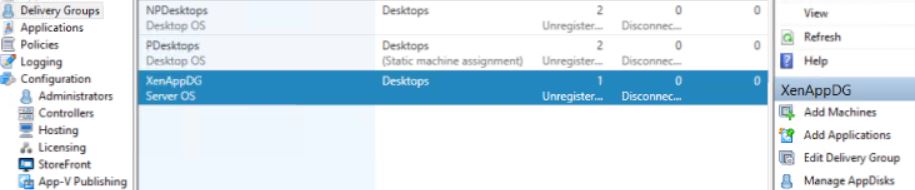
Pick a Delivery Group and select Manage AppDisks.
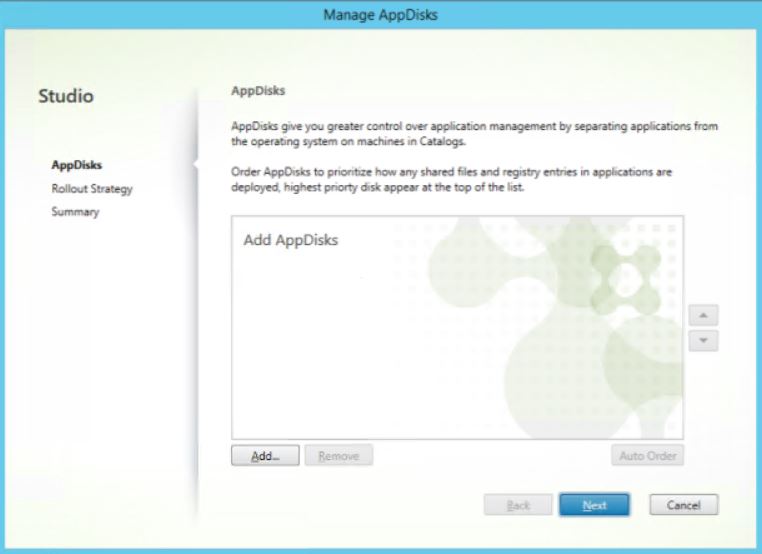
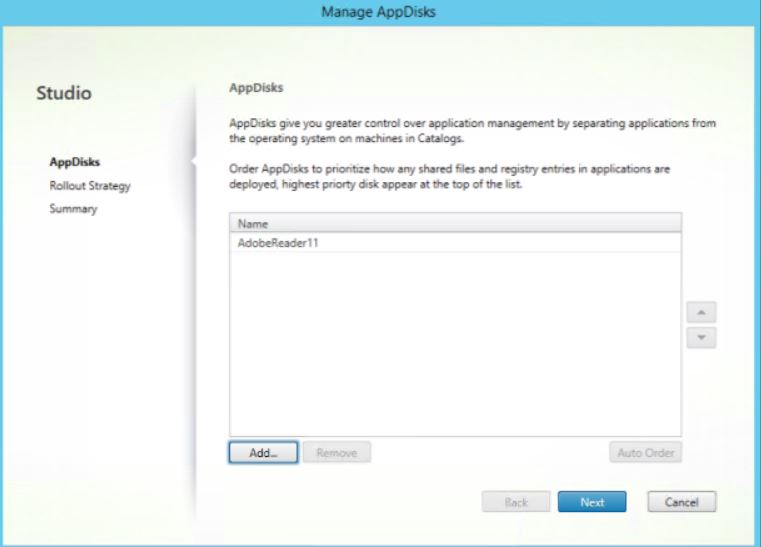
Click Add.
Select the newly created AppDisk and click OK.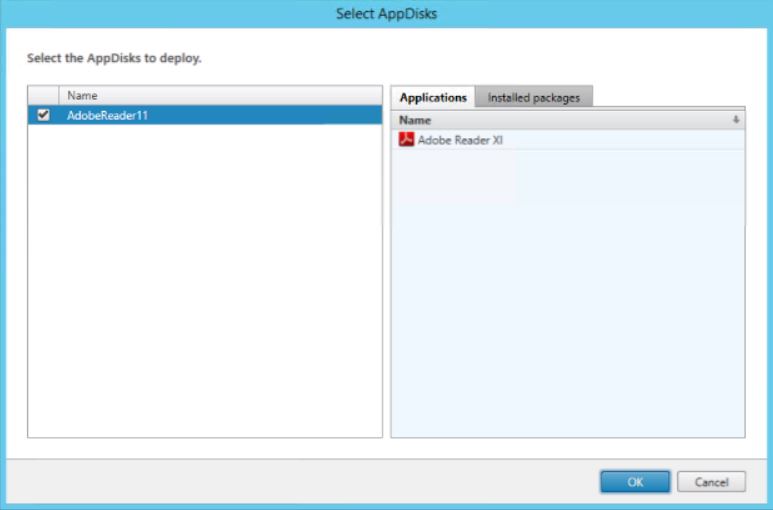
Click Next.
Specify a rollout strategy and click Next.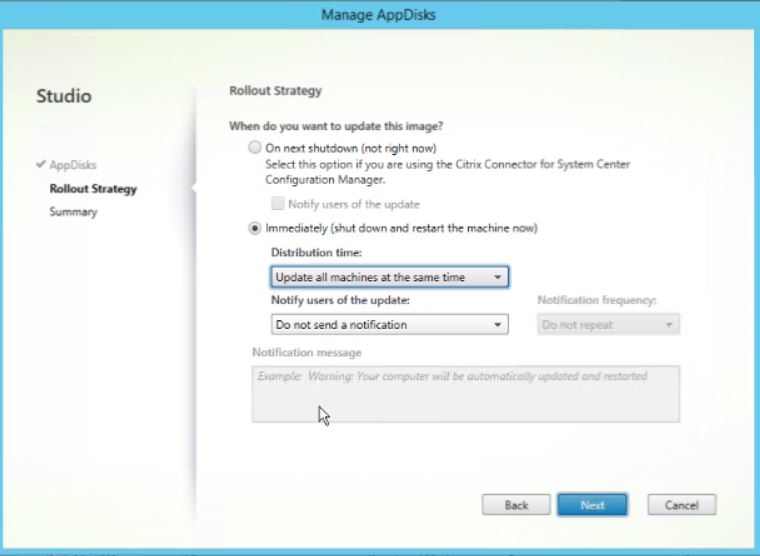
Click Finish.
Now the target machine(s) will reboot. Ignore the Not validated message. This is because AppDNA is only integrated with AppDisk if you have a Platinum XenApp/XenDesktop license.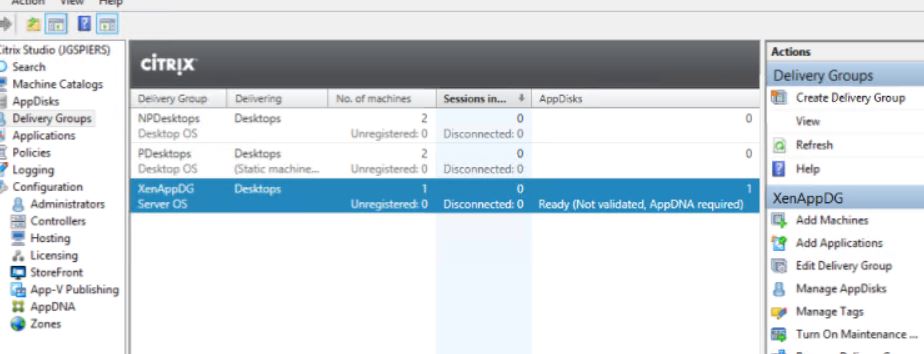
Once the target machines are back online, we can verify Adobe Reader is layered on top of the OS image.
To layer another application on top of the OS layer, add a new AppDisk or create a new version of an existing AppDisk and install the application. As a test, I’m installing Google Chrome on to a new AppDisk and layering that AppDisk on to the same machine that currently uses the Adobe Reader AppDisk.
The new AppDisk is being created.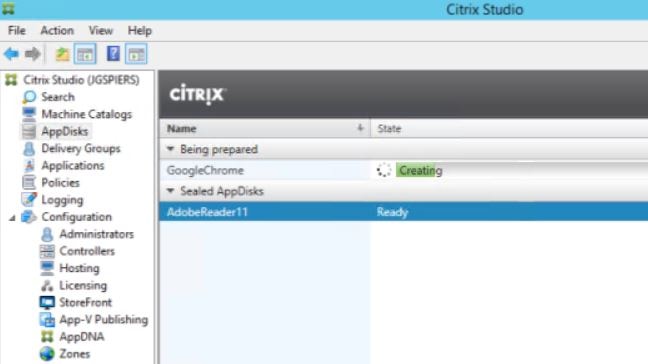
Now Google Chrome is installed on the preparation machine.
The AppDisk is sealed.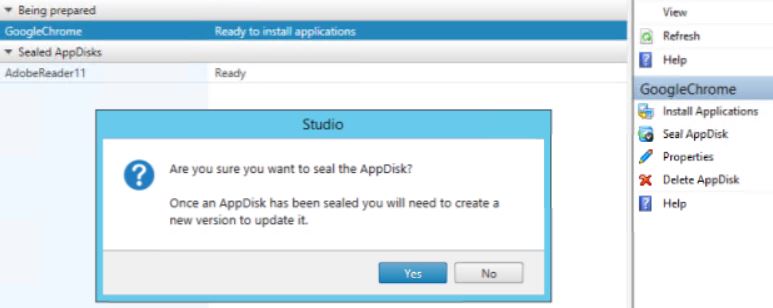
The AppDisk is assigned to the same Delivery Group that uses the Adobe Reader AppDisk. You can prioritise the loading of layers using the arrow pointers provided. This would become useful if you are layering applications that depend on another layer. This way the foundation layers can be in place first.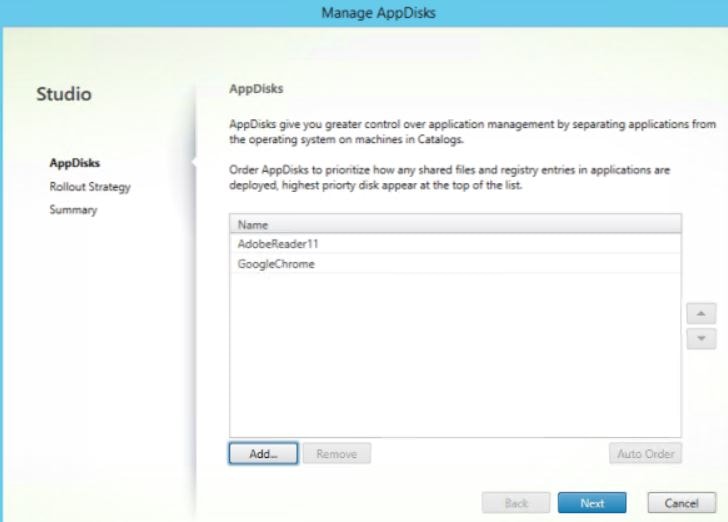
Chrome now appears alongside Adobe Reader.
Getting Started (with PVS)
The PVS method includes some extra steps which can be found at https://docs.citrix.com/en-us/xenapp-and-xendesktop/7-8/install-configure/appdisks.html