If you need to change the time zone on an ADC HA pair, you might not be concerned about difficulty. Whilst indeed it is a fairly simple task to carry out, there are specific steps that need to be carried out on both appliances.
Setting the Time Zone
Firstly, on the primary appliance, run the following CLI command:
set nsparam -timezone GMT+01:00-BST-Europe/London
Note: Specify the time zone of your choice. To view a list of time zones, run CLI command show timezone.
Now save the running config using CLI command save nsconf.
Next reboot the secondary node. After a few minutes of uptime, this node should reflect the new time zone. You can confirm this by running CLI command show nsparam.

At this time, the secondary appliance is good, however, the primary appliance will still be reporting a time from the previous time zone. To update this, we need to perform a cold reboot of the primary appliance.
Firstly, force an HA failover using CLI command force failover and then issue a reboot to the primary appliance.

When the now secondary appliance is back online, it will report the correct time.
Configuring the time
Whilst on the topic of time, I thought it would be useful to include some CLI steps to configure NTP on an ADC appliance.
To verify if NTP has been enabled or disabled on your appliance, run command sh ntp sync.

To verify if any NTP servers have been added previously, run command sh ntp server.

You can then proceed to add an NTP server using command add ntp server x.x.x.x -minpoll 6 -maxpoll 10 using either IP address or FQDN.

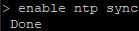
Next enable NTP sync using command enable ntp sync.
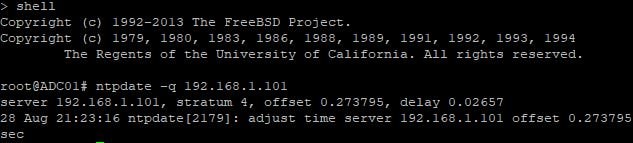
To force a sync with your newly configured NTP server, within shell, run command ntpdate -q x.x.x.x using the IP or FQDN of the NTP server you added previously.
If there is a large amount of time skew between the ADC and NTP server, follow this guide: https://jgspiers.com/netscaler-ntp-synchronization/
umesh
July 13, 2022It worked prefect, thanks for these steps