Adding Citrix resources to the Start Menu and Desktop has been possible for quite some time now with the use of Citrix Receiver. The most recent version 4.5 of Receiver for Windows allows users to select the Start Menu and Desktop location themselves. You can also configure the location via GPO and command line install which I will show.
The best experience for users using Receiver includes single sign-on and resources residing in a specific folder within the Start Menu and/or Desktop.
To configure single sign-on with Receiver for Windows see https://jgspiers.com/citrix-sso-receiver-and-receiver-for-web/
To install Receiver via command line see https://jgspiers.com/command-line-install-citrix-receiver-for-windows/
Let’s take the following scenario and implement it:
Users should have Citrix Receiver with single sign-on configured and the Citrix store must be automatically provisioned for the user. Applications should reside within the Start Menu and optionally on the Desktop. Some applications must automatically appear in the Start Menu whilst other applications should only appear if subscribed by the user using Self Service. Applications must also be categorised within their own folders.
Let’s begin.
Step 1 – Configure Group Policy for single sign-on and StoreFront provisioning
If you haven’t already imported the Receiver.axmx file into the PolicyDefinitions folder within SYSVOL on your Domain Controller do so now. Receiver policy templates can be downloaded from Citrix. An ADML file will also be downloaded and must go within the language folder in PolicyDefinitions such as en-US.
![]() Now create or edit an existing Group Policy object. Navigate to Computer Configuration -> Policies -> Administrative Templates -> Citrix Components -> Citrix Receiver -> User Authentication -> Local user name and password.
Now create or edit an existing Group Policy object. Navigate to Computer Configuration -> Policies -> Administrative Templates -> Citrix Components -> Citrix Receiver -> User Authentication -> Local user name and password. 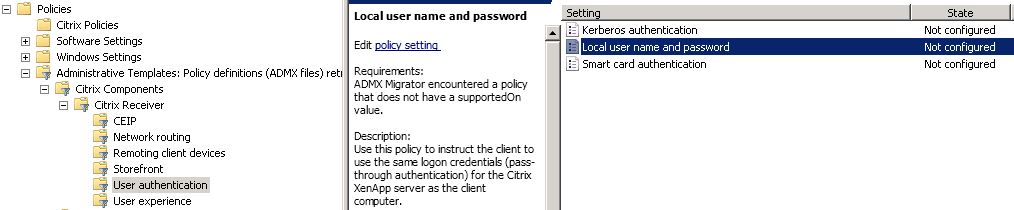 Tick Enable pass-through authentication and Allow pass-through authentication for all ICA connections. Click OK.
 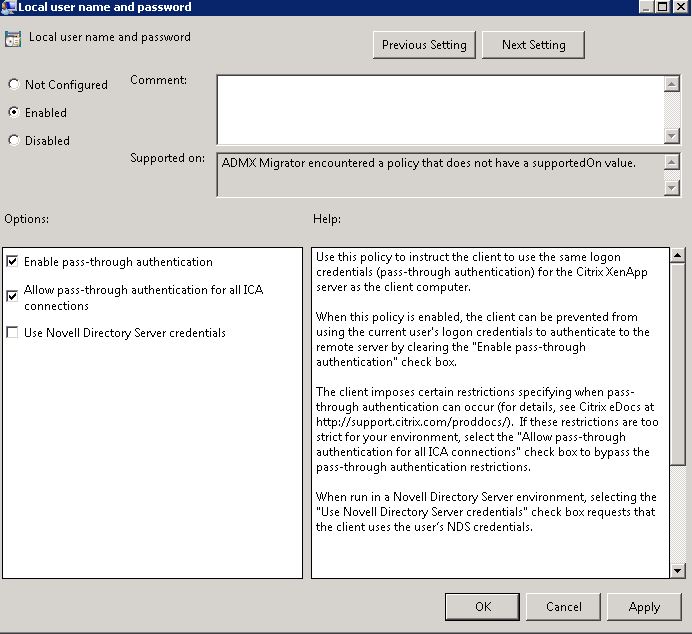 Navigate to Computer Configuration -> Policies -> Administrative Templates -> Citrix Receiver -> Storefront -> Storefront Accounts List.
Check Enabled and click Show…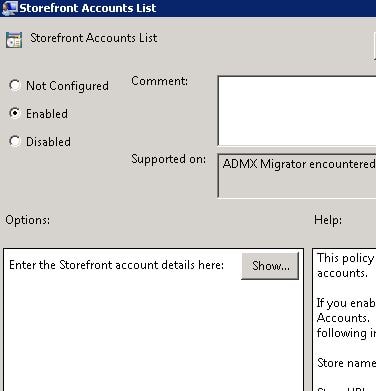 Enter a store name as below. The XenApp value at the beginning matches the same name as my Citrix store so this value should match yours. The On value makes the store active within Citrix Receiver. I am using HTTP for my store and whilst this is not the recommended protocol I want to use it to show you a couple of things you must do in the event your store also uses HTTP. Click OK.
 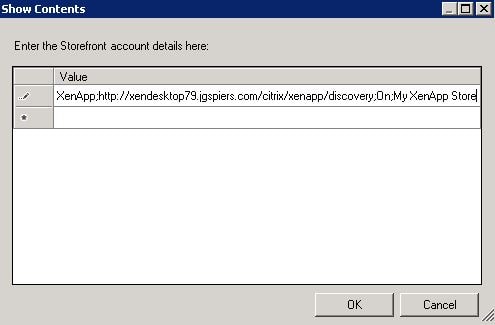 Step 2 – Install Receiver via command line installing the SSON component and configure Start Menu integration
Simply run a command line install such as the one below. ALLOWADDSTORE=A allows HTTP stores to be added to Receiver (by default this is not allowed). STARTMENUDIR is used to specify the folder that applications will fall under within the Start Menu. In this case, My Citrix Apps. More command line strings can be used and more detail on what is available can be found here https://jgspiers.com/command-line-install-citrix-receiver-for-windows/ After the Receiver install and at least a log off/on for the SSONSVR.EXE service to kick in you should see your configured store as below.
 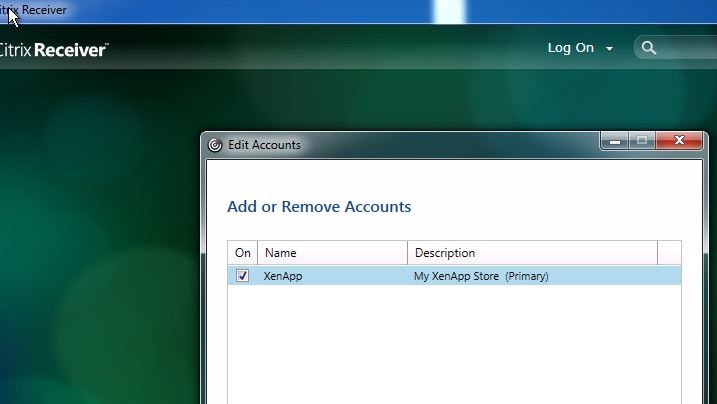 Unfortunately by default this message appears. This is because the store is HTTP. This takes us to step 3.
 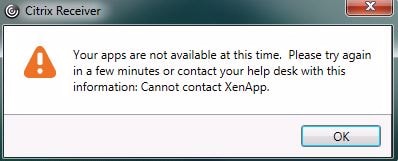 Step 3 – Edit the Registry to optimise delivery of applications to Start Menu/Desktop and fix HTTP error
To get around the Your apps are not available at this time message add a REG_SZ entry with the name ConnectionSecurityMode and the value Any.. Remember that this is only needed for HTTP stores. This REG_SZ value should be created in:
HKLM\Software\Citrix\AuthManager – 32bit machines.
HKLM\Software\WOW6432Node\AuthManager – 64bit machines.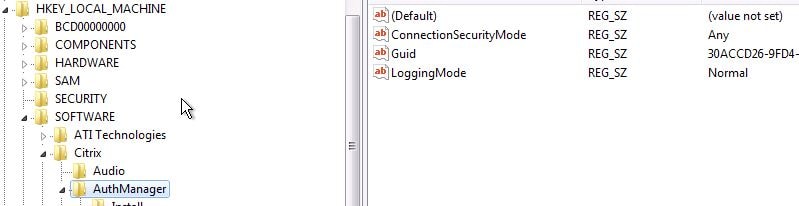 Next to speed up the Self Service application refresh (the time it takes resources to appear in the Start Menu or Desktop) we can create another two REG_SZ values. The names are as below both with a value of 1. Create these in:
HKLM/Software/Citrix/Dazzle – 32bit machines.
HKLM/Software/WOW6432Node/Citrix/Dazzle – 64bit machines.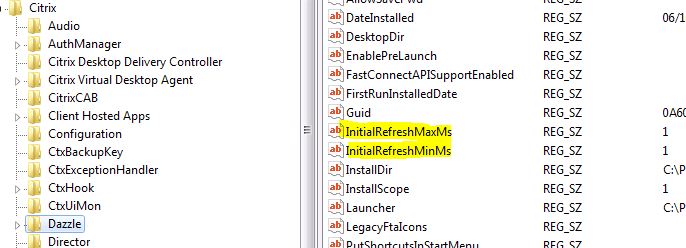 Step 4 – Testing it all works and categorising applications
Launch Receiver. You should be autenticated by SSO. Subscribe to an application.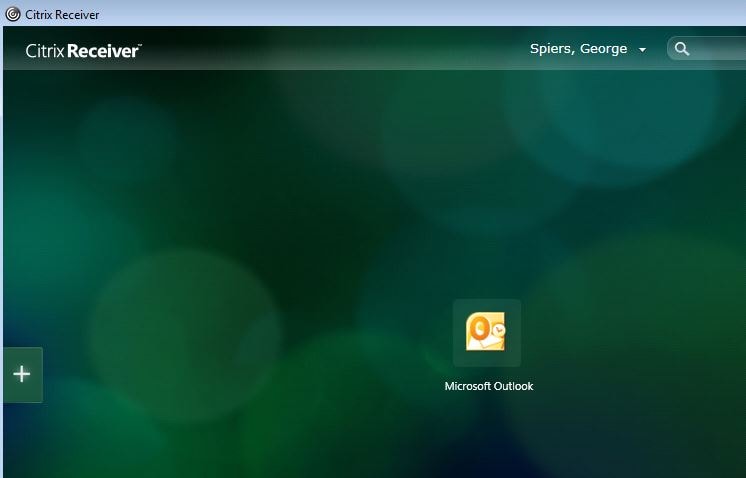 Now look how the application appears in the Start Menu under the My Citrix Apps folder.
 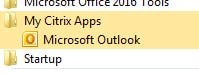 A requirement was to place applications within their own folders for better organisation. Navigate to Citrix Studio, edit the properties of the application, click Delivery and enter a name under Application category (optional). Now click OK.
Note: You can use the Add shortcut to user’s desktop check-box to add this application to the users desktop. 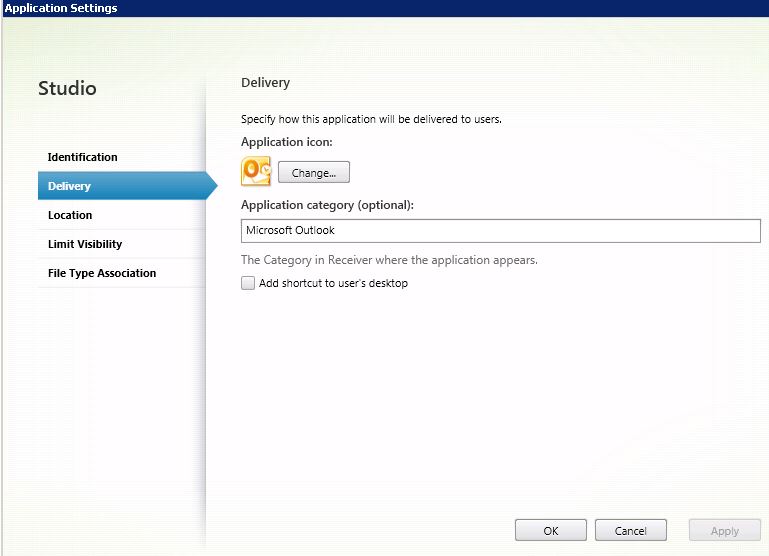 Another requirement was to make an application automatically appear within the Start Menu and Desktop folders without the user having to manually subscribe. To do this, edit an applications properties. We will first specify RDP under the application category.
 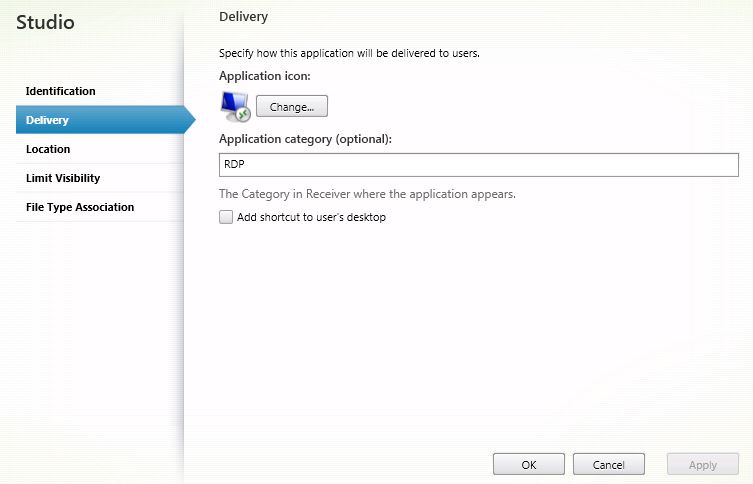 Now click on Indentification and enter KEYWORDS: Mandatory beneath Descriptions and keywords. Doing this subscribes the application to users and they cannot remove the subscription. We could have also used the Auto keyword and with this keyword users can unsubscribe. Click OK.
 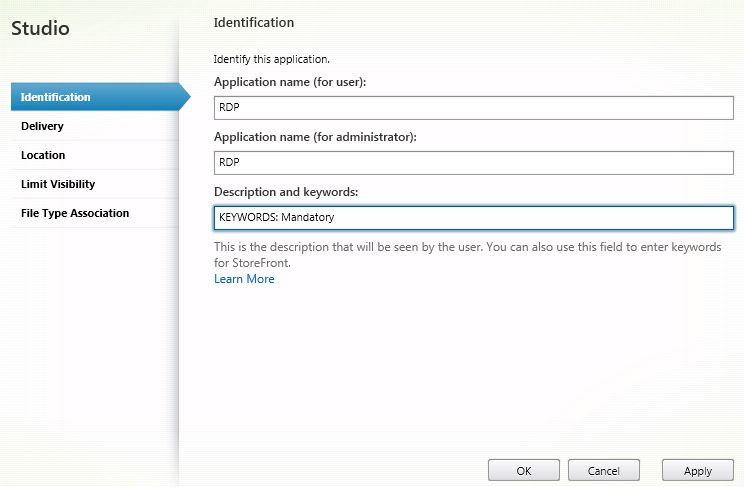 The next time you launch Receiver the RDP mandatory application appears.
  Now look at the Start Menu. Applications are under their own folder as specified within Studio and RDP now also appears.
 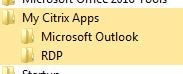 Remove Microsoft Outlook by right-clicking and removing within Receiver.
 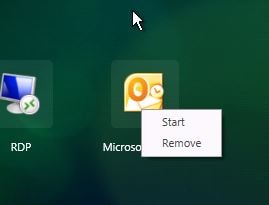 The application also dissapears from the Start Menu.
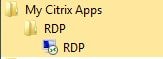
Try removing the mandatory application. You can’t.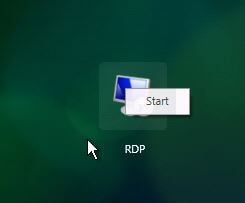 As I mentioned users now have the ability to configure application shortcuts using Receiver for Windows 4.5. Right-click the Receiver icon and click Advanced Preferences.
 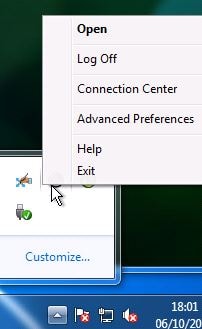 Click Settings Option.
  Notice the options available. Specify a Start Menu Folder and click OK.
 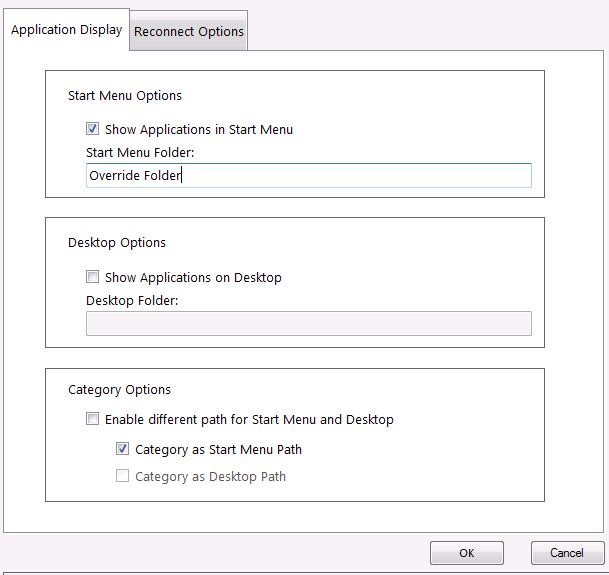 Click Yes.
  Now applications appear in the Override Folder.
 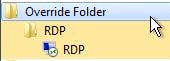 Specify a folder name for Desktop. Click OK.
 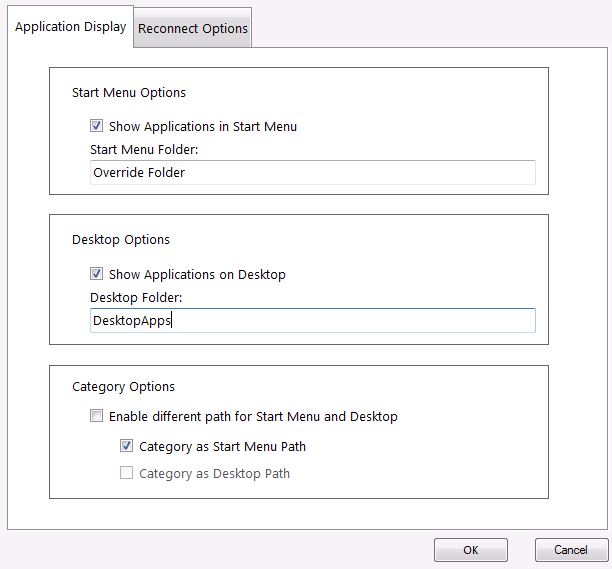 After Receiver starts the folder is created on your Desktop and populated with subscribed applications.
  Here’s a closer look showing the RDP folder. From my testing user specified locations using Receiver 4.5 overrides anything set via CMD Receiver install or GPO.
 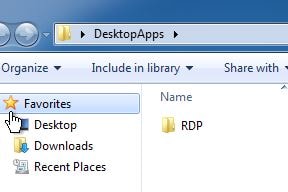 To configure Desktop and Start Menu shortcuts via GPO edit or create a new GPO. Navigate to Computer Configuration -> Policies -> Administrative Templates -> Citrix Receiver -> SelfService -> Manage App Shortcut.
 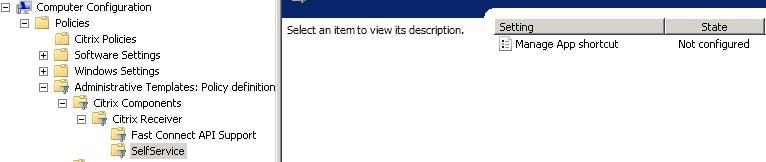 Enter a value under Startmenu Directory and Destktop Directory. Click OK.
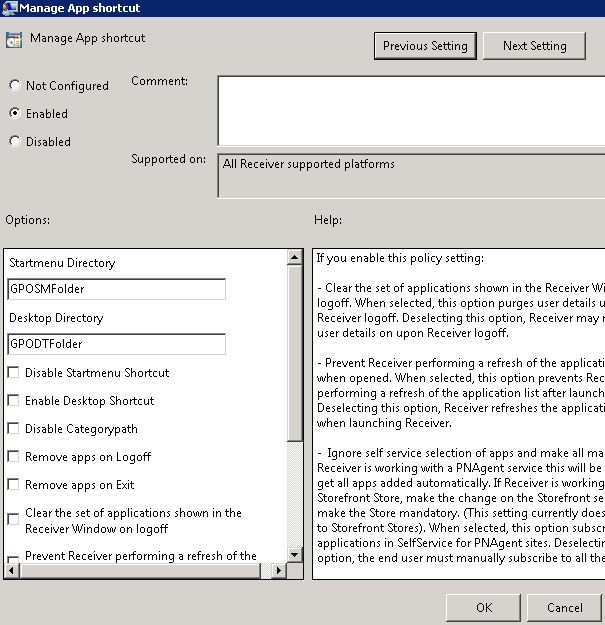 And here is the Desktop folder.
  Here is the Start Menu folder.
 ![]() If you want to supress messages that applications have been removed in the event you do remove applications or resources users are subscribed to you can create a registry value. Create a REG_SZ entry with the name DontWarnOfRemovedResources and a value of true. Create this entry in:
If you want to supress messages that applications have been removed in the event you do remove applications or resources users are subscribed to you can create a registry value. Create a REG_SZ entry with the name DontWarnOfRemovedResources and a value of true. Create this entry in:
HKLM\Software\Citrix\Dazzle – 32bit machines.
HKLM\Software\WOW6432Node\Citrix\Dazzle – 64bit machines.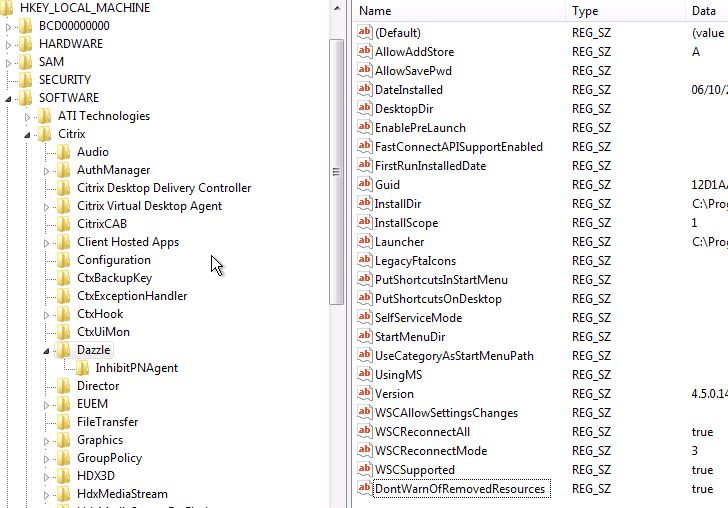
Some older versions of Receiver do not seem to “recreate” a shortcut if a user deletes it. Newer versions do seem to do this. If you are having trouble getting a deleted shortcut to reappear you could try the following:
- Open CMD on the affected machine and change directory to
- C:\Program Files\Citrix\ICA Client\SelfServicePlugin (32bit machines)
- C:\Program Files (x86)\Citrix\ICA Client\SelfServicePlugin (64bit machines)
- Run command CleanUp.exe -cleanUser
Setting shortcuts to delete on Receiver exit or logoff
If you have machines shared between users under a single generic user account, you might find it useful to delete Self Service generated shortcuts when a user logs off Citrix Receiver or exits the application.
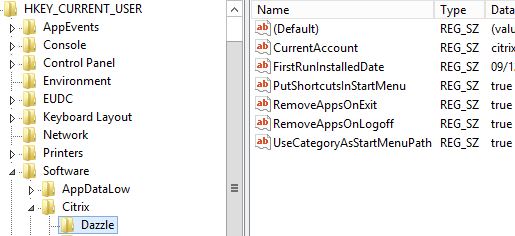
You can configure this behaviour either by creating the below strings under the HKCU hive for all your users or else have Group Policy do it instead. It is possible to create the below strings under HKLM on each machine, but I’ve found it more consistent to do so under HKCU. Either way, make sure to test the behaviour and confirm it works before deploying out.
To set shortcuts to delete on Receiver logoff and/or exit create string RemoveAppsOnExit and/or RemoveAppsOnLogoff under HKCU\Software\Citrix\Dazzle.
To manage the behaviour using Group Policy enable the Manage App Shortcut policy, part of the Receiver ADMX files that can be downloaded from Citrix. 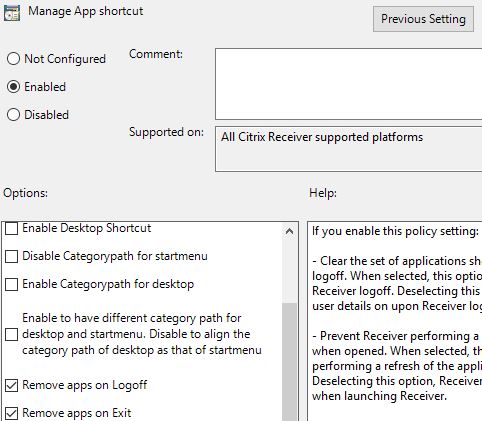
Additional Notes
If you have difficulty getting applications to show on the desktop or start menu be sure to read this https://jgspiers.com/citrix-self-service-applications-not-appearing-start-menu-desktop/
Tommy
May 11, 2017Great tutorial !
John
November 19, 2020Can this be done with Citrix Workspace? I have all configured but every time I click on icon from startmenu it opens internet explorer and then goes to storefront sson instead launching it directly?
Mike
December 6, 2021George Citrix technical support referred me to this article to add Citrix published applications to the start menu. Could you tell me if step 1 is equivalent to using STOREx on the CitrixWorkspaceApp.exe command when installing from the command line?