When you need to patch the base OS or update any applications such as Hypervisor tools or .NET installed on the OS Layer you create a new OS Layer version and perform this work with the use of an Installation Machine.
Note: Unidesk was bought over by Citrix in January 2017.
Here I will show patching the OS Layer with Windows updates. Remember that when building the OS Layer you disabled Windows updates. Keep this in mind because once you are done with patching you need to make sure you remember to disable Windows Updates again.
Within the Unidesk Management Console navigate to Layers -> OS Layers -> Add Version to create an OS Layer version we will install Windows Updates in. Specify a version number, description and the Installation Machine you will use to install updates on. This Installation Machine will be one you have tied to the OS Layer during Installation Machine creation.
 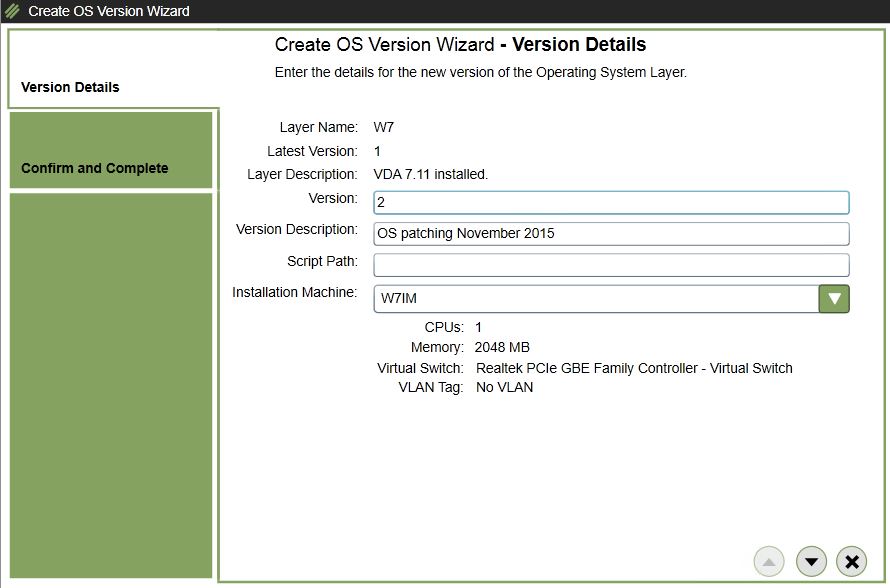 Click Create Version.
 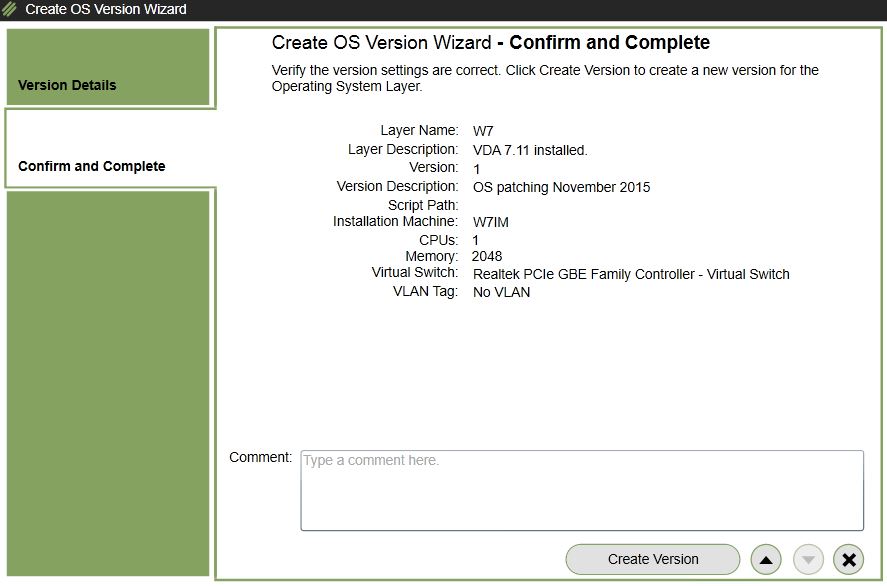 Keep an eye on the running tasks. As you can see here the previous version OS Layer is being copied to a new virtual hard disk file to be used as “version two” or the new version number you assigned.
  The Installation Machine is being prepared with a boot image containing the OS Layer version.
  Looking within the Master CachePoint storage a new OS Layer version appears.
  Once running tasks have completed and the Installation Machine is prepared you will be informed that you can now install software through the Installation Machine. At this stage, log on to the Installation Machine.
  As it is a requirement for us to turn on automatic updates we can temporarily do so.
 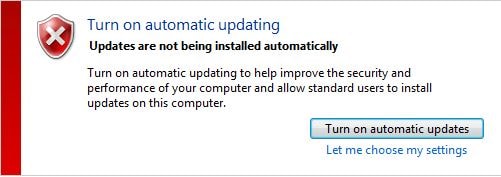 Install some Windows Updates. Unidesk recommend doing the updates in batches if you have many.
 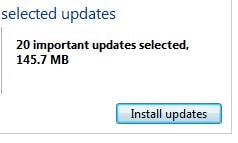 After the udates are complete, restart, disable Windows Updates as before and then run an NGEN recompile using command ngen update /force.
 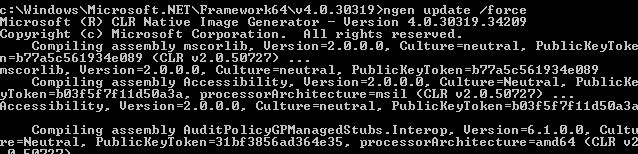 Once the recompile is complete you should be able to finalize the layer. Return to the Unidesk Management Console, navigate to Layers -> OS Layers. Click the OS Layer and then select Finalize.
 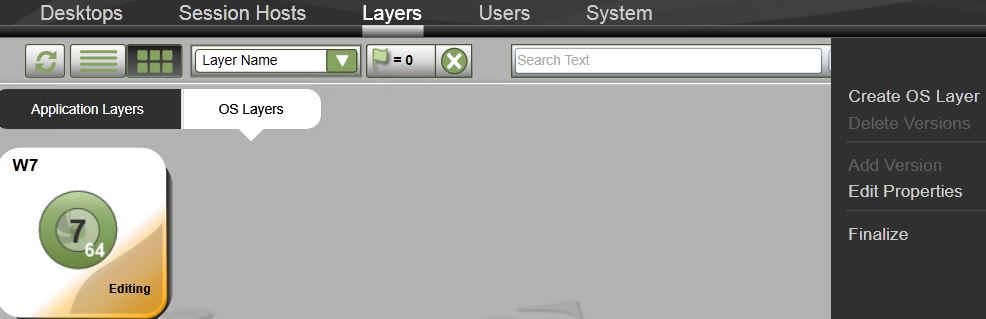 Click Finalize.
  Keep an eye on the tasks.
 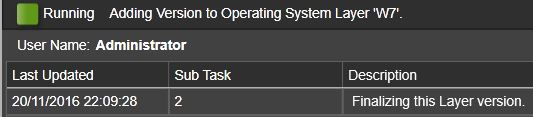 As part of the finalization, the Installation Machine is powered off.
 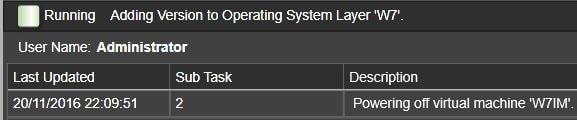 The disk contents are then converted in to the layer.
 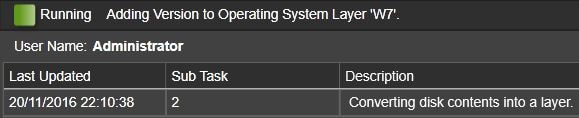 The layer creation is complete.
  Click on Delete Versions.
  Here you can select and delete layer versions if required.
 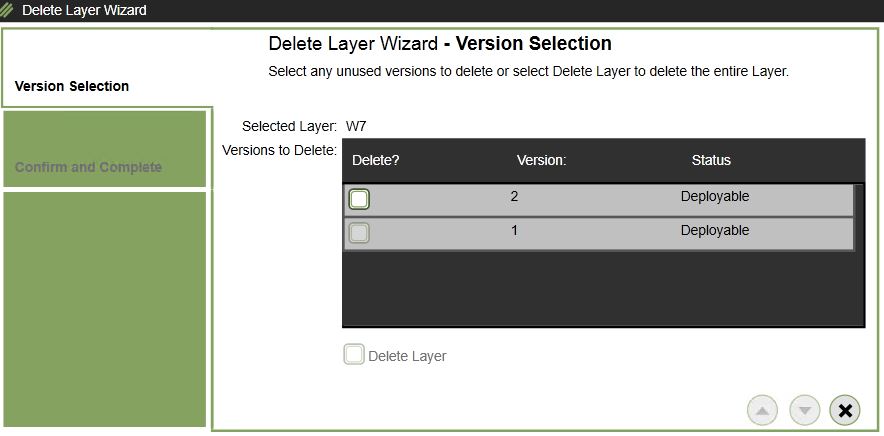 To deploy a new layer version to a collection, navigate to Desktops -> Collections -> Edit Collection. It is wise to deploy the new OS Layer version to a small number of desktops first before deploying to all desktops. This allows you to test the version against desktops to ensure everything works as expected.
 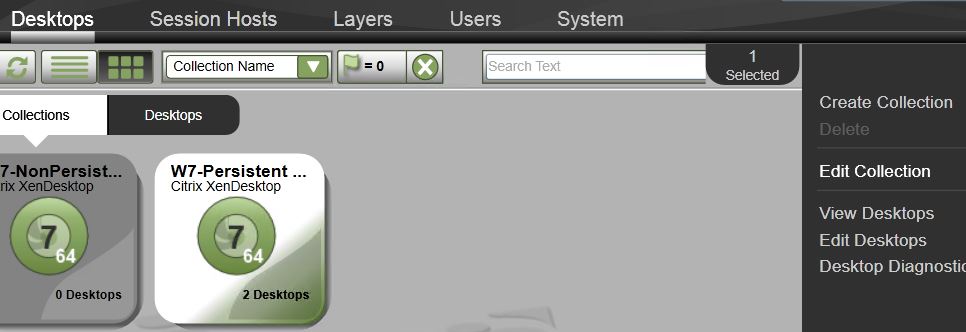 Click on OS Assignment and highlight/check the new layer version 2.
 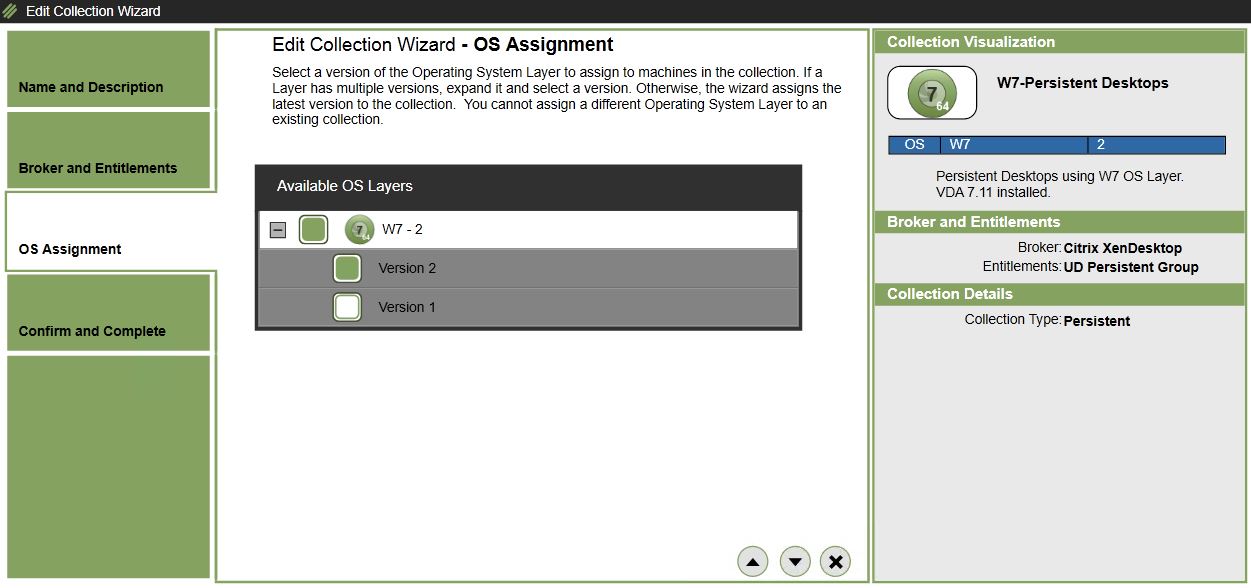 Click Update Collection.
 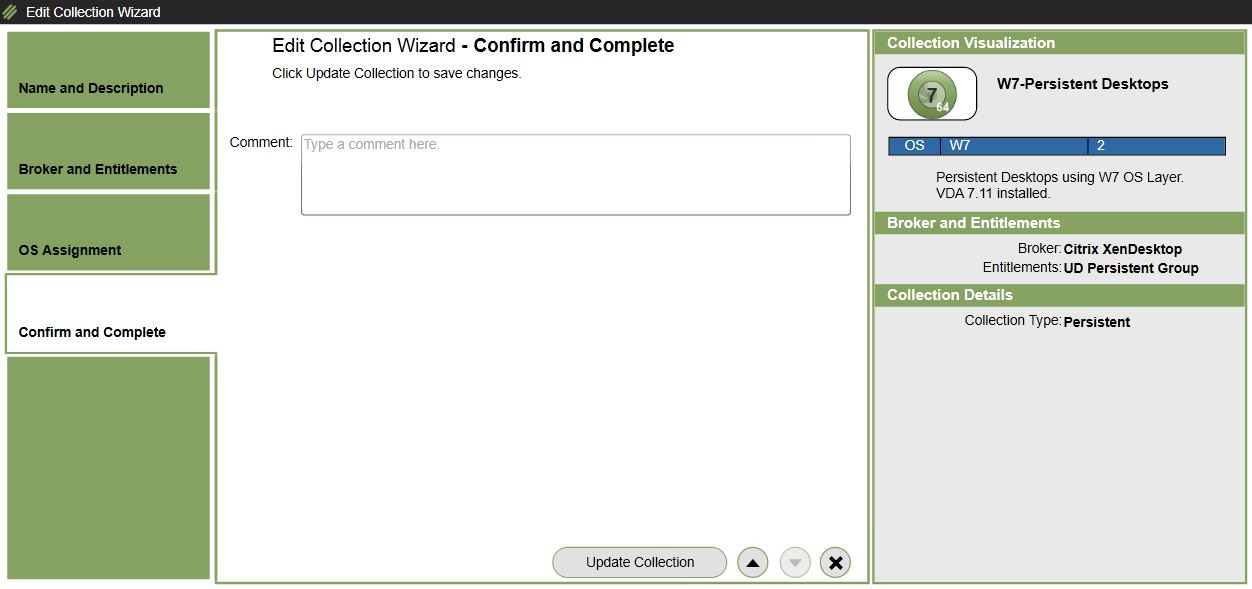 The new layer version will be copied to all Secondary CachePoints that need it and the desktops will update based on the Maintenance Schedule that each collection member (desktop) has been assigned.
  The W7 layer version 2 is copying to UnideskSCP2, one of my Secondary CachePoints.
  Navigating to the storage of the Secondary CachePoint should show the new OS Layer version virtual disk.
  The layer has been copied to all intended CachePoints and the desktops are updating.
 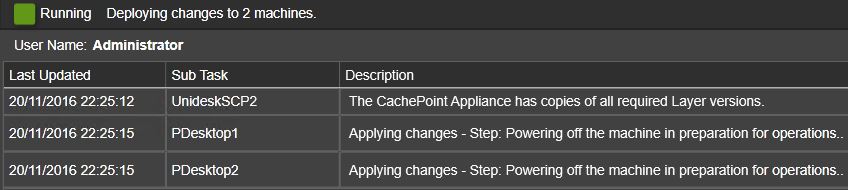 Update still in progress. Boot images are being recreated for the affected desktops.
 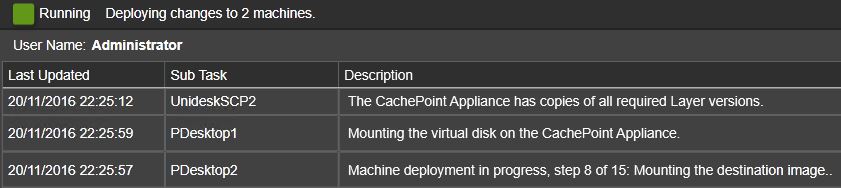 Update complete. Now we can log on to a desktop to test the new OS Layer version has applied and works.
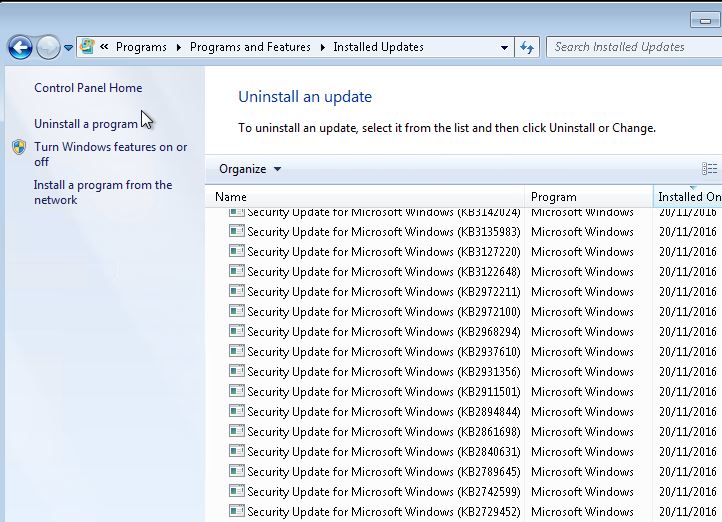
 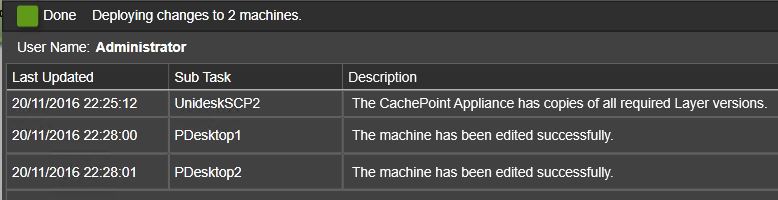 And there you have it, the Windows Updates are present in a machine using the new OS Layer version.