Creating the OS Layer is the foundation to creating multiple persistent and/or non-persistent desktops within a Unidesk environment. In this post I’ll show the steps involved to create and prepare a Windows 7 image and convert it in to a Unidesk OS Layer.
Note: Unidesk was bought over by Citrix in January 2017.
To see the Unidesk 3.4 Hyper-V install guide read https://jgspiers.com/installing-configuring-unidesk-3-4-hyperv/
You need an OS Layer if you want to provision Windows 7, Windows 8, etc. you should have an OS Layer for each OS version in your environment.
Firstly you need to install a clean image of Windows 7 on to a Hyper-V Virtual Machine. That image can be Windows 7 Professional, Ultimate or Enterprise as these editions are all supported by Unidesk 3.4. Once you’ve installed a clean image of Windows 7 on to a Virtual Machine within your Hyper-V hypervisor run Windows Updates to patch the OS and install any other piece of software that you must have on the base image and not in a layer. An example is .NET framework and Hypervisor tools, or software that Unidesk can’t layer or applications that give bother when layered. Anti-virus may also be a consideration however most will work OK in an Application Layer. Now follow the following steps:
Using the Hyper-V VM console, click Action -> Insert Integration Services Setup Disk to install Hyper-V tools.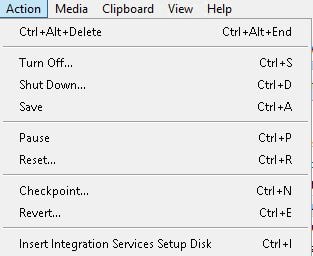 Click Install Hyper-V Integration Services.
 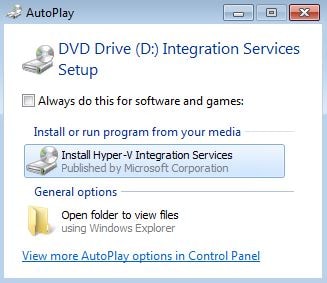 The installation runs through.
 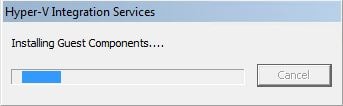 Click Yes to restart.
 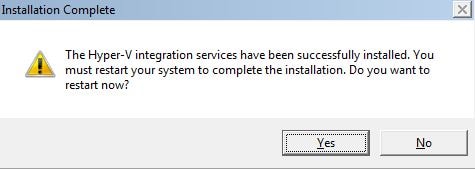 Next install the VDA. Select Enable Remote PC Access.
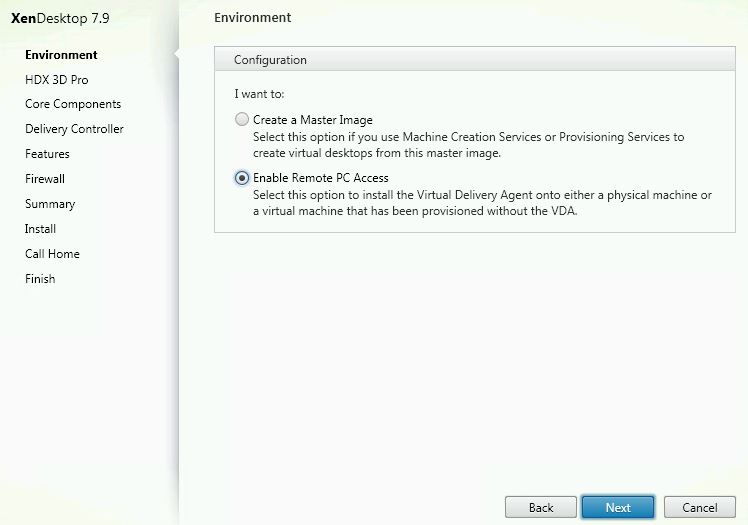 Uncheck Optimize performance and Personal vDisk. Uncheck anything else you do not need. You can choose to leave Optimize performance checked however we will be running our own opimsations using the Unidesk optimizer tool. Complete the VDA install.
 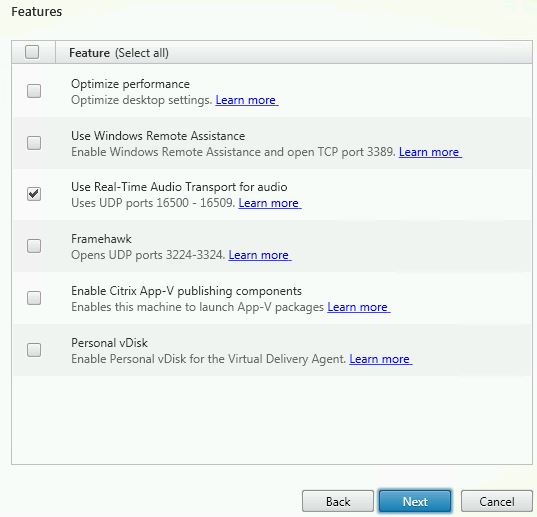 Click Run -> gpedit.msc.
 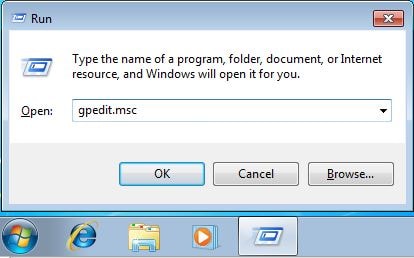 Choose Disabled for Configure Automatic Updates . This setting can be found under Computer Configuration -> Administrative Templates -> Windows Components -> Windows Update.
 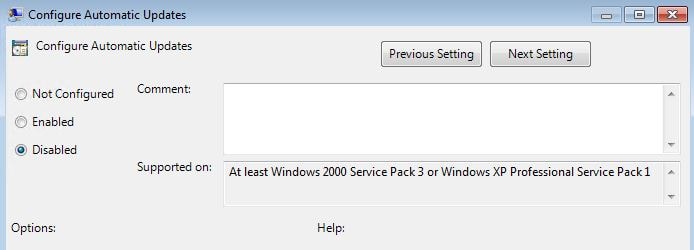 Double click unidesk_win_gold_imgae_tools_3.4.1 found in the Unidesk 3.4 downloaded media.
 ![]() Click Extract. A number of different files will extract by default to C:\Windows\Setup\scripts.
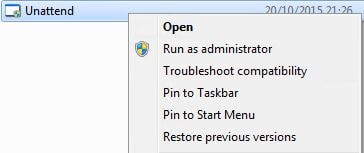
Click Extract. A number of different files will extract by default to C:\Windows\Setup\scripts. 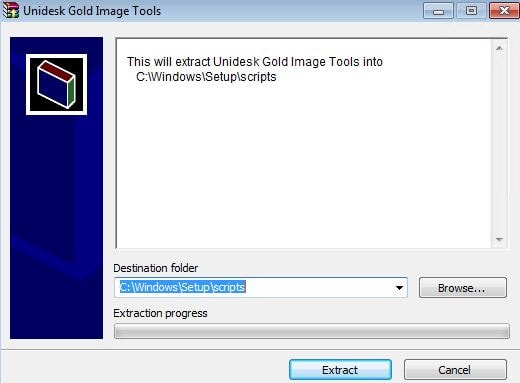 Navigate to the Scripts folder and run Unattend as an administrator. This step allows us to create an unattended install file for zero-touch desktop configuration such as time zone, domain join and local user account settings.
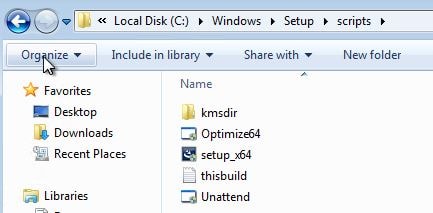
 The OS Type and OS Package should be automatically set according to what OS you are running the unattend builder from. Choose a product key type such as MAK or KMS. Enter your domain FQDN, domain join account and password.
 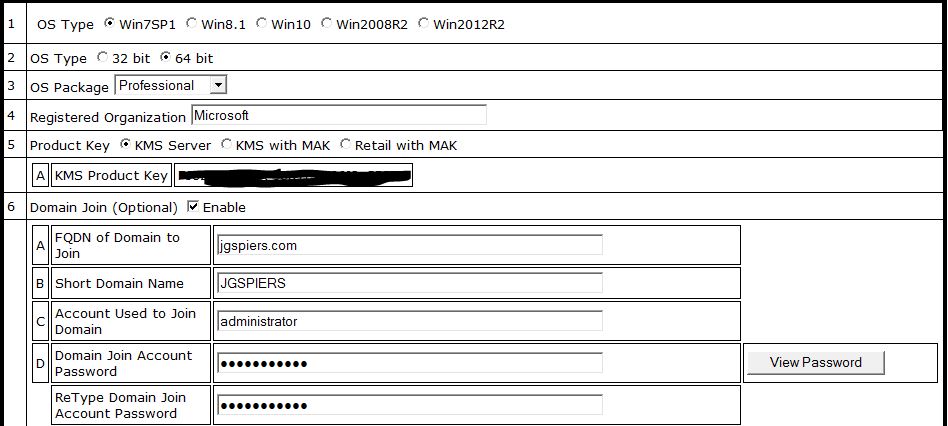 Specify the Organizational Unit new desktops will be placed in. Add a local account and specify the password. You can specify a password against the default Administrator account or enable an alternate account.
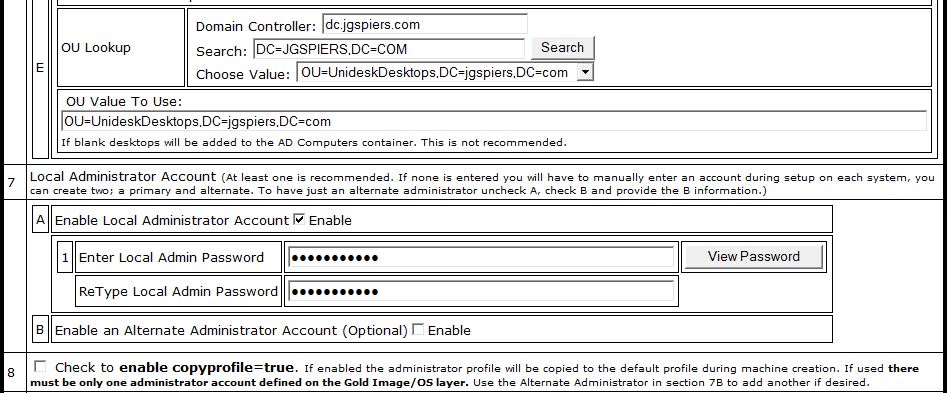 Set your time zone and any other setting. Click Save File.
  An unattend.xml file will be saved to C:\Windows\Panther along with a SetupComplete.cmd file saved in C:\Windows\Setup\Scripts. You can further edit the unattend.xml file if you wish.
 ![]() If the desktops built-in administrator account is disabled. Navigate to Local Users and Computer, right-click the Administrator account and click Properties.
If the desktops built-in administrator account is disabled. Navigate to Local Users and Computer, right-click the Administrator account and click Properties. 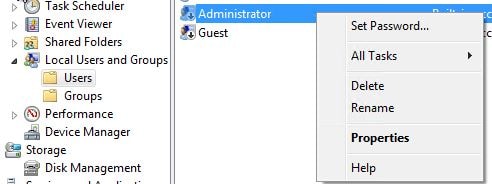 Uncheck Account is disabled. Doing this will make sure the unattend setup can successfully set a password against the account.
 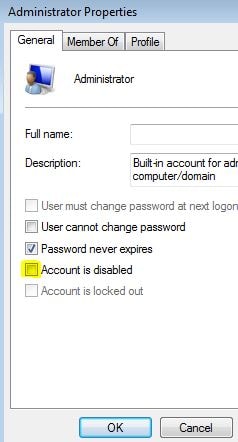 Navigate to C:\Windows\Setup\scripts. Right-click Optimize64 and click Run as administrator.
 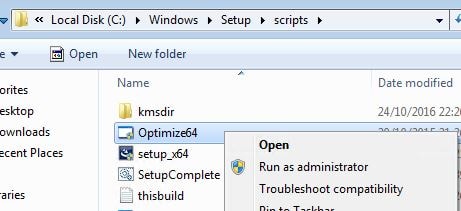 The Optimization Script Builder launches. This tool allows you to build a list of different optimisations, create an optmisation script which can then be run on the desktop. The optimisations include options such as disabling service accounts and scheduled tasks that are not a requirement for a VDI persistent, non-persistent or Session Host desktop. Optimised images reduce resource consumption and increases server host density. A number of optimisations are checked by default as they are recommended. Other settings are left unchecked and the decision is up to you to include or not.
 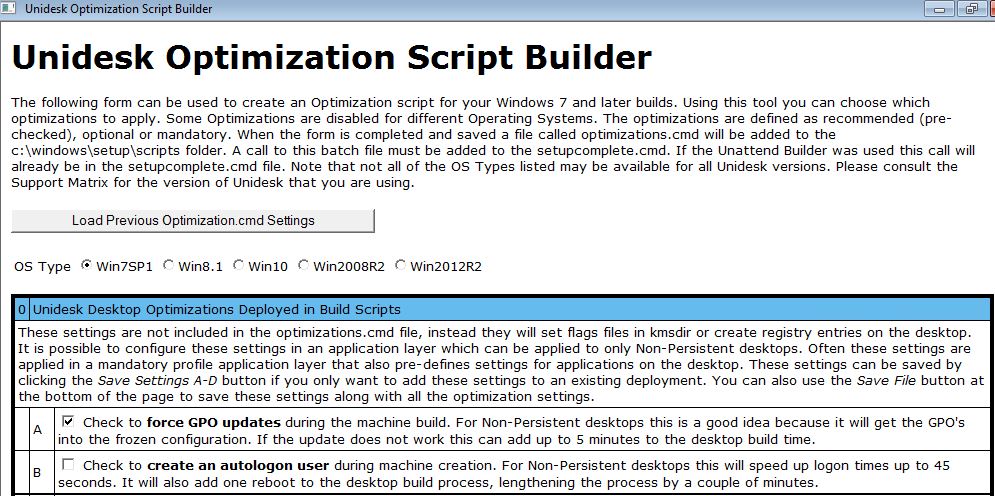 Specify to use an autologon user if you want to increase the logon times for non-persistent desktops. The first time a user logs on to a desktop a number of machine level configurations are set. Making use of an autologon user gets this part of the logon process out of the way for future users who are logging on especially when the machines are stateless.
 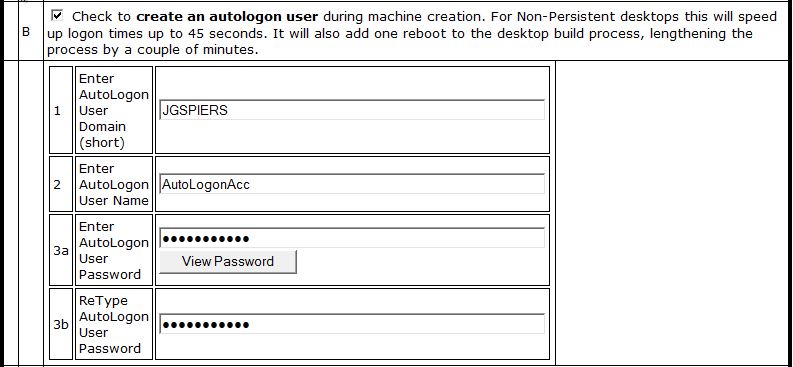 You can choose to disable reset on logout if you want to control when desktops are reset for example during a reboot schedule.
 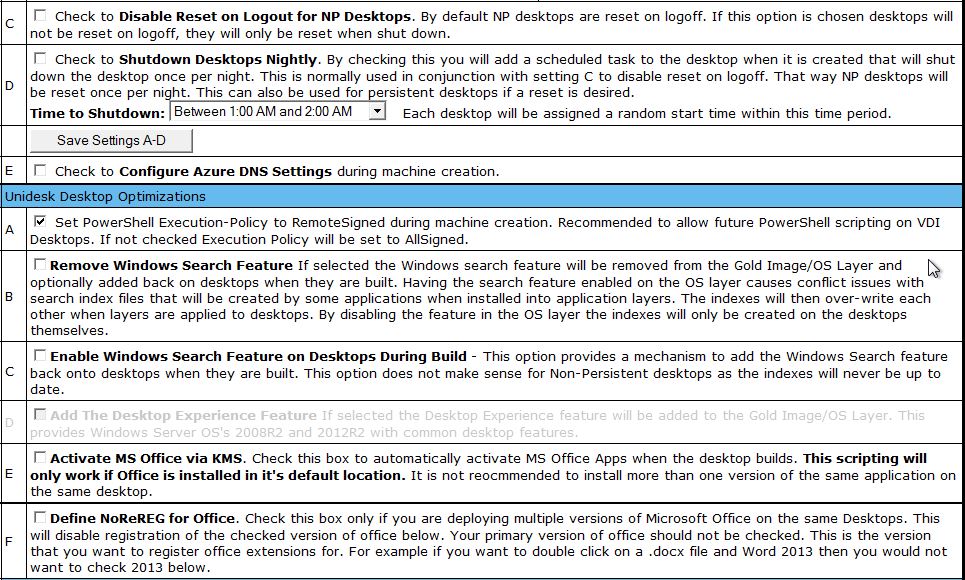 You can disable and enable items such as the screensaver, wallpapers, cursor blink etc. all increasing or decreasing resource consumption.
 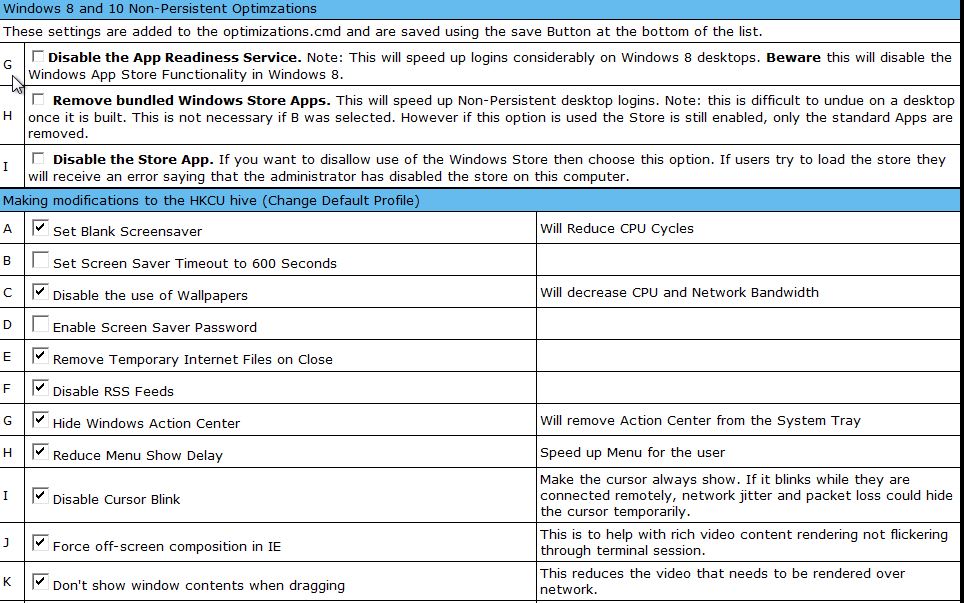 A number of mandatory changes are commited such as disabling System Restore and the Volume Shadow Copy Service. Click Save File.
 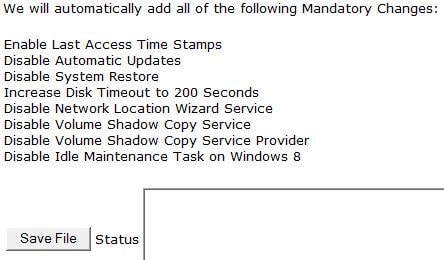 Click OK.
  All optimisations are saved to a script called optimizations.bat.
 ![]() Run the optimizations file as an administrator.
Run the optimizations file as an administrator. 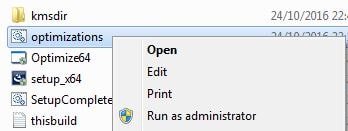 Within a few minutes all optimisations should be applied against the desktop.
 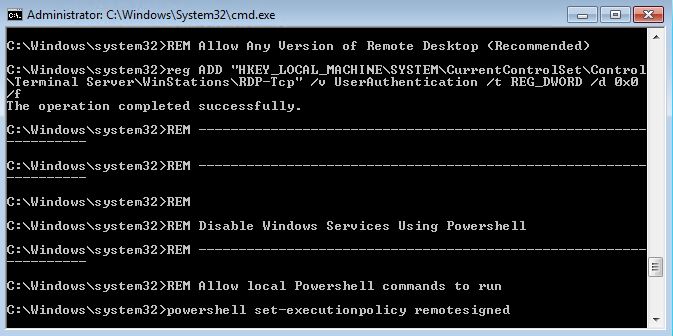 At this stage with the gold image exactly how we want it take a snapshot for good measure. Using the Hyper-V Manager console right-click the desktop VM and click Checkpoint.
 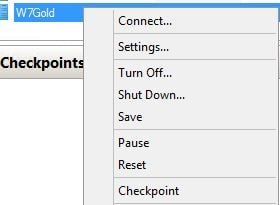 The checkpoint will be created.
 ![]() Now right-click the checkpoint and click Rename…
Now right-click the checkpoint and click Rename… 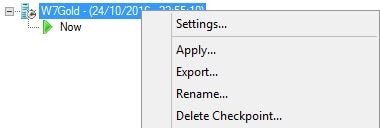 Rename the checkpoint to something more relevant.
 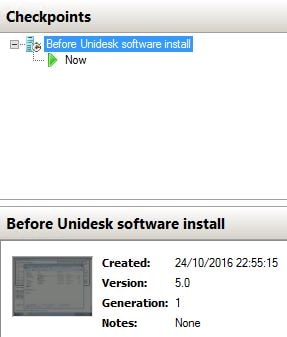 Back on the desktop VM right-click setup_64 to run the Image Preparation Utility. This utility prepares the gold Desktop image, associating it with your Management Appliance so that you can create an OS Layer.
 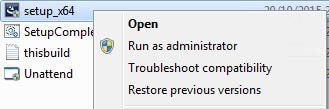 Click Next.
  Specify the location of the answer file created earlier. Click Next.
 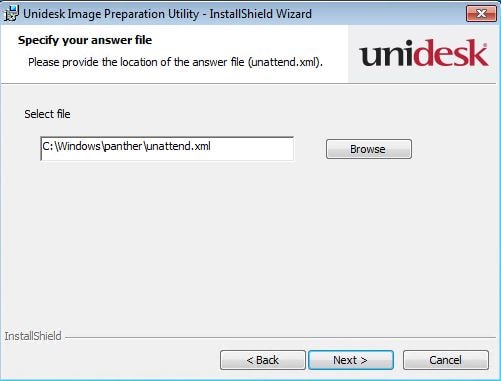 Enter the Unidesk Management Appliance address. Click Next.
 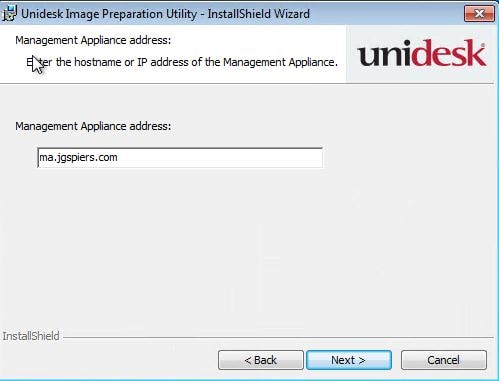 Click Install.
  Click Finish. Power off the Virtual Machine.
  To create the OS Layer log on to the Unidesk Management Console and navigate to Layers -> OS Layers -> Create OS Layer.
 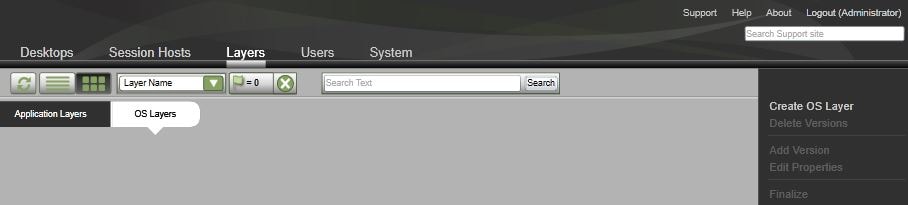 Specify a layer name, description and version. You can specify a script under Script Path which runs when the desktop is created. Under Gold Image choose the virtual machine that holds the gold desktop image that will be used as the OS Layer.
 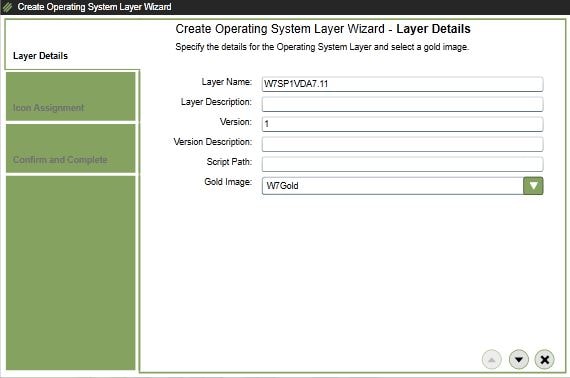 Choose an icon.
 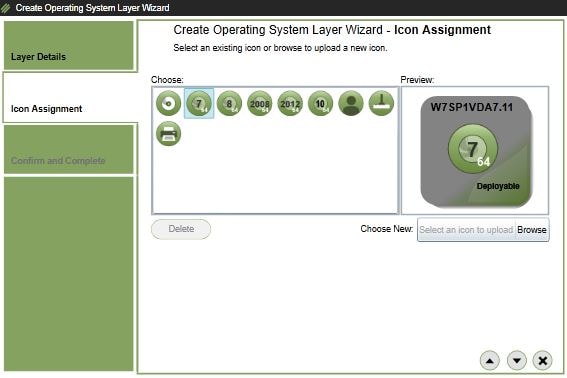 Enter an optional comment. Click Create Layer.
 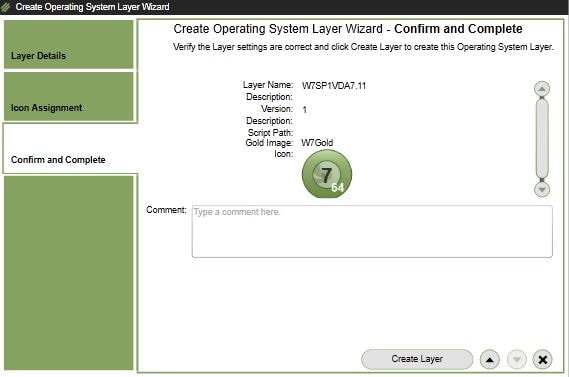 Make sure the virtual machine is powered off.
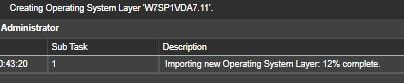
 ![]() The OS Layer creation task begins.
The OS Layer creation task begins. 

Eventually the OS Layer creation completes. It is not advisable to create a desktop from this OS Layer to test that everything works including the unattend file.![]() Additional Notes:
Additional Notes:
- When creating a gold image or adding versions to a gold image always run ngen update both for framework 32 and 64. This forces a compile of all assemblies.
- Create one OS Layer per OS i.e. W7, W8, W10, Server 2012.
- Layers that are created for one OS Layer cannot be assigned to another OS Layer at a later stage.
Hang Cheng
December 20, 2016If you’re planning to deploy this to more than 100 desktops, you need to think twice and test your image update process carefully.
I would not recommend the 3.4 version to anyone. Get the v4.0.
We tried to roll out 600 XenDesktop with Windows 7. It’s been killing us for the past 12 months. Nothing but problems. Unidesk support is a joke. Their knowledge of Citrix and VMM is nowhere to be found.
I have put in over 200 hours of unbillable time which are 200% related to Unidesk problems.
CAUTION – Contact me if you need full details.
Louis
August 8, 2017This sounds very familiar to me. We have similar experiences and no real usable environment here. Spend dozen of hours with Unidesk support and have come nowhere. Stability is an issue, when you deploy session hosts they break after some time, rebuilding increases this proces. Now we are looking to do without the Unidesk system as deploying new machines every time is not what we expected when this was recommended to us. I am curious if you have deployed the v4 version and if it does not have the issues you encountered before. Please send a reply.
George Spiers
August 8, 2017I have used and deployed Citrix App Layering 4.x and have not nor do I envisage the need to rebuild desktops. The delivery mechanism has changed, handing provisioning off to either Citrix PVS or Machine Creation Services. I have new 4.x related blog posts which can be found under the Unidesk/Citrix App Layering category.