I’m going to integrate a few short posts in to one. In this post I will talk briefly on tweaking parts of Citrix Director, and monitoring the Hypervisor with Citrix Director.
If you want to view a guide on installing Director, see here
Citrix Director 7.5 requirements
- Windows Server 2008 R2 or later
- IIS 7 or later
- .NET 4.5.1 or later
- 50MB disk space
- IE9 or later, Firefox, Chrome
Note that IE should not display Director in compatibility mode as the site will render quite badly.
It is recommended to install Director on a four-core CPU machine with 4GB RAM for every 100 Helpdesk users who will use Director.
Citrix Director does not load balance between controllers. When installing Director you specify one Delivery Controller to make a connection with. All SQL communication now happens only between a Delivery Controller and a SQL server under the new FMA architecture. However, if you have more than one Delivery Controller, Director will discover them and fall back to them if the original Delivery Controller you specified during installation fails or is unavailable.
Pre-populate Director with domain name
You can automatically populate Director with your Active Directory domain name so users do not have to manually keep typing it in at logon. To do this, edit the LogOn.aspx file located typically in C:\inetpub\wwwroot\Director.
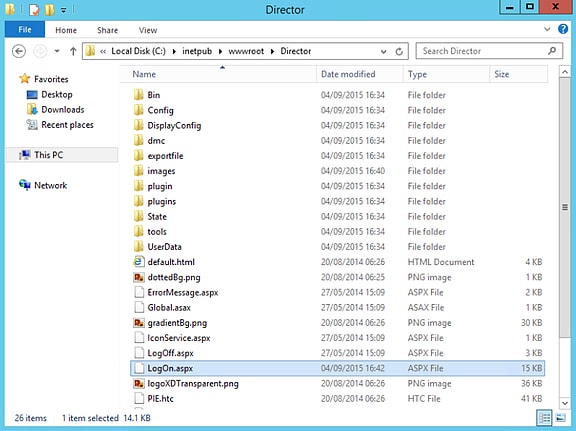
Replace <asp:TextBox ID=”Domain” runat=”server” CssClass=”text-box” with <asp:TextBox ID=”Domain” Text=”jgspiers.com” readonly=”true” runat=”server” CssClass=”text-box”. This willalso make the domain box read only/non-editable.
![]()
Hiding domain field
To hide the domain field completely, firstly make sure you have pre-populated the domain name using the steps above. Then, edit the LogOn.aspx file editing/replacing existing text with the text that is shown below:

Make Receiver the default IIS page
- Open IIS
- Select Default Web Site
- Select HTTP Redirect
- Tick Direct requests to this destination
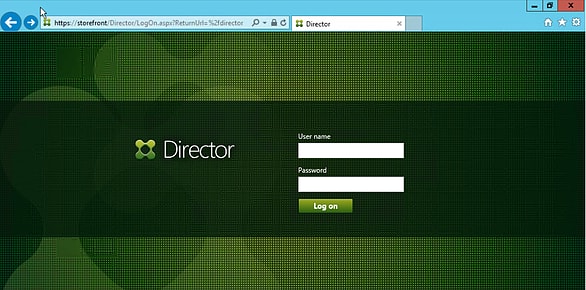
- Enter the path to your Director website i.e. https://storefront.jgspiers.com/director
- Tick Redirect all requests to exact destination (instead of relative to destination)
- Set the Status Code to Permanent (301)
- Now enter https://storefront.yourdomain.com inside a web browser and watch how you are directed to the Director logon page
Director Hypervisor Monitoring
Director can monitor the Hypervisors your XenApp or XenDesktop environment runs on and display alerts such as CPU usage alerts, memory, network and storage alerts on the Director dashboard. As a result you can see directly from the Director console if a host needs assistance. At this time of writing, Citrix Director 7.6 displays alerts for XenServer and VMware vSphere but not Hyper-V.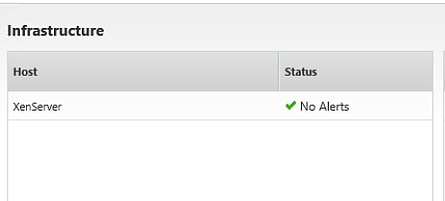
Hypervisor alerts are configured on the hosts via the hosts management console. I will show the steps to configure a CPU usage alert on XenServer.
- Open XenCenter console, right-click the XenServer host you wish to configure alerts for
- Select Properties
- Click on the Alerts tab
- Select the checkbox next to Generate CPU usage alerts
- Configure a threshold, click OK
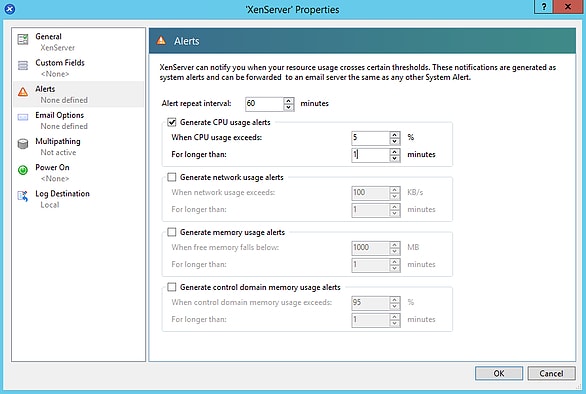
My example shows that if the CPU of my XenServer host exceeds 5% for longer than a one minute period, an alert will be generated and displayed in Citrix Director. You can see the alert being shown below.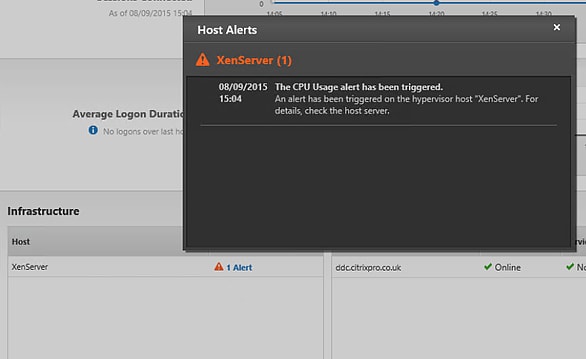
Pingback: Citrix Tips, Tricks, Tweaks and Suggestions – JGSpiers.com
Morten
February 10, 2021Great article!
Another useful one:
Centrally store search filters particularly if you have multiple Director servers:
a) Open IIS Manager.
b) Go to Sites > Default Web Site > Director. In the middle, double-click Application Settings.
c) Change the Service.UserSettingsPath setting to the UNC path \\server\DirectorFilters
d) Go to \\server\DirectorFilters and open properties -> Security.
e) Add the machine account for the Director server with Modify permissions: