If you are running PVS Target Device software version 7.6 or below and want to upgrade, unfortunately you will need to reverse your PVS image to boot as a local hard drive from a VM.
Reason being, the software update will break network communications between the Target VM and PVS Server, interrupting the vDisk streaming of course, and causing the VM to hang. Even updating virtual machine hypervisor tools or NIC drivers will break communication.
Now I did say 7.6 or below. If you are on version (minimum) 7.6 Cumulative Update 1, you can now upgrade within a Maintenance Mode version to the latest Target Device software version. No more needing to reverse image. Great right!?
To upgrade the older versions, we need to reverse the image and boot directly to the VHD rather than receive it via stream.
Now, depending on which Hypervisor platform you use, methods could be different. An example of this is VMware does not deal with the VHD/X files that are used with PVS today, so it’s not as simple as attaching the vDisk to a VM and booting.
There are several roads you can take to achieve the same result of reversing an image. If you look on the internet there are articles explaining how to use BCDEdit, VMware Workstation, XenConvert and more to get vDisks upgraded. If your business runs Hyper-V, it will be very simple to reverse the image. If you don’t have Hyper-V but use a Windows 8 or above workstation, it will also be very easy to reverse the image.
How many of us use Windows 8 and above? Probably all of us have access to one of these Operating Systems. Well, from there you can use the Hyper-V component straight from a workstation which this post will explain how to do.
Firstly we need to install the Hyper-V components. If you have already done this or know how to do so you can skip the next few sections.
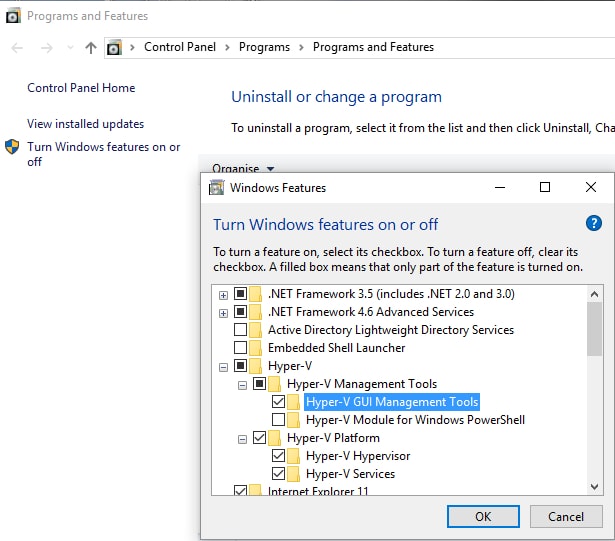
Navigate to Program and Features -> Turn Windows Features on or off and check the boxes for Hyper-V GUI Management Tools, Hyper-V Hypervisor and Hyper-V Services. Click OK.
The Hyper-V components are being installed.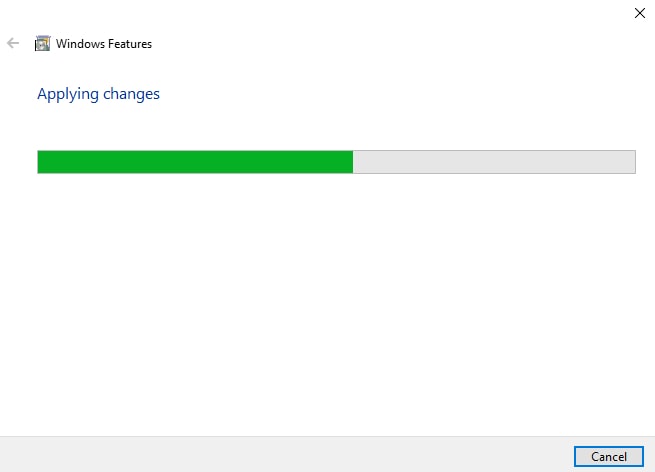
Click Restart now once the install is complete.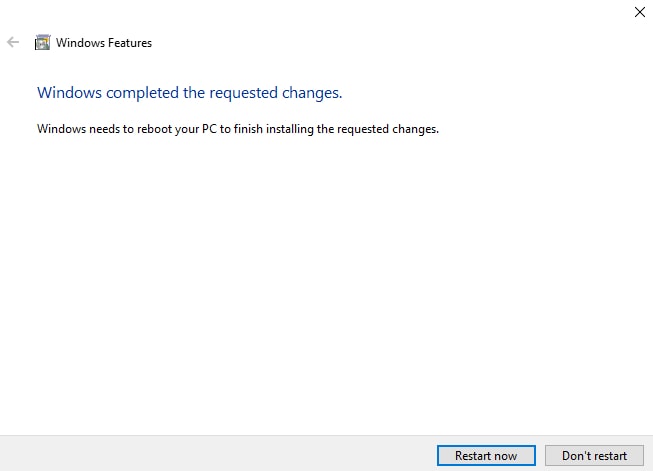
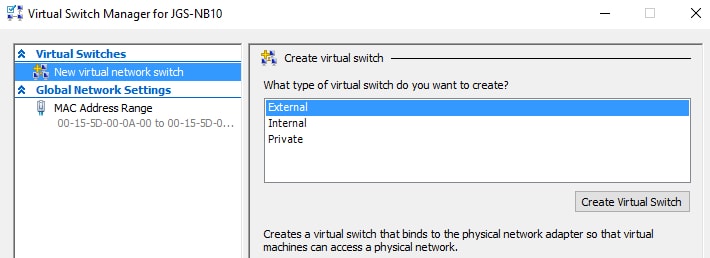
After a restart, open Hyper-V Manager and create a Virtual Switch by clicking Virtual Switch Manager. Create a Virtual Switch of type External and click Create Virtual Switch.
Specify a name and any other desired parameters and click OK.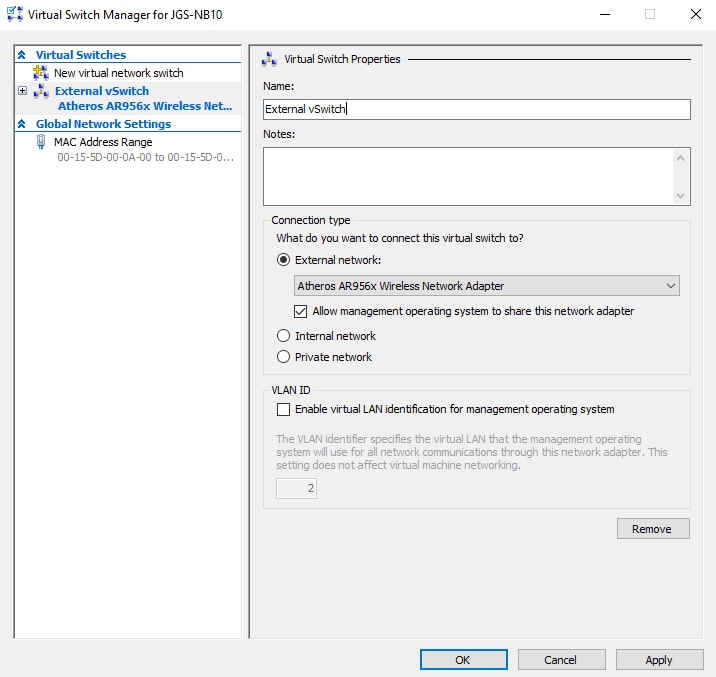
Click Yes. The VM network connectivity will be briefly disrupted.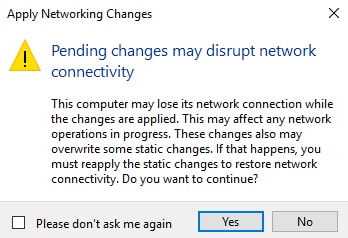
Right-click your Hyper-V server (PC name) and click New -> Virtual Machine.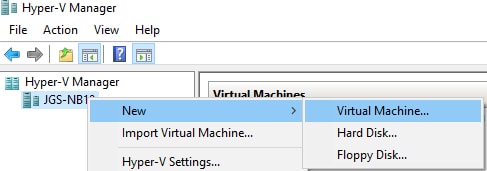
Click Next.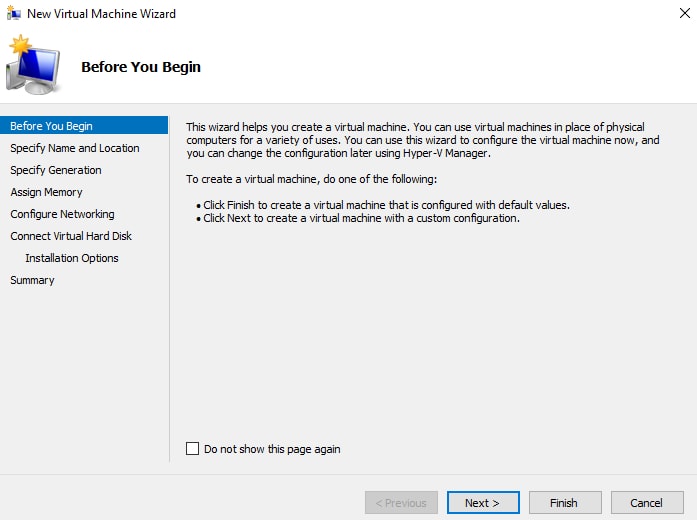
Specify a virtual machine name and click Next.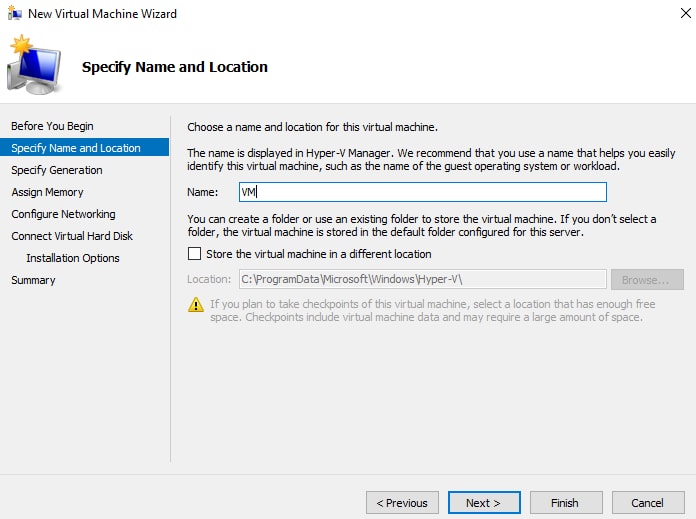
Click Next.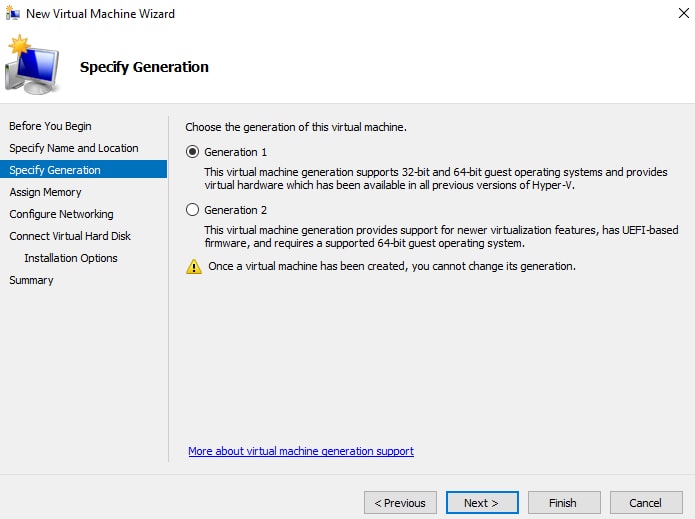
Assign memory for the VM, click Next.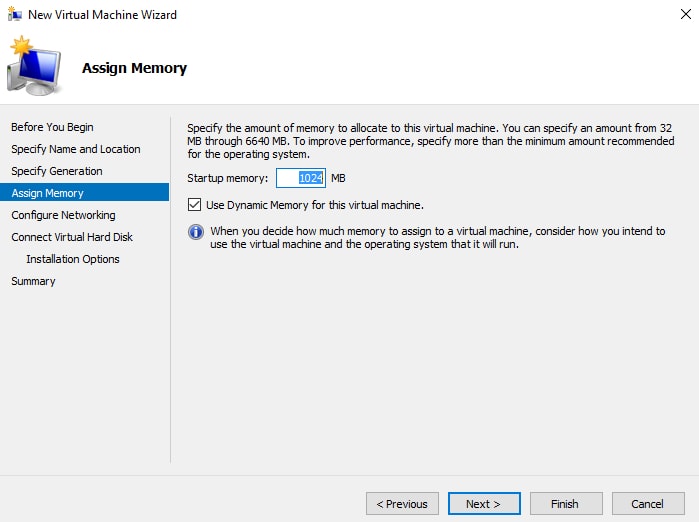
Select the newly created virtual switch and click Next.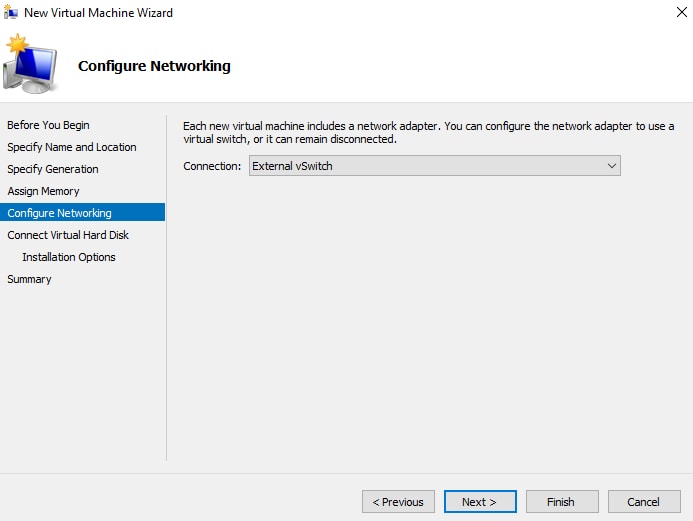
Select Use an existing virtual hard disk. You should have copied the PVS vDisk to the local PC or a network share where you have the correct permissions delegated. Click Next.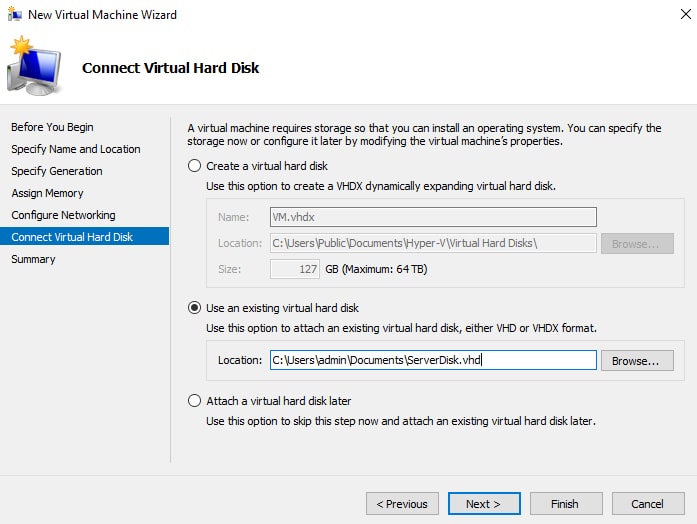
Click Finish.![]()
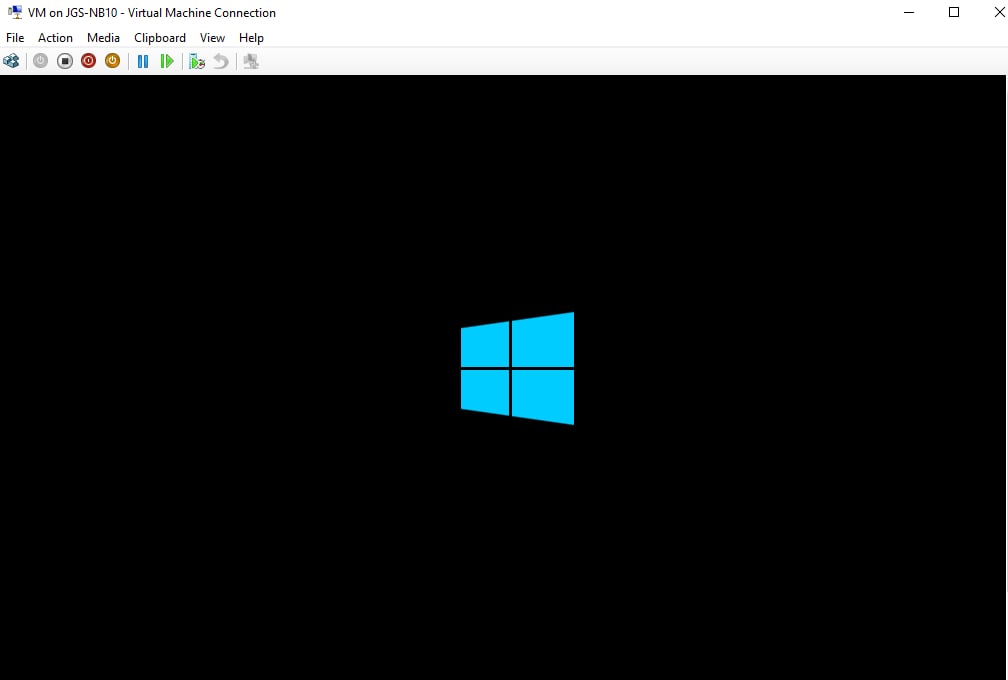
Start the VM.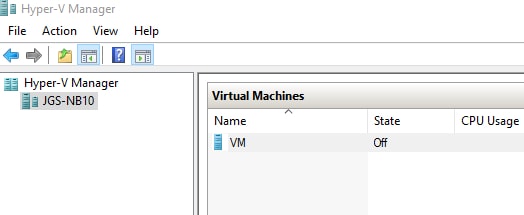
Download Provisioning Services 7.6 Cumulative Update 1 for Target Device x64 from http://support.citrix.com/article/CTX142616.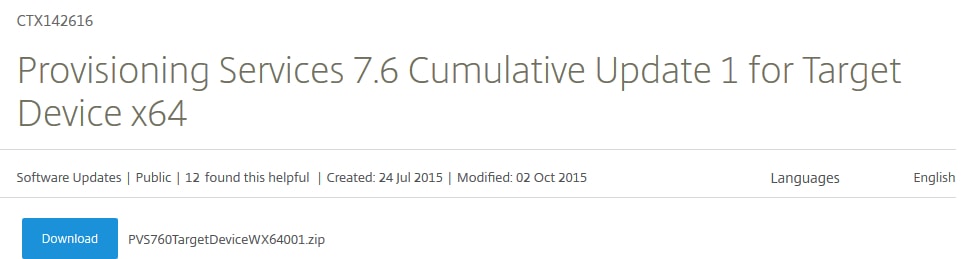
Double click PVS_Device_x64 to start the install.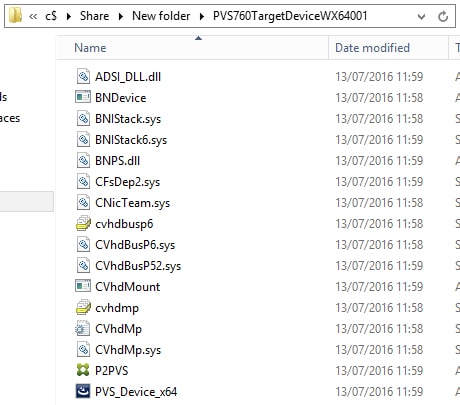
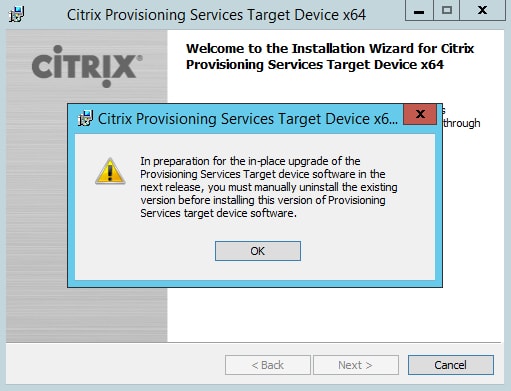
Remember to uninstall any previous versions of the Target Device software before installing 7.6.1. If not, you’ll get the below message.

Once any previous versions are uninstalled, continue on with the install. Click Next.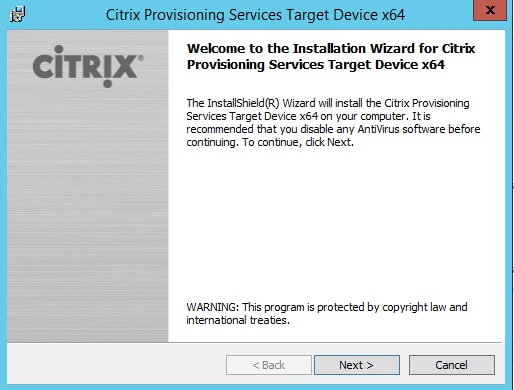
Select I accept the terms in the license agreementand click Next.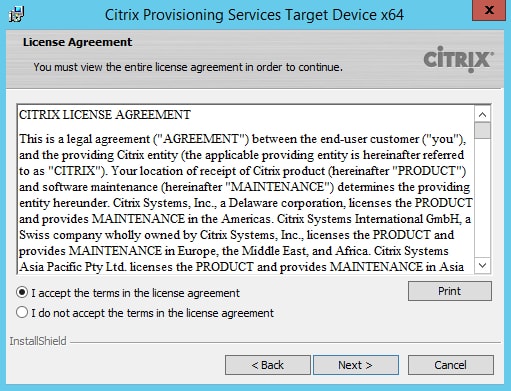
Click Next.
Specify the install location and click Next.
Click Install.
Uncheck the Launch Imaging Wizard and click Finish. 
Using Add/Remove Programs we can see the new version that is installed.
Click Yes to restart the VM and complete the install. 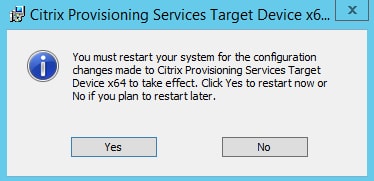
Copy the vDisk to your PVS server(s) again and import the vDisk using the PVS Console. It is also possible to copy the updated vDisk over the top of the existing older vDisk containing the 7.6.0 software. This way you won’t need to import the vDisk to the PVS Console as it already exists and the existing vDisk properties file will continue to work.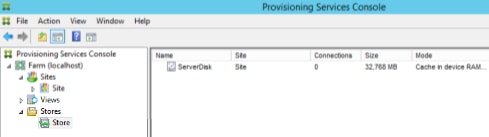
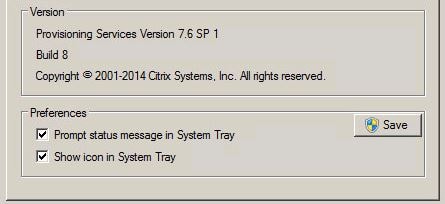
Now once Target Devices start using the vDisk, we can launch the Virtual Disk status tool to check the correct version shows.
Upgrading Target Device Software 7.6.1+
As I mentioned above, the need to reverse a vDisk when upgrading PVS Target Device software 7.6.1 or above is no more. We can simply perform an in-place upgrade using a maintenance mode vDisk version.
With a maintenance version created and a maintenance Target VM online, launch the PVS software you wish to upgrade to and select Target Device Installation.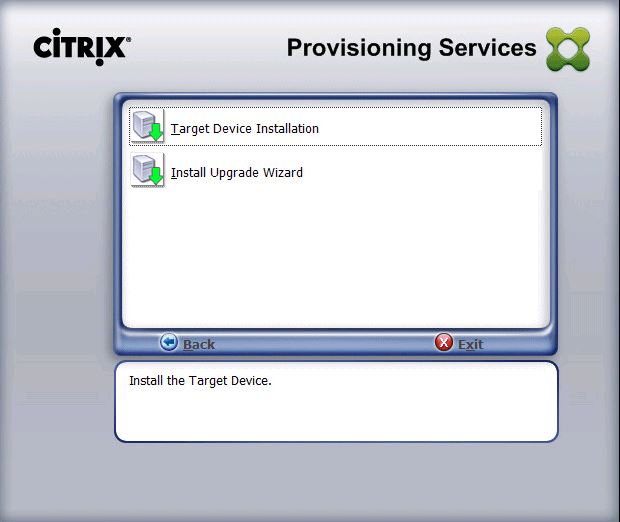
Click Next.
If using VMWare you may be presented with the following information. Hotfixes are available for Windows Server 2008 R2, Windows 7 and both SP1 variants to prevent blue screens. Check Acknowledged and click Next.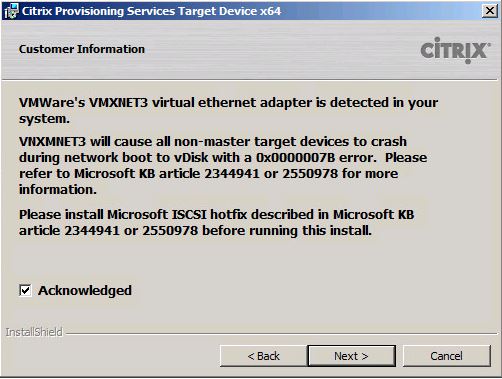
Click I accept the terms in the license agreement and click Next.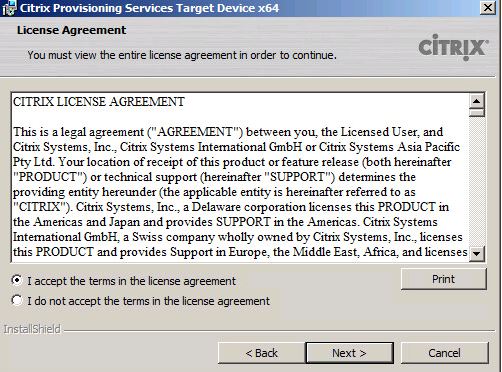
Click Next.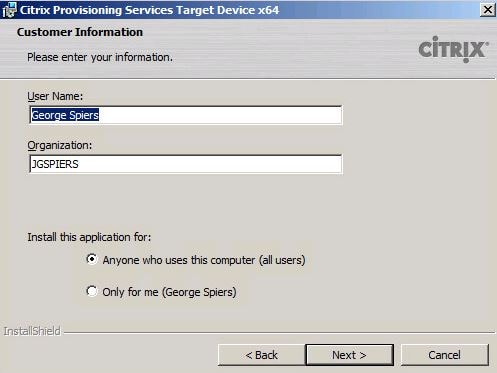
Choose your desired installation path and click Next.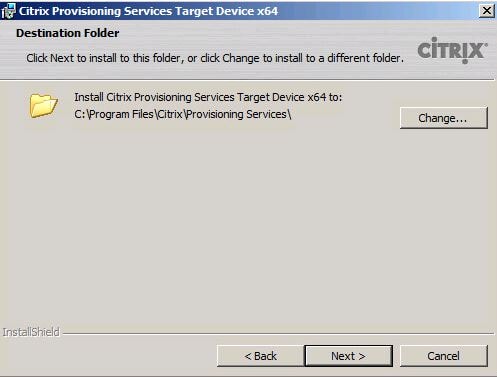
Click Install.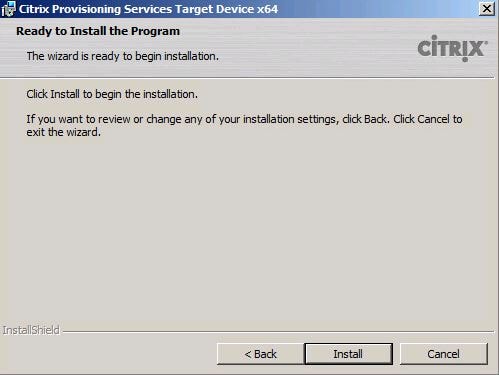
Click Yes to restart.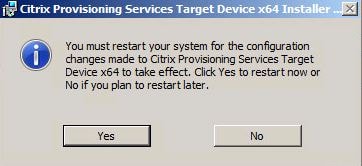
Once the VM has restarted, check the Virtual Disk status tool to confirm the new PVS Target Device version shows. Promote the vDisk to test or production.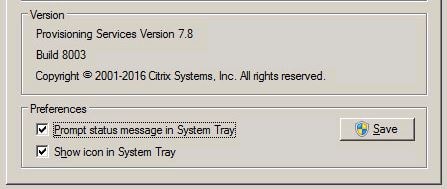
Serg
October 17, 2017I have wrote a similar article for the PVS Target Device upgrade on ESX:
http://citrixonomy.blogspot.co.nz/2017/10/pvs-reverse-imaging-using-vmware.html
Hopefully it will help someone 🙂
chandra
July 16, 2018shall we follow the same process for reverse imaging of PVS 6.1 version to 7.15?
George Spiers
July 16, 2018Yes if you are performing an upgrade on the image and it breaks/interrupts streaming/network services in any way.