This post shows you how to perform reverse imaging of a vDisk to update either the PVS Target Device software, VMware Tools or something else that may break your PVS stream! We will be using a mixture of VMware vCenter Converter and Windows 2012 R2 to mount the VHD. This post will also (not something I was expecting it to) go over diagnosing the VHD (vDisk) if it becomes corrupt or the PVS image has a System Reserved partition.
To use Hyper-V on Windows 8+ to reverse image a vDisk see https://jgspiers.com/pvs-target-device-software-update-hyperv-reverse-image/.
Note that if upgrading PVS Target Device software v7.6.1, you don’t need to perform vDisk reverse imaging.
When using VMware vCenter Converter you need a machine to convert, so we need to mount the vDisk which is natively in the VHD format to a machine. Luckily with the likes of Windows 7/Windows Server 2008 R2+ you can mount VHDs with ease.
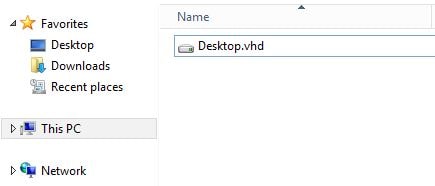
Below is my copy of Desktop.vhd which is a PVS vDisk. Hopefully your servers are running an operating system that can support mounting VHDs from Disk Management. This vDisk resides locally on my PVS server and from that server I will be mounting the VHD.
Navigate to Disk Management (Run -> diskmgmt.msc) click Action -> Attach VHD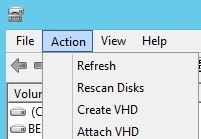
Click Browse and pick the VHD (vDisk) you want to mount.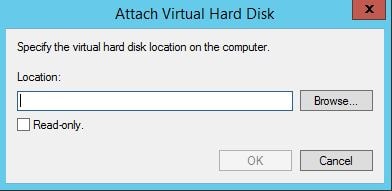
Click OK.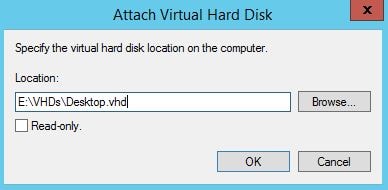
Wait, the file or directory is corrupted and unreadable? OK, this could mean that the vDisk was created in 16MB blocks dynamically, but it wasn’t. The vDisk was created with a fixed size, however maybe PVS still creates it fixed with 16MB blocks. Anyway, VHDs with these block sized can’t be mounted, unless it is a 2MB block disk.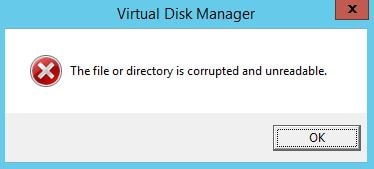
Not to worry though, from the PVS server, launch CMD and navigate to C:\Program Files\Citrix\Provisioning Services\ or similar depending on where you installed PVS.
Now run command cvhdmount -p 1 “vDisk location”. The PVS vDisk is now mounted!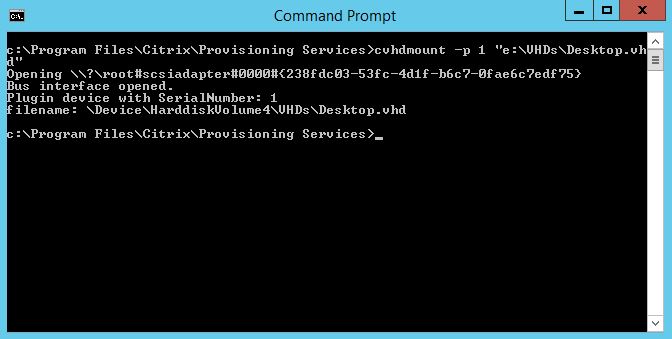
You can confirm that by looking within Disk Management and seeing the new disk. Look at the System Reserved partition, some people have reported it giving errors in the past. It hasn’t really given me errors when used with PVS, and this particular vDisk has Windows Server 2008 R2 installed.
Also in computer you can see the two vDisk partitions appear with drive letters.
Launch your copy of VMware vCenter Converter and click Convert machine.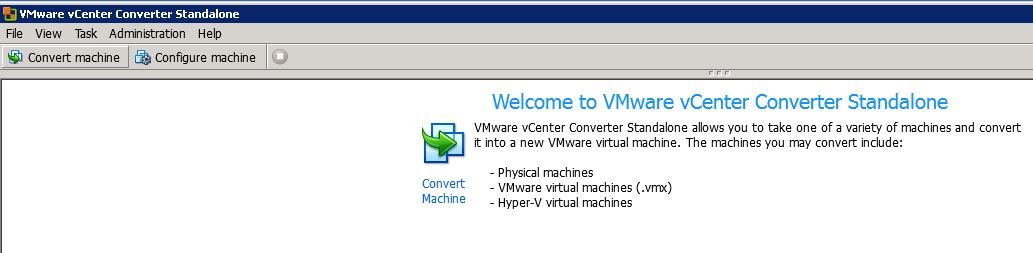
Specify if the machine is powered on or off, and connection details of the PVS machine which currently has the vDisk mounted. Click Next.
Specify if you want the VMware vCenter agent to automatically uninstall when the import succeeds or to do it manually yourself. Click Yes.
Specify the VMware infrastructure server you want to place the converted machine on to and click Next. The next few screens ask for VM name, storage location etc.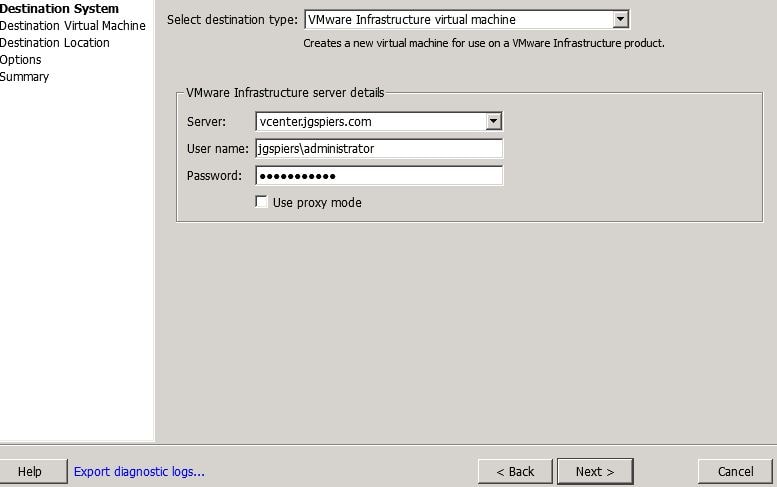
Specify the name you want to give the converted machine.![]()
Click on Edit to the right of the screen. We don’t want to copy all disks. We are only interested in F:\ and G:\ which are our vDisk partitions.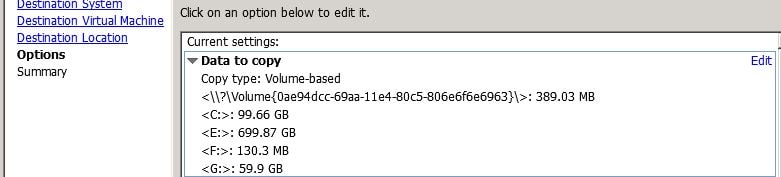
Untick all non-vDisk partitions.
Click Finish.
At this stage the conversion begins.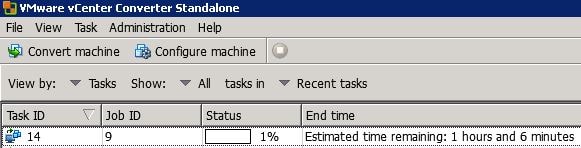
Moving along at 40%.
Bang! Failed at 98%. An error occured during reconfiguration. Unable to update BCD on the destination machine’s system volume. Cannot find a system volume for reconfiguration. Something is wrong with the BCD configuration. If you just want to get rid of the System Reserved and move BCD to C:\ you can do that easily.
If it worked for you (in most cases it will) then you are good to go and can update the image as required then revert back to vDisk. If it didn’t work, you’re one of the unfortunate ones this time, like me, and will need to read on.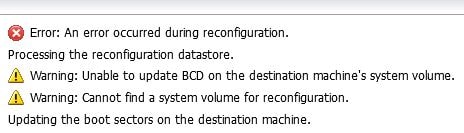
Unmount the VHD from the PVS server by running command cvhdmount -u 1 “vDisk location”.
Boot your vDisk (in private image mode or maintenance mode) from a PVS Worker VM and then open Disk Management. Right-click the System Reserved partition and click Change Driver Letter and Paths.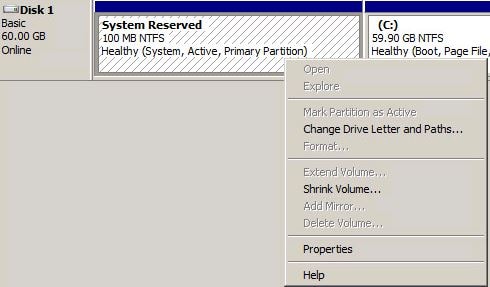
Assign a drive lettter such as E:\ to the System Reserved partition and click OK.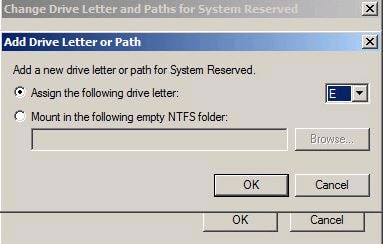
We can confirm the partition now has drive letter E:\ assigned to it.
Run CMD as administrator.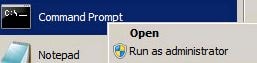
Run command reg unload HKLM\BCD00000000.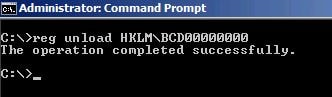
Run robocopy e:\ c:\ bootmgr to copy the bootmgr file from System Reserved to C:\.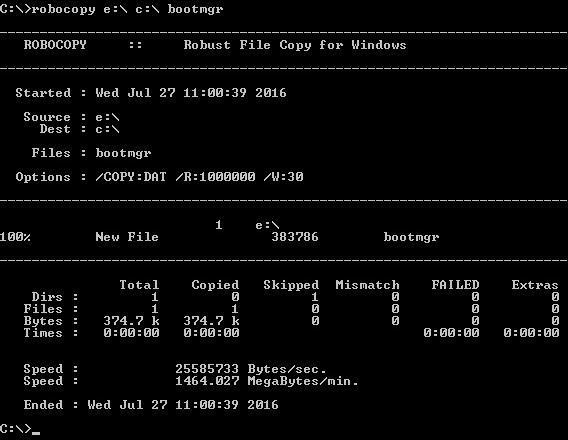
Run robocopy e:\boot c:\boot /s to copy the boot folder from System Reserved to C:\.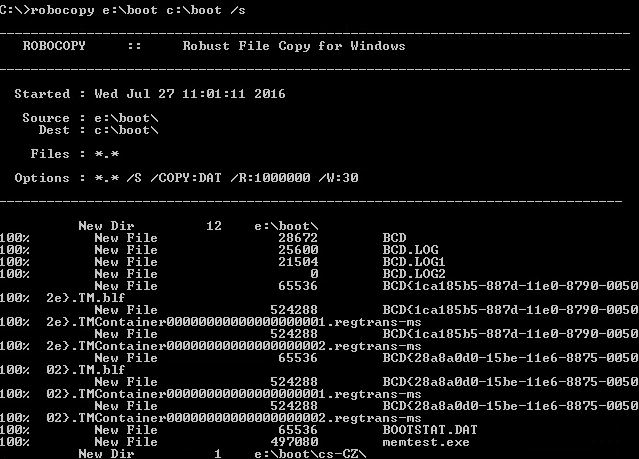
Run the below BCDEDIT commands to set the bootmgr and memdiag device partition configurations. You can run bcdedit to confirm the device location for each entry is set to partition=C:.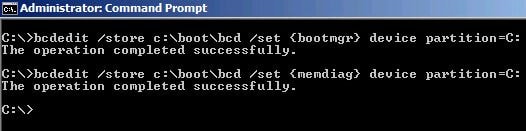
Navigate back to Disk Management and remove the E:\ letter from System Reserved, clicking OK on the warning message.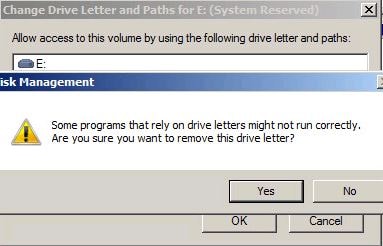
Click Yes.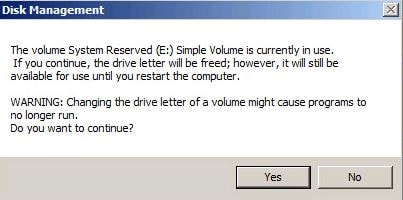
Right-click C:\ and mark the partition as active.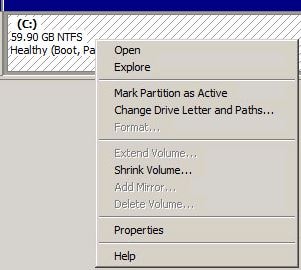
Click Yes.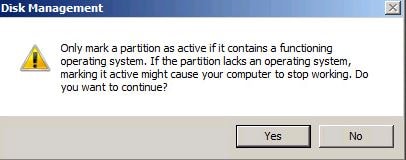
The C:\ drive is now marked as active.
Restart the VM and then boot back in to the maintenance version or the private version.
Once the VM is back online, navigate to Disk Management, right-click on System Reserved and click Delete Volume.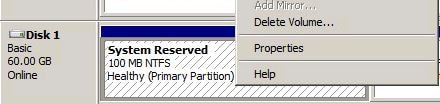
Click Yes.
The System Reserved partition is no more.
Shutdown the VM. 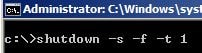
Promote the maintenance version to production, click OK.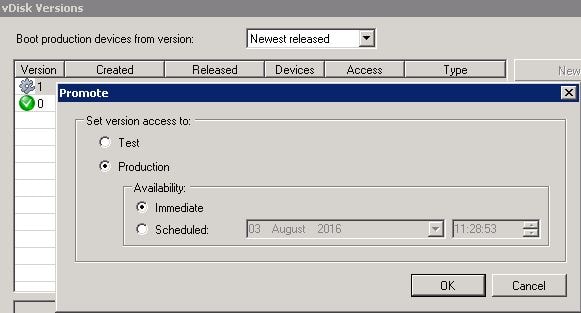
Merge the maintenace vDisk to base (if you didn’t use the vDisk in private image mode).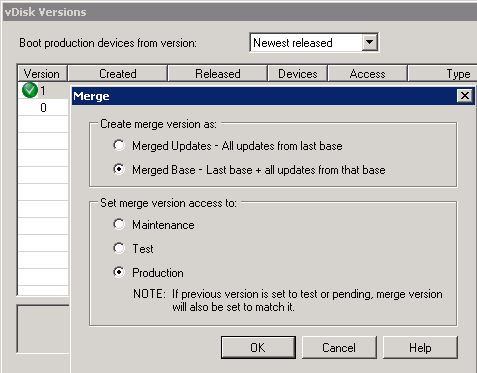
Mount the VHD back to the PVS server using command cvhdmount -p 1 “vDisk location”. You will now only see one partition, no System Reserved.
Select the single partition to convert within VMware vCenter Converter.![]()
This time the conversion failed again, but the converted machine actually was created and visible within vSphere, with the VMDK (converted from VHD) attached. However when booting the VM, it couldn’t boot complaining with a bootloader error. How to fix?
Attach the Windows Server OS media to your VM, restart the VM and boot in to system recovery.
Once you reach system recovery, open CMD and type bcdedit.
As you can tell, thhe device locations are set to unknown which is clearly a problem. Not sure how it ended up like this but something was weird about the previous BCD configuration before conversion.
Run the following commands to reconfigure the locations:
bcdedit /set {bootmgr} device partition=C:
bcdedit /set {default} device partition=C:
bcdedit /set {default} osdevice partition=C: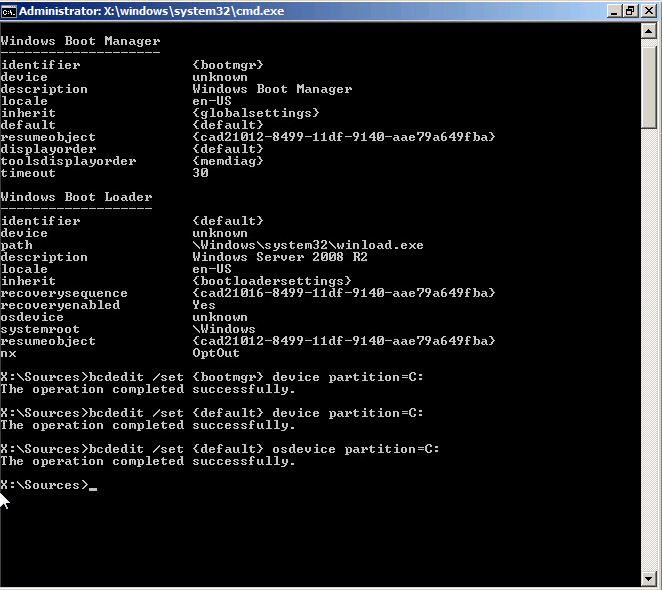 Now the Windows Boot Manager and Boot Loader look configured correctly. Restart the VM.
And there you have it. Windows booting up.
Finally! We can now upgrade PVS Target Device software and VMware Tools, then convert the disk back to vDisk.
Phil Waller
July 30, 2016in all honesty, this is great, but you are better off simply using MDT 2013 and building a new image from that – and it works ..everytime, just swap out your PVS software for the latest version
Regards
Phil
George Spiers
July 30, 2016Rebuilding an image every time you want to upgrade VM tools or PVS Target Device Software? Some builds can take hours especially if not using layering i.e. AppDisk. Many images are highly tweaked and optimized to suit the user eperience and business case. You won’t find yourself often upgrading VMware Tools and since PVS Target Device Software 7.6 SP1 there is no need to reverse the image. Also whilst this post goes through diagnosing issues, 9.5/10 times a conversion will work fine and you can reverse image, update software and then run the imaging wizard to convert back to vDisk in no more than 1.5-2 hours.
Josh
August 14, 2016Thank you for all the time you put in to this….just upgraded to PVS 7.9 from 7.6, realized BNImage is no more, and spent the day trying to get Hyper-V, and BCDEdit methods to work unsuccessfully. Eliminating the System reserved partition allowed us to utilize P2PVS to reverse image successfully. Thank you!
Kevin Estanislau
August 15, 2016I went ahead and used the converter with success. Do you suggest uninstalling antivirus after you run the converter and then installing after you run the imaging wizard? We are using McAfee. Thanks for your help.
George Spiers
August 15, 2016Hi Kevin
Some anti-virus products such as Sophos require a few file and services modifications to set a blank identity on the vDisk before streaming to production machines however this may not apply to McAfee. I would not uninstall unless the vendor suggests doing so or you have experienced trouble in the past.
Jorge
September 20, 2016Excellent guide! Very helpful – Thanks for putting it together. Just wanted to add that after getting the 98% error I re-tried disabling everything that sounded like reconfiguring the destination VM: “Reconfigure destination VM”, “Remove System Restore checkpoints on destination”, “Ignore page file” and “Create optimised partition” and this worked! Hope it helps others too…
George Spiers
September 20, 2016Thanks Jorge for the tips 🙂
Pingback: PvS – Update vDisk – Carl Stalhood
Pingback: EUC Weekly Digest – July 30, 2016 – Carl Stalhood
Ray
September 5, 2018Hey George
How would I migrate pvs targets to a new vcenter infrastructure?
George Spiers
September 5, 2018https://docs.vmware.com/en/VMware-vSphere/6.0/com.vmware.vsphere.vcenterhost.doc/GUID-59C7D7FF-D17E-45BC-9145-06B2993880A2.html
Double-check MAC addresses afterwards and change if required.
You could also just provision new targets, then decommision old ones.
Ray
September 5, 2018Thanks man. I really appreciate your help
Richard
November 19, 2018HELP! I am getting BOOTMGR is missing after editing the boot files and rebooting as per your article. Have tried several times and gets to 98% with the same errors in VMware Converter.
George Spiers
November 20, 2018What is your reason for reversing the image? There are other methods available to reverse image if this method does not work for you.
Richard Hughes-Chen
November 21, 2018Hi George, thanks for coming back to me. The reason I was looking to reverse image was the requirement no longer needs a image based XenApp machine as it’s for Dev purposes only.
I have had to abandon my attempts as tried XenConvert, P2PVS and VMware Convert all failing in some way.
Would be good to know how this is resolved in case I need to or anyone else as the process seems to break the boot partition every time.