Citrix NetScaler comes with a caching feature named Integrated Caching which can cache frequently accessed data to take the stress off backend servers and deliver content to users faster by elminating trips to backend servers.
The cached data is stored in RAM on the NetScaler appliance or SSD on MPX appliances. Integrated Caching is shipped with NetScaler Platinum or as an add-on license if using NetScaler Enterprise licenses.
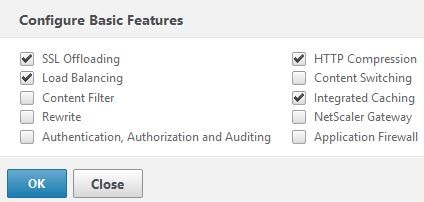
To enable Integrated Caching, navigate to System -> Settings -> Configure Basic Features -> Integrated Caching or via CLI run command enable ns feature ic.
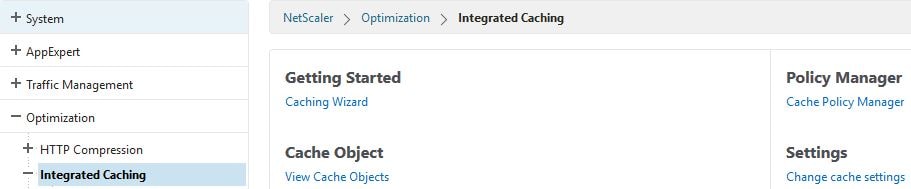
Next you need to allocate an amount of memory to store caching objects. You can allocate up to half of the NetScaler’s memory to cache however Citrix recommend allocating less than half. To configure memory allocation, navigate to Optimization -> Integrated Caching -> Change cache settings -> Memory Usage Limit (MB).
The caching policies themselves are made up of three settings:
- Actions – Cache, do not cache etc.
- Store in group – Store content in which content group.
- Expression – The rule which needs to be matched before the policy is actioned.
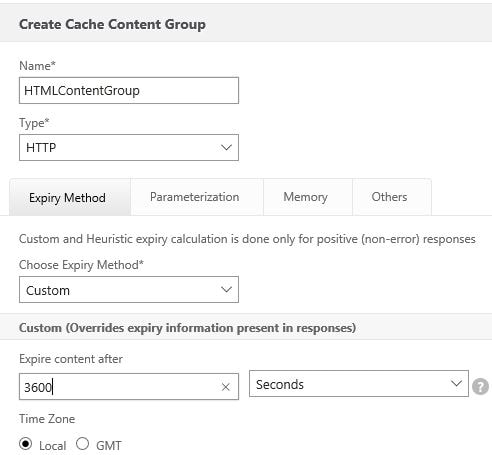
Note: A Content Group contains settings such as when the cached content is set to expire and to not cache objects of a certain size.
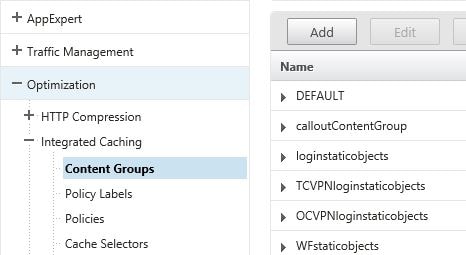
To create a Content Group navigate to Optimization -> Integrated Caching -> Content Groups -> Add.
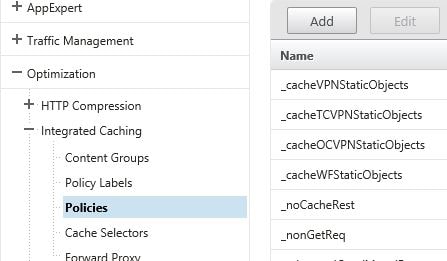
To create a cache policy navigate to Optimization -> Integrated Caching -> Policies -> Add.
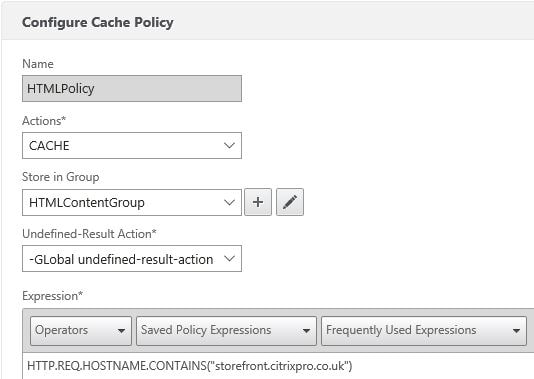
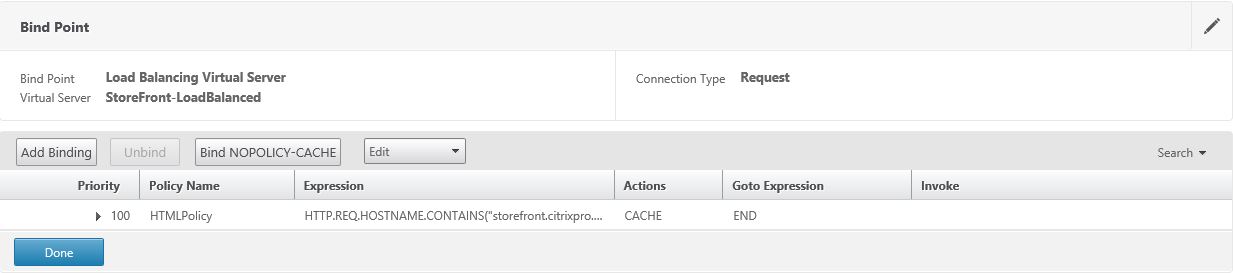
Notice I used an expression of HTTP.REQ.HOSTNAME.CONTAINS(“storefront.citrixpro.co.uk”) which will cache all objects where the URL hostname contains storefront.citrixpro.co.uk. You could also use an expression that caches only PDF files or other file types.
To bind the policy to a vServer, navigate to Traffic Management -> Load Balancing -> Virtual Servers.

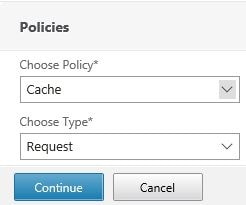
Edit an existing Virtual Server and under Policies click Add.

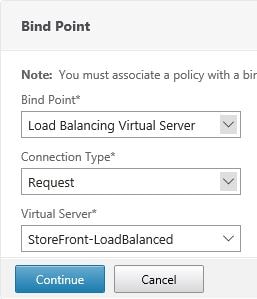
Under Choose Policy select Cache and under Choose Type select Request. Click Continue.
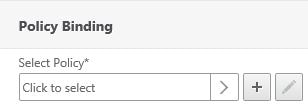
Click Click to select under Select Policy.
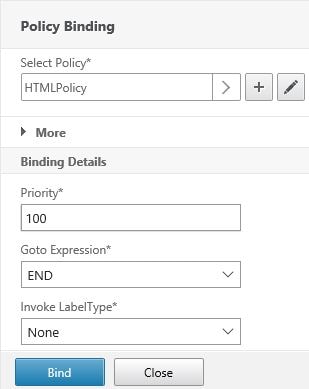
Choose the recently created policy and click Select.
![]()
![]()
Now click Bind.
Click Done.
![]()
You can also bind cache policies to LB vServers by navigating to Optimization -> Integrated Caching -> Cache Policy Manager.

Now when users hit the LB vServer all cacheable content will be cached. We can navigate to Dashboard -> Integrated Cache and Cache Policies to view statistics and see the new cache policy being hit.

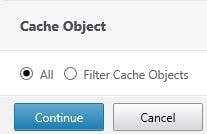
You can also browse to Optimization -> Integrated Caching -> View Cache Objects.

Click Continue.
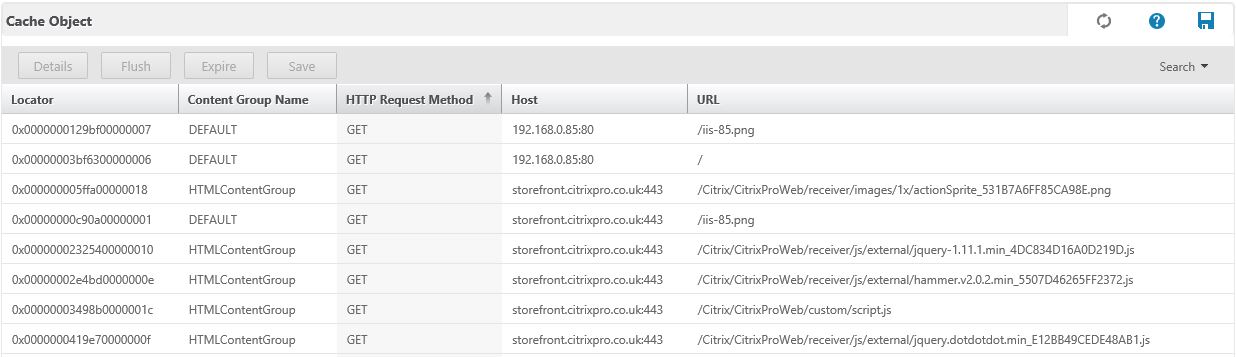
Here you can get details on specific cached objects, expire or flush objects.
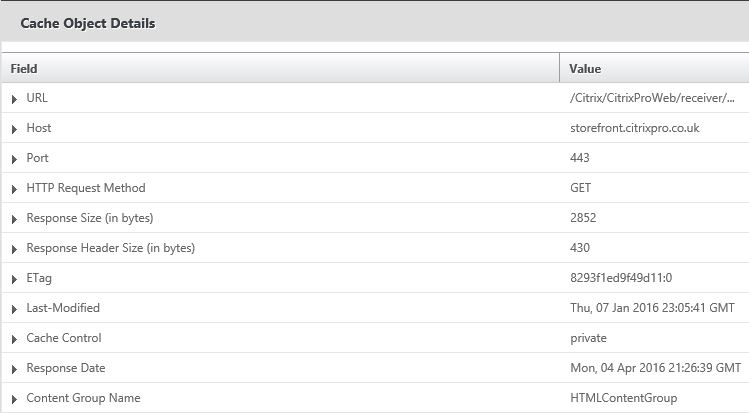
Clicking the Details button shows information such as the Content Group that stores the cached object.
When creating a Content Group consider the following settings:
- Do not cache – if size is less than – This prevents objects that are too small in size from being cached.
- Do not cache – if size exceeds – This prevents NetScaler caching objects that are too large and unwanted within the cache memory.
- Do not cache – if hits are less than – Do not cache objects if the request hits (user hits) against these objects/files are less than the number specified. This prevents using cache space for files that are not accessed often.
- Maximum memory usage limit – Sets a limit on the amount of NetScaler appliance memory that the content group can use.
- Prefetch – NetScaler will attempt to refresh cached objects that are about to go stale.
- Flash Cache – When multiple users request the same content, NetScaler will send one request to the backend server and that single response is used for all users.
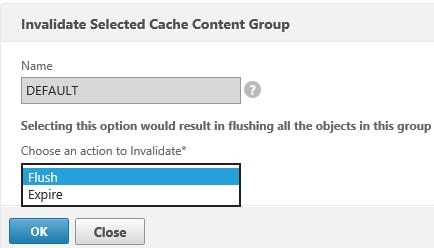
You can flush and expire cached objects per content group basis on demand by navigating to Optimization -> Integrated Caching -> Content Groups.
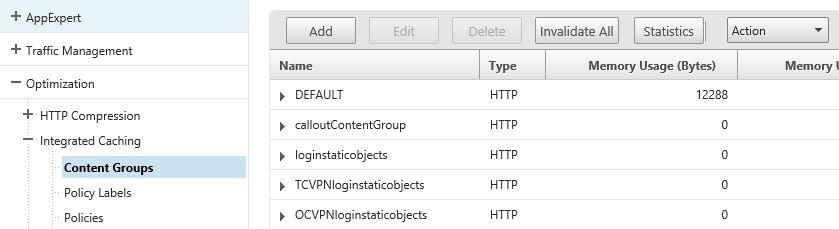
Select a Content Group and select Action -> Invalidate.

Now select Flush or Expire and click OK.
Andrew
May 10, 2016This is a great post
K
November 22, 2016Excellent write up. This is an awesome feature for those with Platinum licensing.
Anonymous
January 11, 2018Thank for your post. I have question about that Memory usage Limit(MB)
My LB has a 2048 MB memory and I just try to allocate 10MB for caching
I faced the error messages, Which is “Unable to allocate specified amount of memory”
What is the reason of this error ?
George Spiers
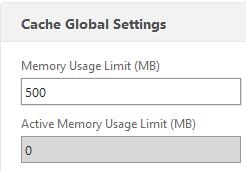
January 11, 2018When you click on “Cache Global Settings” what value is under “Maximum value of Memory Usage Limit (MB)” and “Active Memory Usage Limit (MB)”?
What NetScaler version?
shawn
March 10, 202010MB would be too low. The default now is 3 GB. It will not let you allocate more than half of the system memory to caching. I just increased my VPX system memory to 12GB and was now able to increase the allocation from 3GB to 4GB. It has been years; what ended up happening with this for you?
Alexander
March 20, 2019Hi George, could you by and expression flush the cached objects by copy the url in to the webbrowser?
George Spiers
March 20, 2019Have a look here for flushing cached objects: https://developer-docs.citrix.com/projects/netscaler-command-reference/en/12.0/cache/cache-object/cache-object/#flush-cache-object
Anonymous
April 5, 2022Excellent write up. Thank you.