The steps involved to migrate a High Availability NetScaler pair to a cluster without any experienced downtime.
To migrate from High Availability to a Cluster, we have to remove the secondary HA appliance from the configuration, create a one-node cluster using that appliance and then join the primary appliance to the cluster.
For a clustering guide see https://jgspiers.com/create-manage-netscaler-cluster/
Firstly, take a full backup of each node for safety. Log on to both primary and secondary nodes, navigate to System -> Backup and Restore -> Backup.
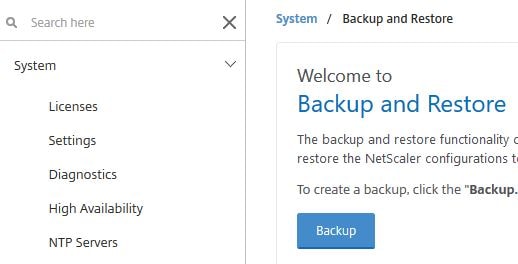
Under Level select Full, specify a name and click Backup. 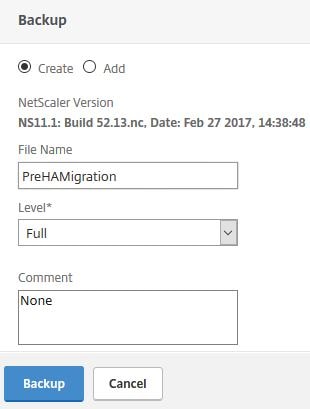
Now download the backup to a safe location. 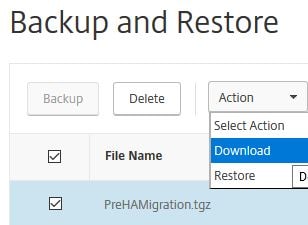
Log on via CLI to the secondary appliance and run command clear ns config full followed by y. This clears the NetScaler configuration and removed the secondary appliance from the High Availability setup. 
Next create a cluster using the secondary node. Log on via GUI, navigate to System -> Cluster -> Manage Cluster. 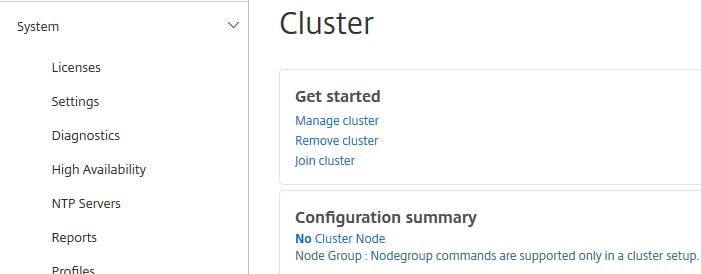
Specify a Cluster instance id, Cluster IP address and select INC Mode/Process Local if applicable. Click Continue.
For more information see https://jgspiers.com/create-manage-netscaler-cluster/#Create-Cluster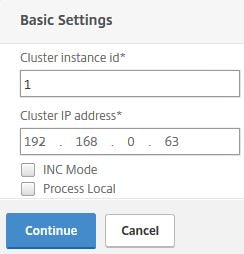
Specify a unique Node ID, sleect the Backplace interface NIC, Priority and set the State as PASSIVE. It is recommended at this time to keep the appliance in PASSIVE mode to ensure it does not attempt any processing of traffic when the configuration from HA is restored. At this time the primary HA appliance will continue to serve traffic. Click Done. 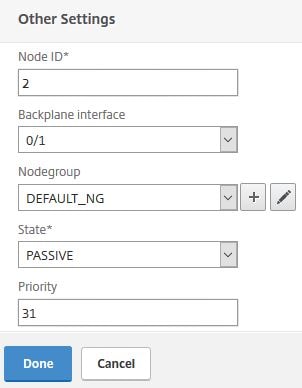
Click Yes. 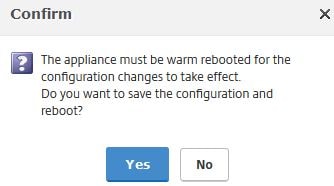
At this stage when the appliance is back online, you need to extract the ns.conf file from the backup you took of the secondary appliance earlier and copy it to the new single node cluster appliance, which was previously the secondary HA appliance. You can use WinSCP to complete this task. Edit the configuration file to remove any configurations not supported with clustering. For a list of unsupported configurations see https://docs.citrix.com/en-us/netscaler/11-1/clustering/cluster-features-supported.html
Note: If you do not perform this step, when restoring the configuration commands that are not supported for clustering will simply fail but does not break the cluster.
Note: Edit interfaces in the configuration that will be displayed as 0/1 to 2/0/1 for example. Clustering identifies interfaces using this format. The number 2 in my example is the cluster node ID.
Note: You can also specify SNIP addresses as being spotted (owned on one node) or striped (owned on all nodes). For a spotted address add -ownerNode 2 to the configuration file where 2 is the node ID of the node you want to make the owner of the SNIP address. You add this text to the end of the add ns ip 10.10.10.1 255.255.255.255.0 line for your SNIP address. You could also change a SNIP to spotted/striped via GUI when the configuration has been imported.
Note: Edit the hostname line to specify the owner node. Changing set ns hostname nshostname to set ns hostname nshostname -ownerNode 2 where 2 is the node ID.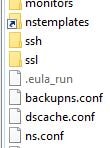
Now log on to the Cluster IP via CLI and run command batch -f \nsconfig\backupns.conf – this name will be different for you, but it is your backup ns.conf file. This starts the configuration restore process.![]()
You’ll receive a Done message to confirm the restore is complete. Log on to the Cluster IP via GUI and confirm all required configurations are present. Also configure ECMP or CLAG so that the cluster has a traffic distribution method.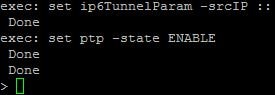
Log on to the HA node appliance and disable all interfaces. At the same time, log on to the Cluster IP node and change the State to ACTIVE. Click OK. There may be a short amount of downtime whilst making these changes. The cluster node should now be active and serving traffic that the previous primary HA node was serving. If you find issues in traffic routing or the likes then rollback this step and determine the cause. 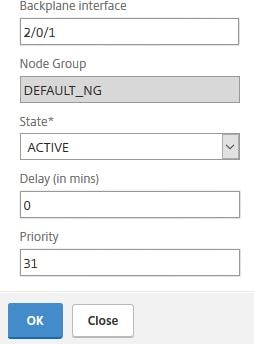
Log on to the primary HA appliance via CLI and run command clear ns config full followed by y. This performs a full clear of the configuration and removes the node from High Availability. 
Now add the primary cleared node to the cluster. There are a couple of ways to do this, for example via the Cluster IP you can execute a remote join operation as shown below. Set the state as PASSIVE for now until the node has successfully joined the cluster and all configurations have been replicated from the Cluster Configuration Coordinator.
Cluster Node credentials will be required using this method including credentials of the current Cluster Configuration Coordinator. Click Create.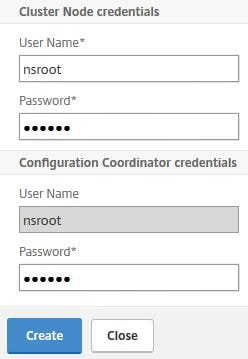
Click Yes. 
After a few minutes, the node will appear with an Admin State of PASSIVE and Operational State of INACTIVE. 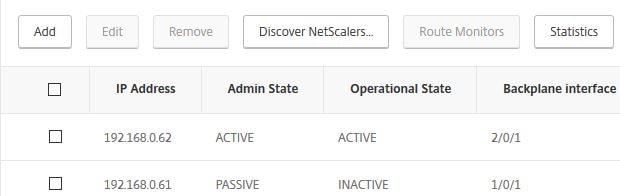
Now you can change the state of the new node to ACTIVE so that it participates in traffic processing. Click OK.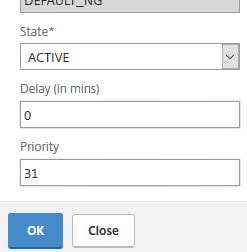
Joe Denice
May 3, 2017Quick question, would this work if you have 2 Netscalers at one office originally setup in HA modes and then add on another Netscaler that is in another office?
George Spiers
May 3, 2017Yeah, so you migrate the original HA pair to a cluster and then add the third node in to the cluster afterwards.
Julio César Andrade
November 7, 2017Excelente post and very helpfull.
I have a question, I want to migrate an HA deployment, but I don’t understand what things are compatible. I hope you can help me to realize these points.
I have 2 virtual servers of access gateway to access to XenDesktop environment (ICA only mode) and 3 virtual servers of load balancing (AD,DNS,StoreFront).
Also have some Routes, PBRs, and Channels for LInk Aggregation.
The certificates used was created by a CA of Windows and a Public CA.
And use LDAP authentication for administration.
Sorry for my big question.
Thank you so much and regards.
George Spiers
November 7, 2017Hi Julio
You can check what is supported here: https://docs.citrix.com/en-us/netscaler/12/clustering/cluster-features-supported.html