It was quoted back at Citrix Synergy 2016 that the ability to import NetScaler Gateway configurations in to StoreFront was coming and it is here. StoreFront 3.6 that was released alongside XenApp & XenDesktop 7.9 can import NetScaler Gateway configurations that have been created using NetScaler firmware versions 11.1 build 48.10 and higher. No longer do you have to manually configure the NetScaler configuration within StoreFront. NetScaler 11.1.51.21 added the ability to export multiple NetScaler Gateway configurations and StoreFront 3.9 added the ability to import multiple configurations and hand select configurations to import.
Export and Import using NetScaler 11.1.48.10 and StoreFront 3.6
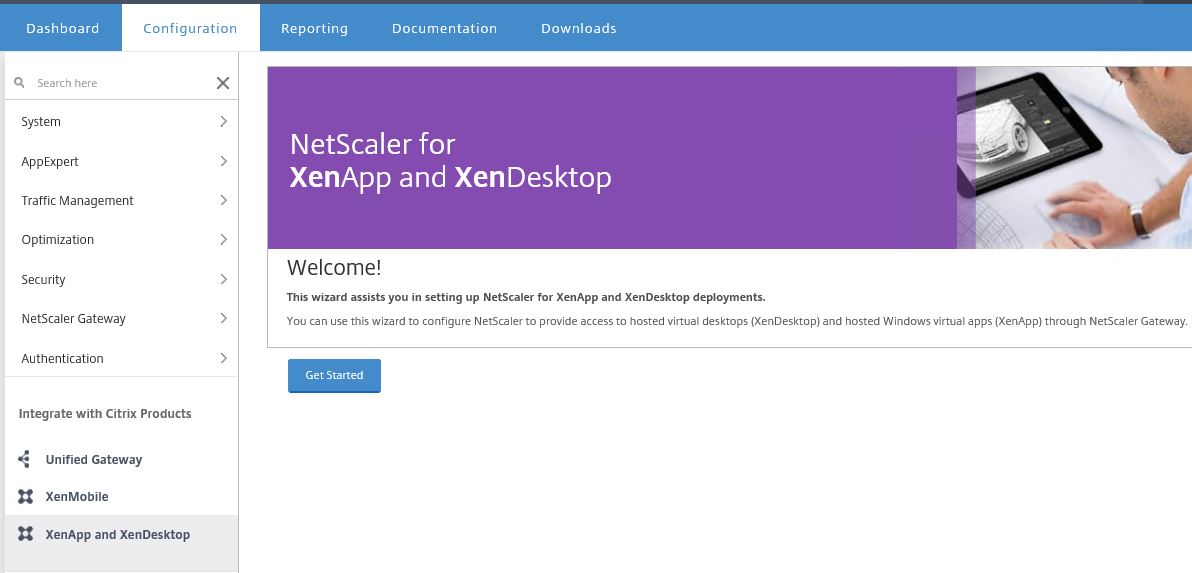
The first step requires you to export the NetScaler configuration. If you do not already have StoreFront integrated with NetScaler open the NetScaler GUI and click on XenApp and XenDesktop underneath Integrate with Citrix Products. Click Get Started.
 Specify StoreFront and click Continue.
 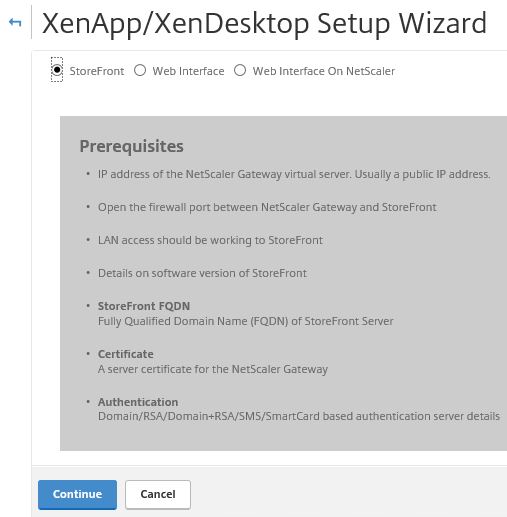 Enter your NetScaler Gateway URL and the virtual IP that the NetScaler Gateway Virtual Server will use. Click Continue.
 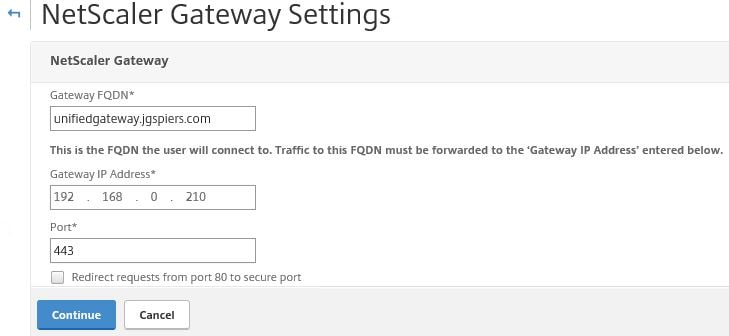 Select a public certificate matching the NetScaler Gateway external URL. If you do not have any certificates installed you will have to install one. Click Continue.
 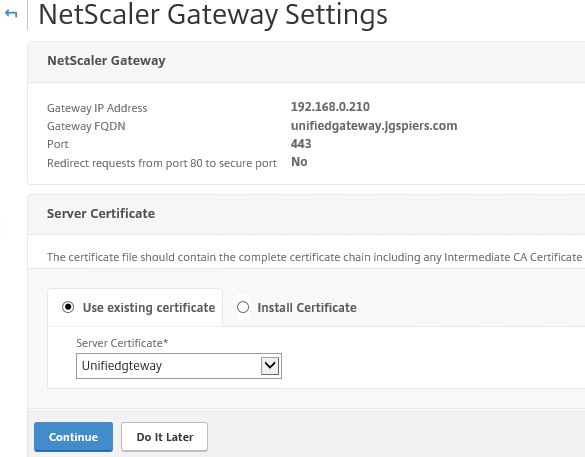 Choose your authentication type which could be LDAP, RADIUS etc. If you do not have a server configured, create one now. If you already have a server created like I have you can use an existing server as below. Click Continue.
  Enter your StoreFront FQDN and click on Retrieve Stores.
 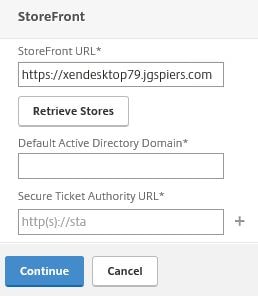 NetScaler will query StoreFront and return with a list of available stores. Choose one using the drop-down box. Enter your domain name and an STA URL. You can specify multiple STA servers if you wish. Click Continue.
 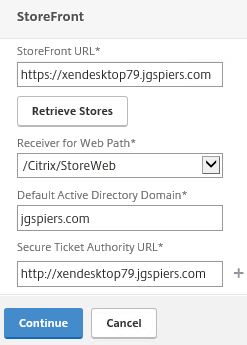 Click Done. This completes the integration with StoreFront.
 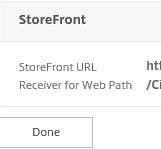 Now we can export the configuration file. Click on XenApp and XenDesktop again and you will be taken to the dashboard. Click Download file.
  Click Download.
 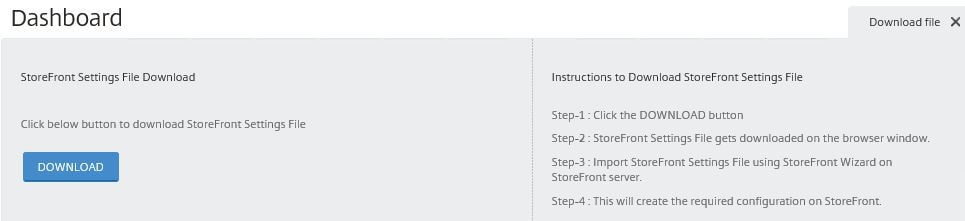 The NetScaler UI reports the config is downloaded.
  Click to save the config file when you receive the browser download prompt.
  Next navigate to StoreFront and open the StoreFront console. Select Manage NetScaler Gateways.
 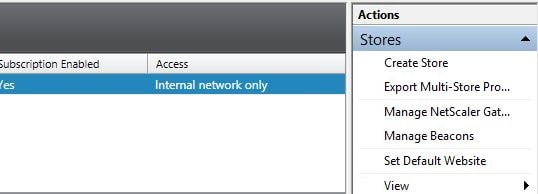 Click on imported from file.
  Click browse and select the GatewayConfig.zip file. Click Next.
 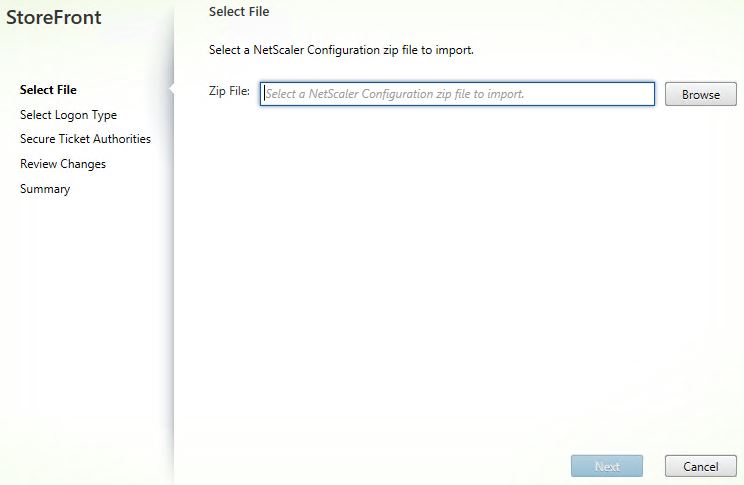 Enter the callback URL and click Verify.
 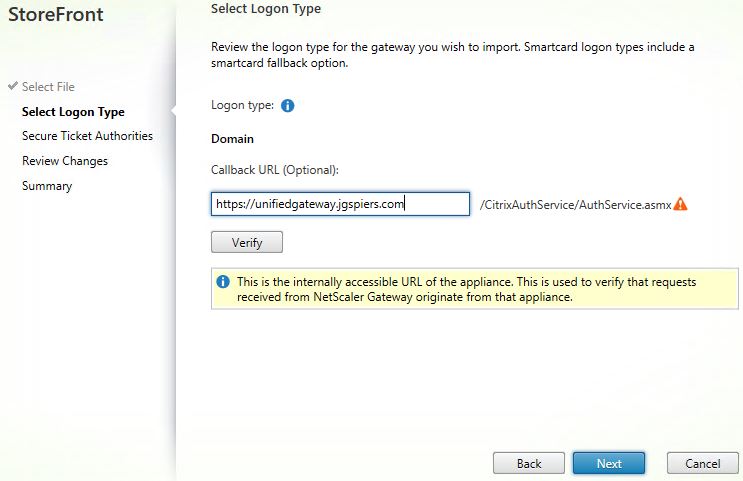 If the StoreFront server is able to contact NetScaler on the URL provided you’ll get a green tick. Click Next.
 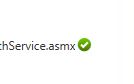 The STA servers are imported from the config file. Click Next.
 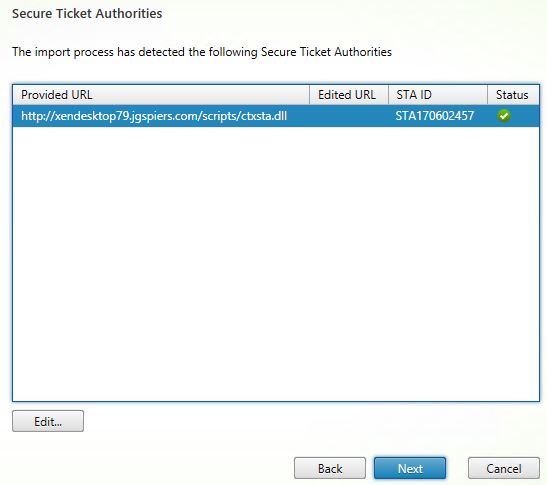 Click Import.
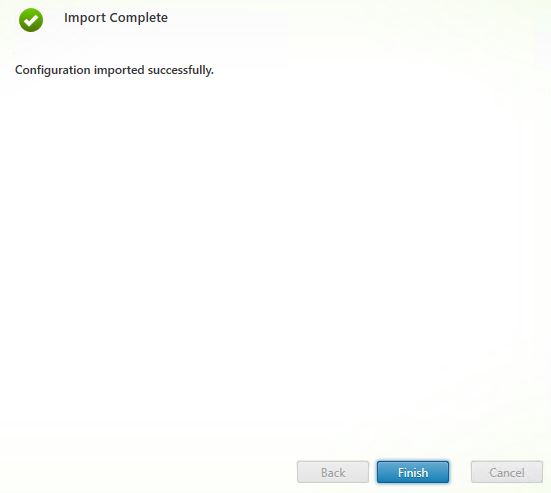
 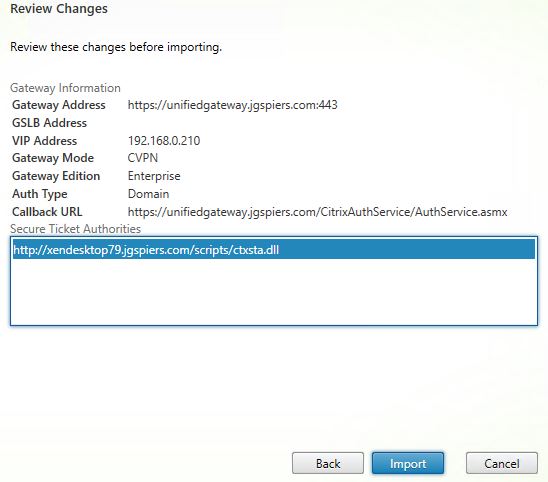 Now that the import is complete, click Finish.
 You have now successfully imported the NetScaler Gateway configuration in to StoreFront. The NetScaler configuration is automatically attached to the store you selected when integrating NetScaler with StoreFront using the NetScaler XenApp and XenDesktop wizard. If you have multiple StoreFront servers make sure to propagate the changes.
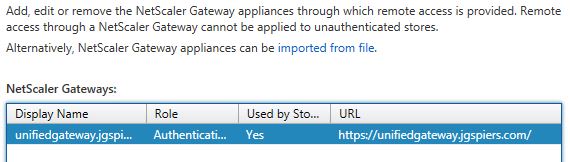
Export and Import using NetScaler 11.1.51.21 and StoreFront 3.9
Rather than go through all the steps again I’ll cover the important parts. Firstly you can now export multiple NetScaler Gateway configurations and likewise import multiple in to StoreFront when using version 3.9.
With multiple vServers deployed, click on Download file.
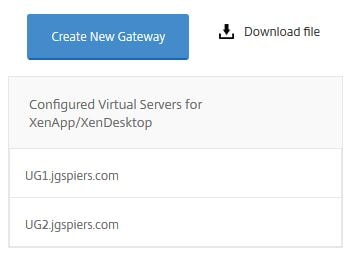
You now get the option to export all virtual servers or only selected ones. Choose Export all the virtual servers -> OK. 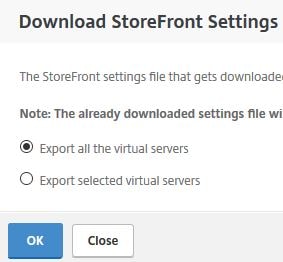
Import the downloaded GatewayConfig.zip file in to StoreFront and you’ll be asked to select which vServers you want to import. 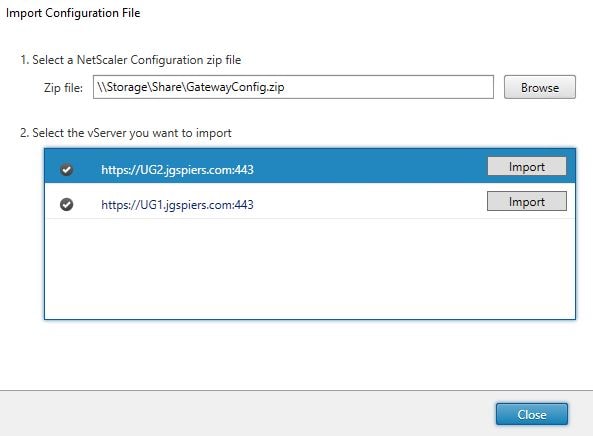
Importing configuration to StoreFront 3.9 using PowerShell
Firstly make sure the StoreFront Console is not running. Launch PowerShell (x64).
To read a gateway configuration file run command $GatewayImport = Read-STFNetScalerConfiguration -Path “PathToYourConfigFile” followed by $GatewayImport.Document.Gateways. This lists the gateways included in the configuration file.
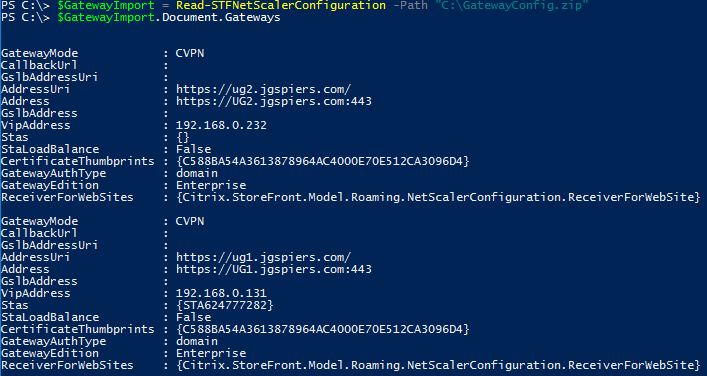
To import a gateway configuration in to StoreFront, run command Import-STFNetScalerConfiguration -Configuration $GatewayImport -GatewayIndex 1 -CallbackURL “callbackURL” -Confirm:$true where GatewayIndex = where the Gateway appears in the file in my case UG2 is index 0 as it is the first Gateway to appear in the configuration file and UG1 is index 1 because it is second. Confirm:$true displays the Are you sure you want to perform this action message?. You could specify false to silently import the Gateway vServer to StoreFront. If there are issues contacting the STA server, you’ll get an error until corrected. 
Now the imported Gateway will appear in StoreFront. 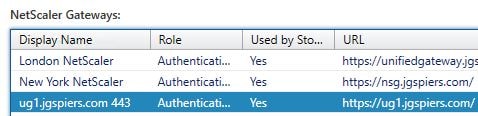 Additional Notes
Starting NetScaler 11.1 build 51.21 you can now export multiple (up to 32) Gateway deployments to supported StoreFront servers. Previously you could only export the first Gateway deployment. All exported deployments are stored in the GatewayConfig.zip file.
Starting StoreFront 3.9 you can now import multiple Gateway deployments.
Marius
December 10, 2018i have a problem i am running on latest netscaler release 12 50.28 with a trial license key and when i hit download i think the export file doesnt get created since the browser says file not found
George Spiers
December 10, 2018Yes this appears to be a bug in 12.1.50.28.
JP Alfaro
February 21, 2019Fixed on 50.31