NetScaler Unified Gateway can help in the common situation where a user has to remember too many different URLs to access different web, SaaS, enterprise applications, file shares and so on. Maybe your business only has one public IP to use. The Unified Gateway simplifies certain use-cases, and provides a user with a single URL to access all these different systems wether they are on-premise or within the cloud. Authentication is simplified also as rather than authenticating to different URLs, now you authenticate to one and Unified Gateway performs SSO to any backend application.
The Unified Gateway makes use of Content Switching Virtual Servers to give you the ability to direct different users to different backend resources and get granular on the permissions/authorisation to resources.
Within NetScaler, click on Unified Gateway -> Get Started to start the Unified Gateway wizard. This wizard makes it easier for you to successfully deploy Unified Gateway.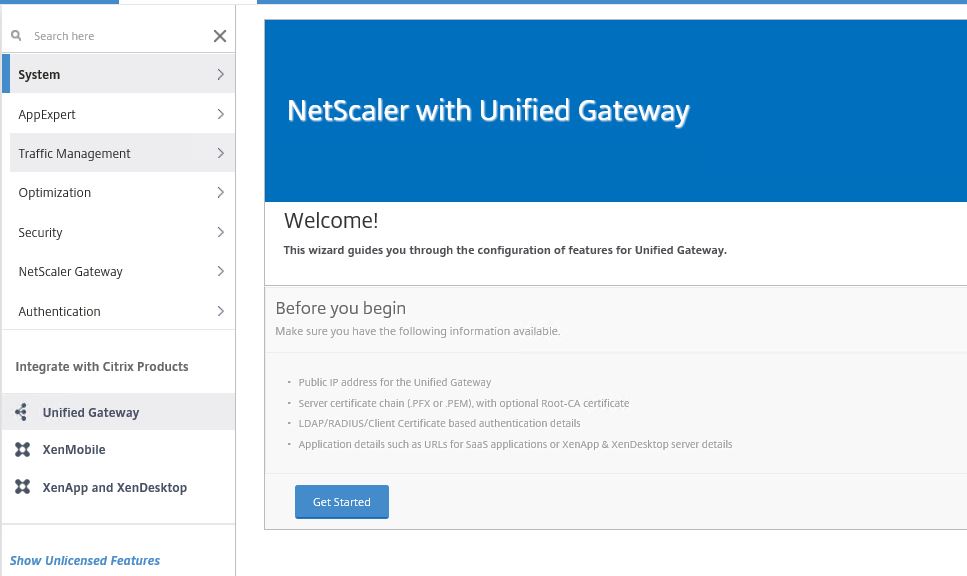
Click Continue.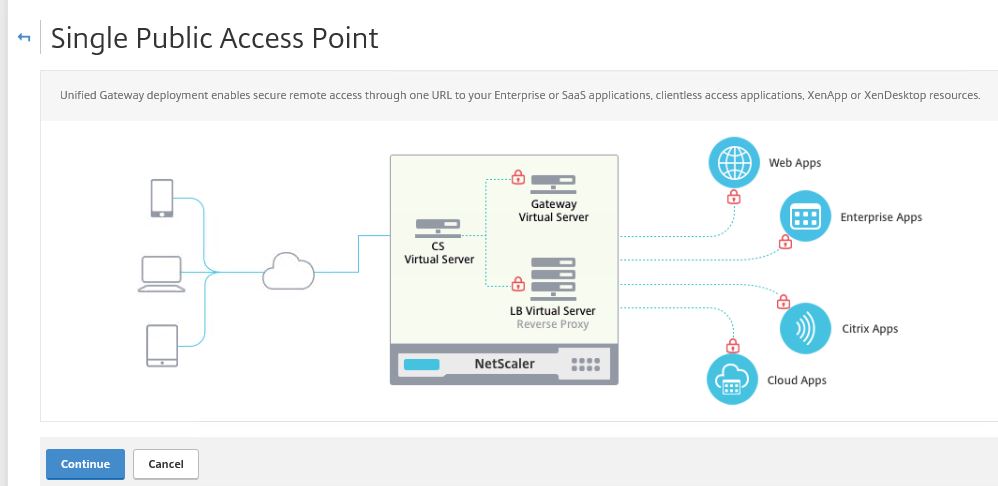
For your Unified Gateway Virtual Servers enter:
- Name for UG vServer.
- Unified Gateway IP Address (VIP).
- Port (likely 443).
Click Continue.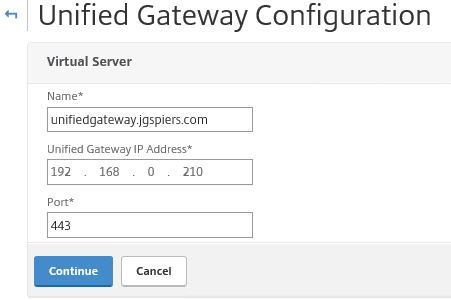
Select an existing certificate for Unified Gateway which will match the URL users will use for the single point of access for all their applications. If you do not have a certificate yet generate and install one on the NetScaler. Click Continue.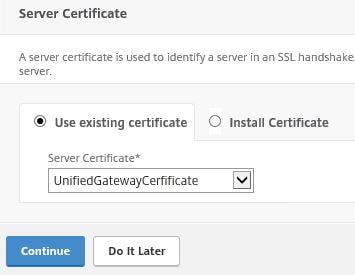
Specify your primary authentication method which will likely be LDAP and click Continue. If you have the need for a secondary authentication method such as RADIUS then you have the option to choose so.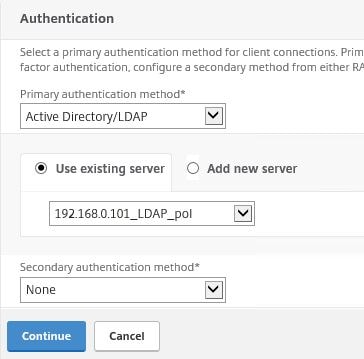
Specify the portal theme you wish to use and click Continue.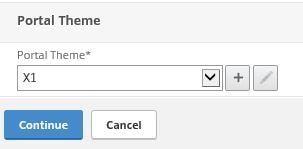
At this stage you can add applications and XenApp/XenDesktop to be available from Unified Gateway. If integrating a XenApp/XenDesktop farm with Unified Gateway you can add a connection to StoreFront, Web Interface or Web Interface on NetScaler. I will show adding StoreFront. Click Continue.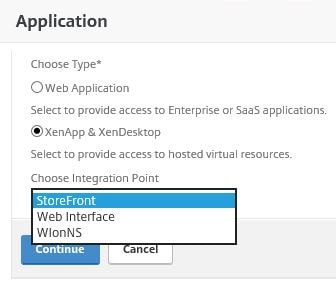
Enter details such as the StoreFront URL, IP, Site Path, Protocol etc. and click Continue. You can make use of the Test Connection button which checks if the required ports to StoreFront are open and a connection can be made etc.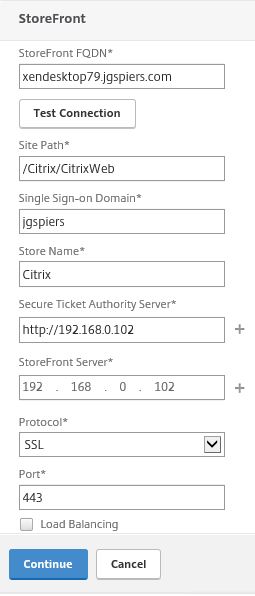
Under Configure specify XenApp/XenDesktop or both. I am using XenDesktop so will show that.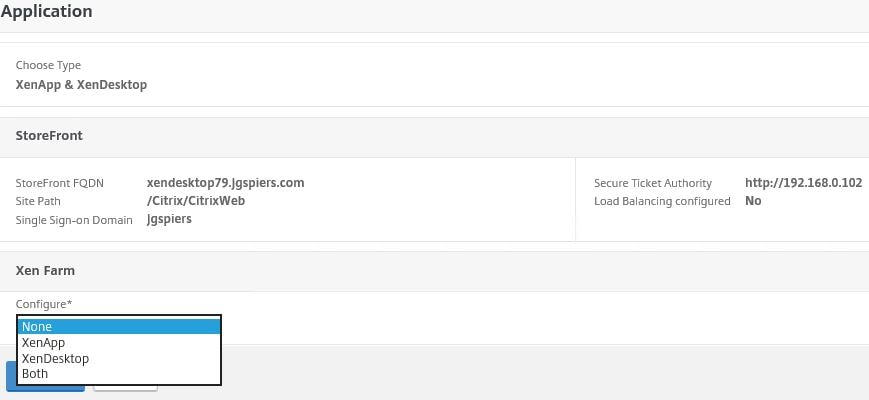
Enter the DDC IP address and the port. If Load Balancing is being used you have the option to specify so. Click Continue.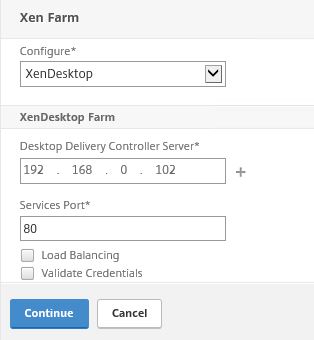
Click Done.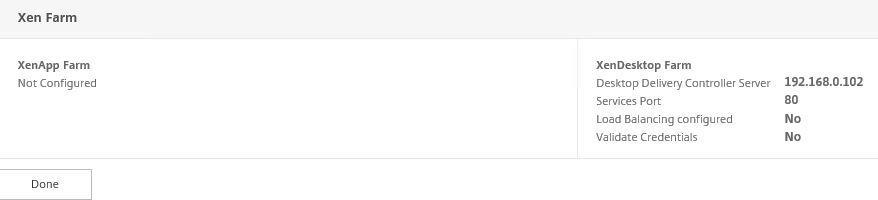
Click Continue.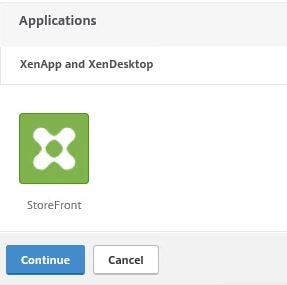
Upon logging on to Unified Gateway you have the option for Virtual App and Desktop Access. Click this.
You are now directed to the internal StoreFront page and can launch Desktops or Applications. If you want to integrate StoreFront with the Clientless Access portal see https://jgspiers.com/adding-storefront-applications-desktops-to-clientless-access-netscaler-unified-gateway/.
If you click on the Unified Gateway wizard again you will see your existing configuration. From here you can edit specific settings and add more applications. You have the option to add Intranet Applications, Clientless Access applications such as SharePoint and OWA, SaaS or Preconfigured applications on the NetScaler. Choose Intranet Application.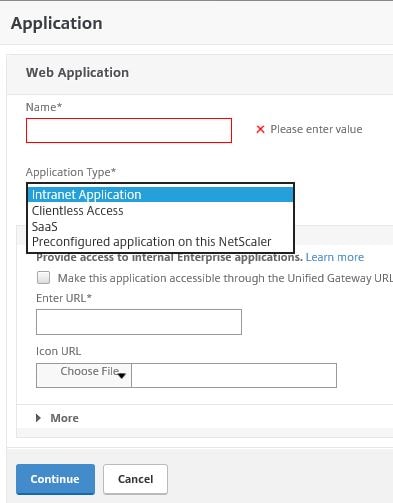
Specify a name for the application and the backend URL. Click Continue. My web application is Active Directory Certificate Services web enrolment to allow certain users and administrators to request internal certificates.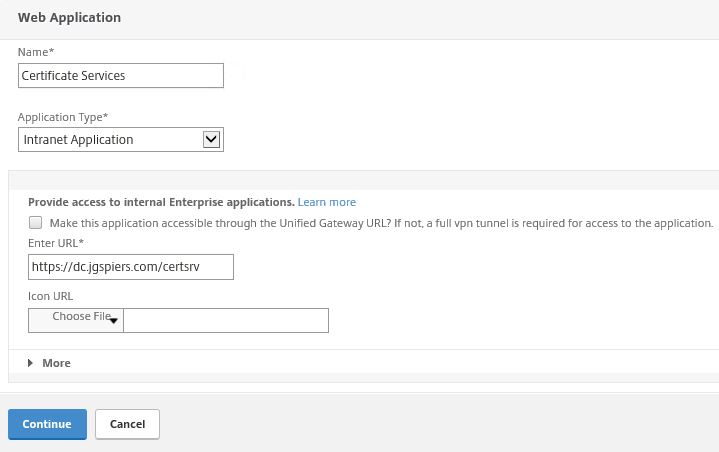
Click Done.
Click Continue.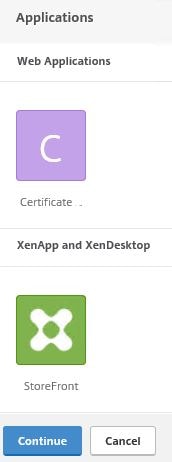
Click Done.![]()
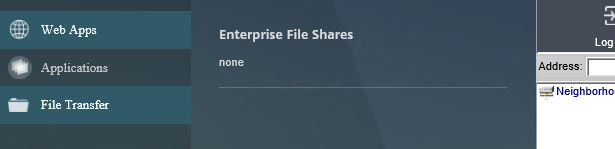
The application now shows in the Web Apps section.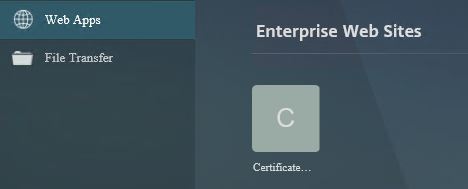
Certificate Services successfully loads.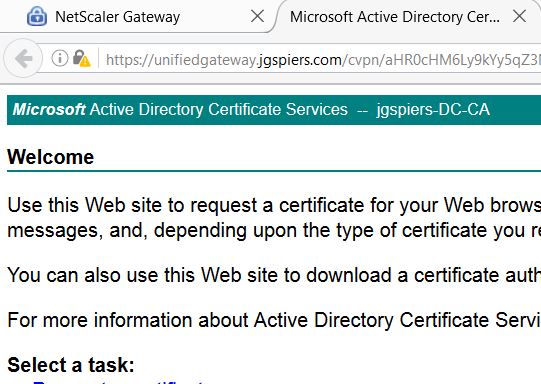
What happened when we created the Intranet Application using the wizard was as you see below, really all that happened was that a bookmark was created. You can create bookmarks as normal within NetScaler Gateway -> Resources -> Bookmarks and attach them as Published Applications against the NetScaler Gateway Unified vServer however the Unified Gateway wizard provides an easy way to automate some of these steps. Bookmarks can also be applied to AAA Groups and Users in the event you only want certain people seeing certain bookmarks.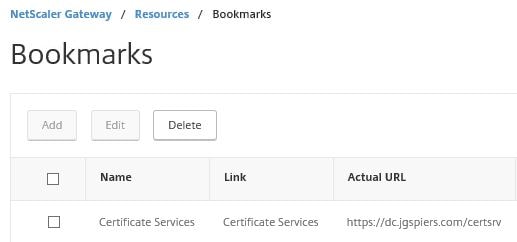
If you want to disable different parts of the Clientless Access portal create a new theme.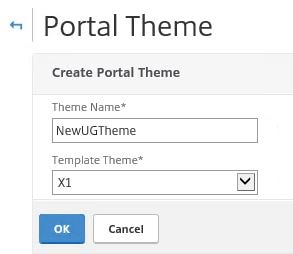
Make and adjustment such as disabling the personal file shares section.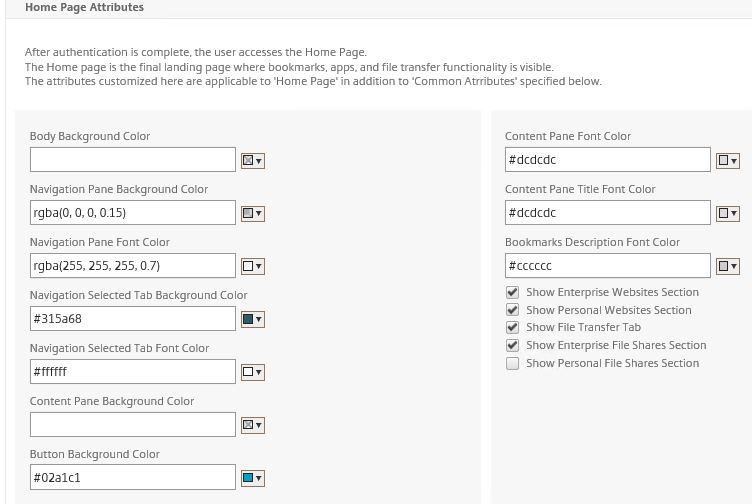
Bind the theme to the Unified Gateway Virtual Server.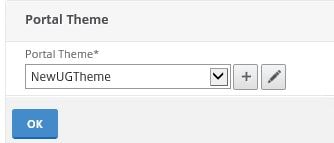
And now you no longer have access to personal file shares.