Citrix Secure Browser comes as an on-premise solution with XenApp 7.8+ or as the Secure Browser service from Citrix Cloud. The Citrix Secure Browser edition is designed to combat many different challenges that enterprise businesses face today in regards to security or the complexity found in getting all of thei different enterprise web sites working under the one browser.
The browser is one of the most common ways viruses, malware and other unwanted entities find their way on to systems which is why more than ever securing the browser and locking it down is a vital part of any business IT strategy. Using Citrix Secure Browser which is based on XenApp or in the secure Citrix Cloud keeps the browser within the secure datacentre. This ensures sensitive data is not leaked or compromised due to data such as passwords being stored/cached locally on a device which can be anywhere in the world and connected to any type of unsecure network.
The browser is also being used more and more by end-users as web applications replace their thick/full install counterparts. As a result, getting the browser to work with all the different add-ons and requirements internal web applications need is another challenge. Not to mention when the browser automatically updates and breaks application functionality. That aside some applications are built for IE, some work better on Chrome, some only work with certain browser versions or with certain add-on versions of Flash or Java for example. These different conditions mean you can easily find system admins spending a lot of time performing tweaks getting everything to play ‘nicely’.
Simply put, the administrator needs to take control of the browser and as a result of some of the above challenges I want to discuss Citrix Secure Browser and publishing a browser through Citrix.
Secure browser when running on-premise can be deployed manually or via Citrix Smart Tools (formerly Lifecycle Management) by using the built-in blueprints to automate the deployment.
Citrix Secure Browser – On-Premise
To install and deploy XenApp Secure Browser 7.12 manually simply download the XenApp & XenDesktop 7.12 media. No additional media is required for Secure Browser. With the correct Secure Browser licenses placed on your Citrix license server, install the XenApp components (Delivery Controller, Studio, StoreFront etc.) as normal.
To achieve the best user experience, I will walk through the following steps:
- Configure Secure Browser mode on the XenApp site
- Configure Receiver for HTML5 on StoreFront so web browser apps open within the users local (HTML5 compatible) browser
- Use a couple of command line switches so the published XenApp browsers open in kiosk mode. This gives the feel that any Citrix published web applications are running directly from the users local browser
After all necessary XenApp components are installed open PowerShell on a Delivery Controller, add the Citrix snapins and run command Set-ConfigSite -ProductCode XDT -ProductEdition BAS.
![]() From here you create Machine Catalogs and Delivery Groups as normal containing the VDAs which will host your browser applications. You can configure authentication depending on the business needs. That can be unathenticated access to Delivery Groups and in turn StoreFront, or you can configure explicit authentication/passthrough etc. Access to secure browser applications can be from internal or secured using NetScaler Gateway.
From here you create Machine Catalogs and Delivery Groups as normal containing the VDAs which will host your browser applications. You can configure authentication depending on the business needs. That can be unathenticated access to Delivery Groups and in turn StoreFront, or you can configure explicit authentication/passthrough etc. Access to secure browser applications can be from internal or secured using NetScaler Gateway.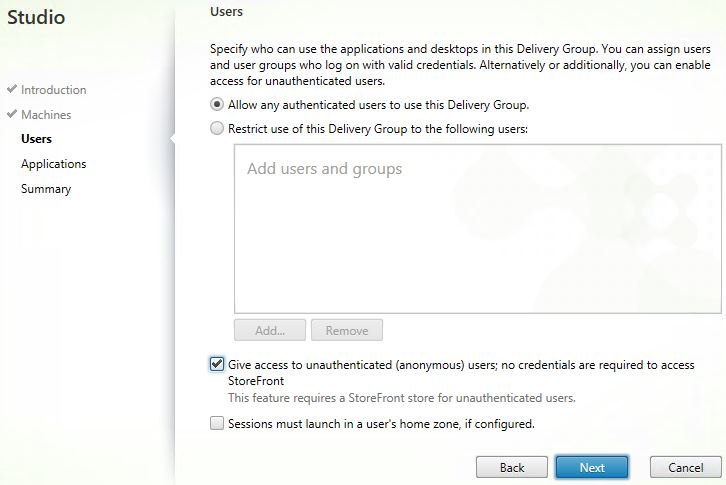 When publishing browsers such as Chrome or Internet Explorer, edit the properties of the published application.
 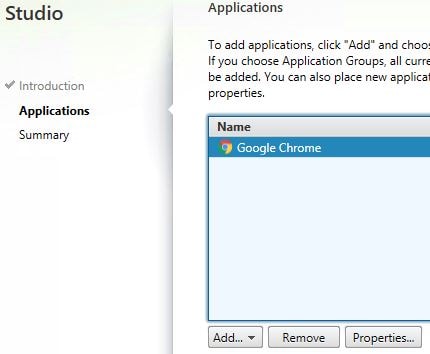 During the publishing of a web app, navigate to Location. For Chrome, enter a couple of optional command line arguments for a better user experience.
- –kiosk – This opens the browser in full screen (kiosk) mode, meaning the Chrome browser bar including favorites etc. are hidden from view. As a result only your local browser toolbars are on show rather than duplicate bars, which obviously provides a good experience for the user and less chance of confusion. Using kiosk mode along with Receiver for HTML5 for published web apps really makes it look like the web application is running from your local device’s web browser.
- –no-default-browser-check – Ensures no popup is presented to the user relating to default browsers.
- –no-first-run – Skips any first run tasks or notifications.
Note: Follow the above command line arguments with the web app URL such as http(s)://www.internalwebapp.com 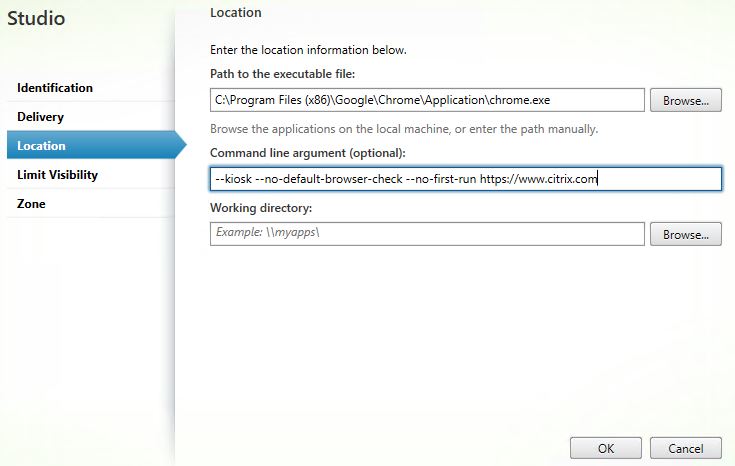 For Internet Explorer, use the below command:
- -k – Starts Internet Explorer in kiosk mode, meaning the Internet Explorer browser bar including favorites etc. are hidden from view. As a result only your local browser toolbars are on show rather than duplicate bars, which obviously provides a good experience for the user and less chance of confusion. Using kiosk mode along with Receiver for HTML5 for published web apps really makes it look like the web application is running from your local device’s web browser.
Note: Follow the above command line arguments with the web app URL such as http(s)://www.internalwebapp.com 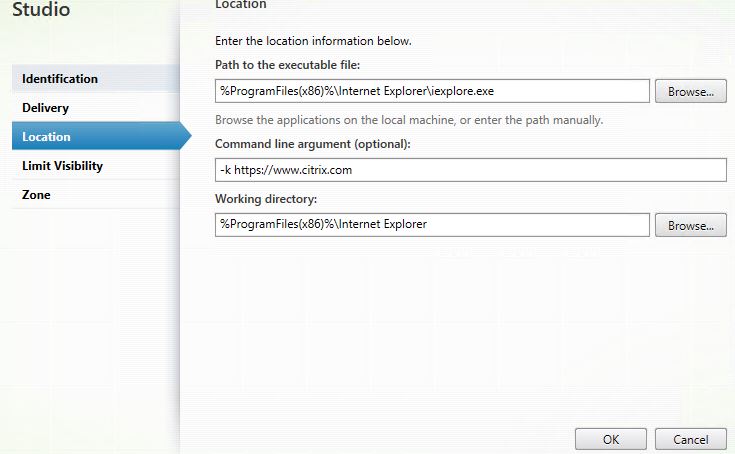 Now that we have web applications published via both the Chrome and Internet Explorer browsers running on back-end VDA’s, for the best user experience you must configure Receiver for HTML5. Within StoreFront, access the Store you use for Secure Browser apps and navigate to Manage Receiver for Web Sites -> Configure -> Deploy Citrix Receiver.
Using the Deployment option dropdown box select Always use Receiver for HTML5. Optionally tick option Launch applications in the same tab as Receiver for Web. If you do, applications launch within the same tab running Receiver for Web. If you don’t, applications launch next to the Receiver for Web tab in their own individual tab. Click OK. Propogate the changes to your remaining StoreFront server’s.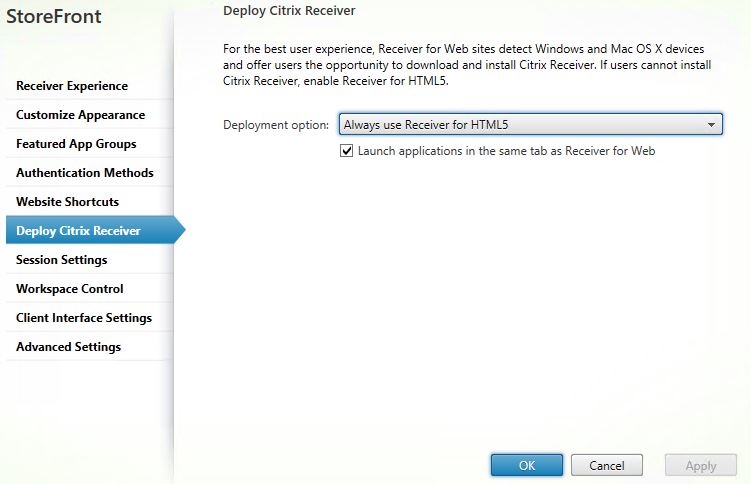 If you try and launch one of the web applications via Receiver for Web over HTTP, it won’t connect until Web Sockets connections are enabled.
 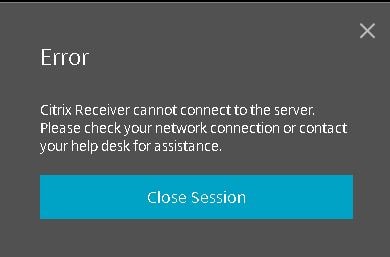 Using a Citrix policy, set WebSockets connections to Allowed. Apply this policy setting against the VDA servers.
Note: By default, port TCP 8008 is required for Web Socket connections to be allowed to route in to your VDA machines. This port is open during VDA install but if for some reason you still cannot launch applications then check that the port is open. You can also change the default port to something specific, which is controlled by Citrix policies.
If you use HTTPS with StoreFront you can connect fine to web applications with Receiver for HTML5 using Citrix NetScaler Unified Gateway. If you try to connect internally, it won’t work unless you secure the VDA to client communication. This is because all major browsers now do not support insecure Web Socket connections which affects Receiver for HTML5.
To secure VDA ICA communication with SSL/TLS see https://jgspiers.com/secure-ica-connection-vda-ssl/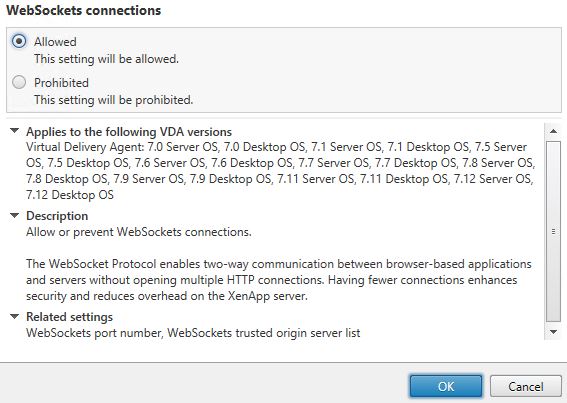 Now that all is in place I’ve used my local machine’s Google Chrome browser to launch the Citrix Google Chrome published application using Receiver for HTML5. The published app takes me to citrix.com as a test. Notice how it looks as if it is running within my own local browser due to kiosk mode being used.
 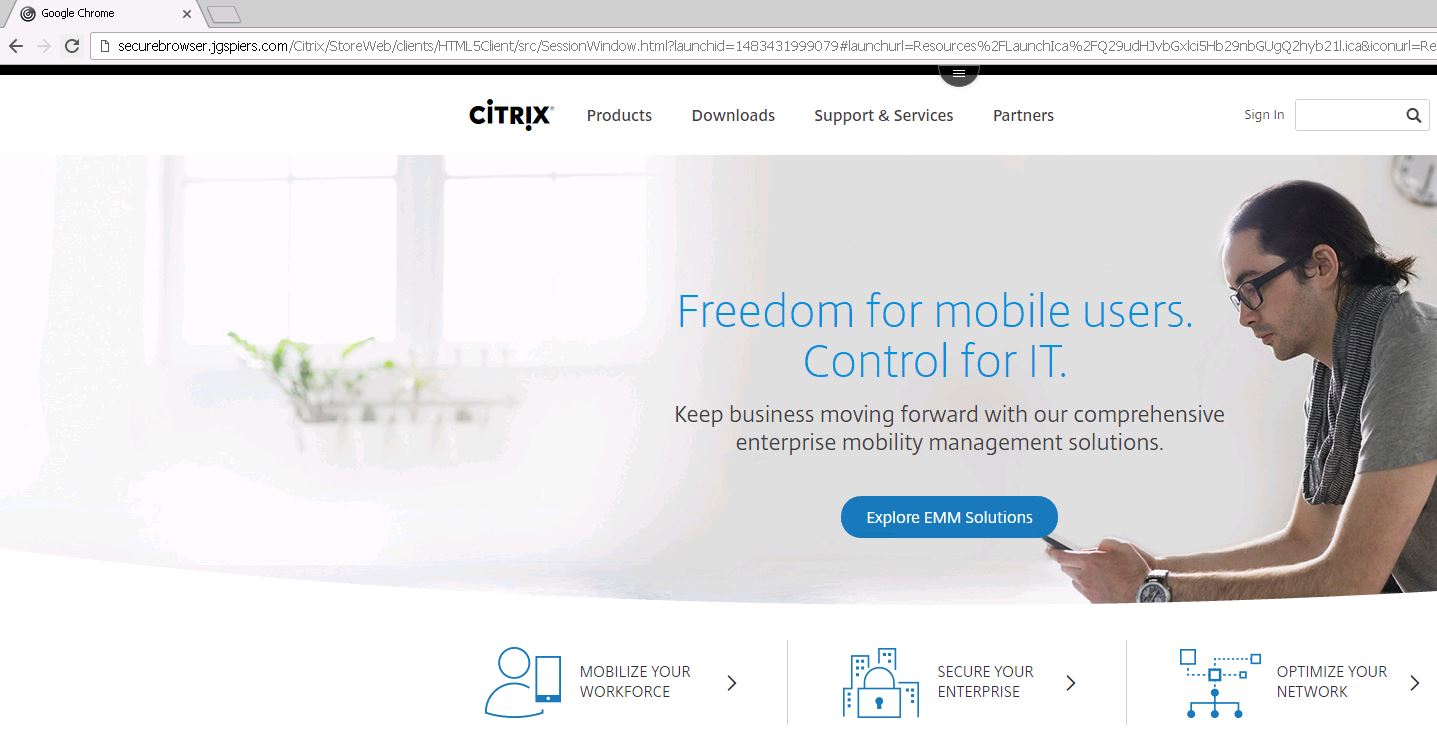 You can use the Receiver for HTML5 tool bar to copy, paste, disconnect, log off, switch between published applications etc.
 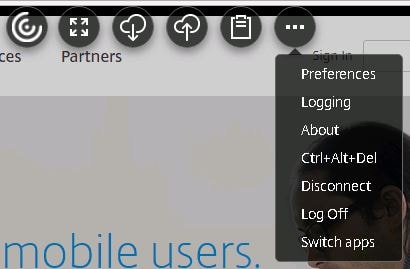 Now I have launched an Internet Explorer published application within my Google Chrome browser. This is exactly what Secure Browser aims to achieve, running corporate web applications in the datacentre, loaded on the correct version of browser and supported add-ons whilst allowing the end-user to use their favorite browser to access it.
 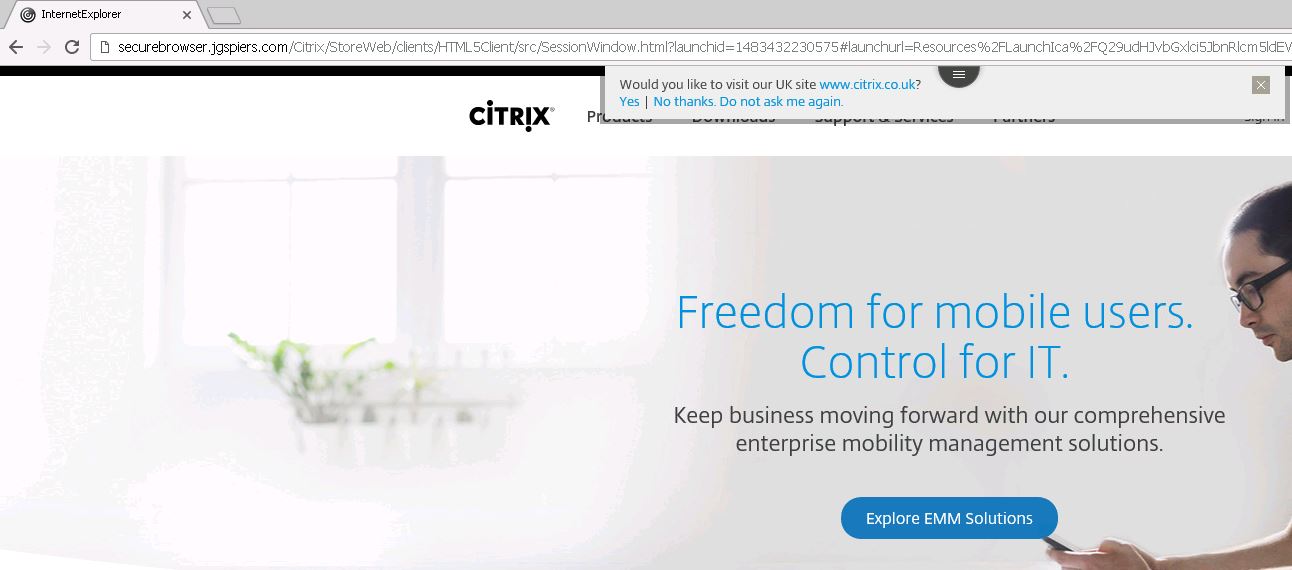 You can add shortcuts to published applications on corporate intranet sites for example so that you can click the shortcut and it automatically launches the correct application. This skips out the manually logging on to Receiver for Web sites for example. Within StoreFront, navigate to Stores -> Manage Receiver for Web Sites and click Configure on the desired Secure Browser web site. Click Website Shortcuts and then enter URLs of the web pages that will host your published shortcuts. This could be an intranet site for example. Doing this allows links clicked from this web page to open without any prompt as you will see shortly. Click on Get shortcuts.
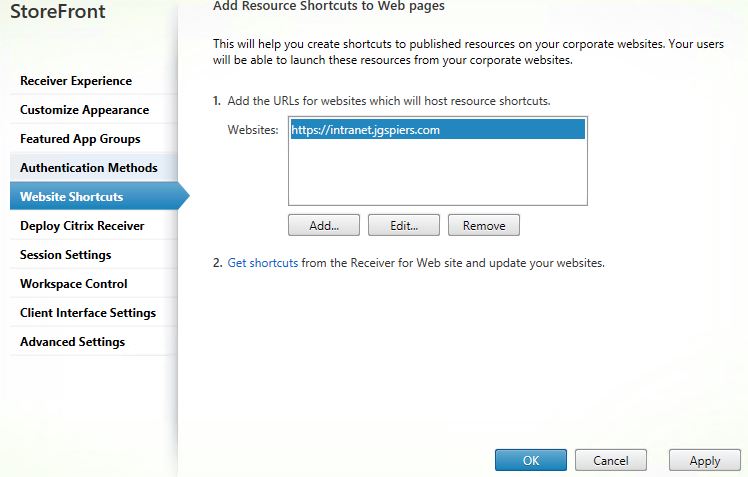 Your list of resources will appear after authentication with the shortcut links. Copy links and then insert them on to your corporate website.
 If links to published resources are clicked from web pages that aren’t added to the URLs list shown above, you’ll get the below prompt asking if you are sure you want to start the published application. If for example, you paste the direct published shortcut link in to your web browser then as expected you will get this message.
Note: It is possible to turn the untrusted prompts off using StoreFront. 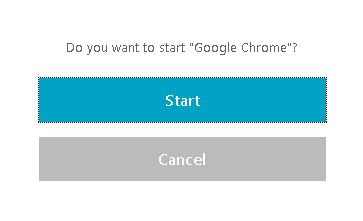 You should configure your web browsers via local policies if your StoreFront Secure Browser site allows anonymous users to log on unauthenticated or via Group Policy if using authentication. Controlling policies allows you to restrict permissions to browsers to ensure not only can users not abuse the browser but minimize the chance of attach. The below list for both Internet Explorer and Google Chrome are setting recommended by Citrix.
Internet Explorer:
| Policy Setting Location | Policy Setting Name | State |
| Computer Configuration -> Policies -> Administrative Templates -> Windows Components -> Internet Explorer | Prevent running first run wizard | Enabled – Go directly to home page |
| Turn off Automatic Crash Recovery | Enabled | |
| Turn off Reopen Last Browsing Session | Enabled | |
| Computer Configuration -> Policies -> Administrative Templates -> Windows Components -> Internet Explorer -> Internet Control Panel -> Security Page -> Internet Zone | Turn off first run prompt | Enabled
First run opt in: Enabled |
| User Configuration -> Policies -> Administrative Templates -> Windows Components -> Internet Explorer -> Browser Menus | Turn off Shortcut Menu | Enabled |
Google Chrome:
Google Chrome ADMX files can be downloaded from: https://support.google.com/chrome/a/answer/187202?hl=en
| Policy Setting Location | Policy Setting Name | State |
| Computer Configuration -> Policies -> Administrative Templates -> Google -> Google Chrome | Continue running background apps when Google Chrome is closed | Disabled |
| Disable saving browsing history | Enabled | |
| Specify a list of enabled plugins | Enabled | |
| Computer Configuration -> Policies -> Administrative Templates -> Google -> Google Chrome -> Password manager | Allow users to show passwords in Password Manager | Disabled
|
| Enable the password manager | Disabled |
Citrix Secure Browser Service – Citrix Cloud
Now let’s have a look at the cloud offering from Citrix. Using the Secure Browser service from Citrix, the VDAs reside in the public cloud, and are managed by Citrix. This means Citrix are in control of the security (TLS encryption 1.0, 1.1 and 1.2 are supported), management, patching and availability etc. Citrix use mandatory profiles on their VDAs so your data is not kept around after log off. You, the consumer, use a browser published within the Citrix cloud to access external or internal web applications. Note that your local browser must be HTML5 compatible, a requirement for Receiver for HTML5.
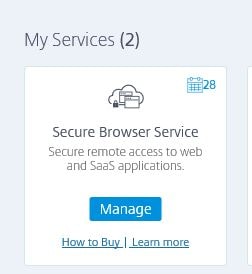
Log on to https://citrix.cloud.com and log on to your cloud account. Then click Manage under Secure Browser Service. You can start a 30 day trial to try before you buy.
 Click Let’s Get Started.
 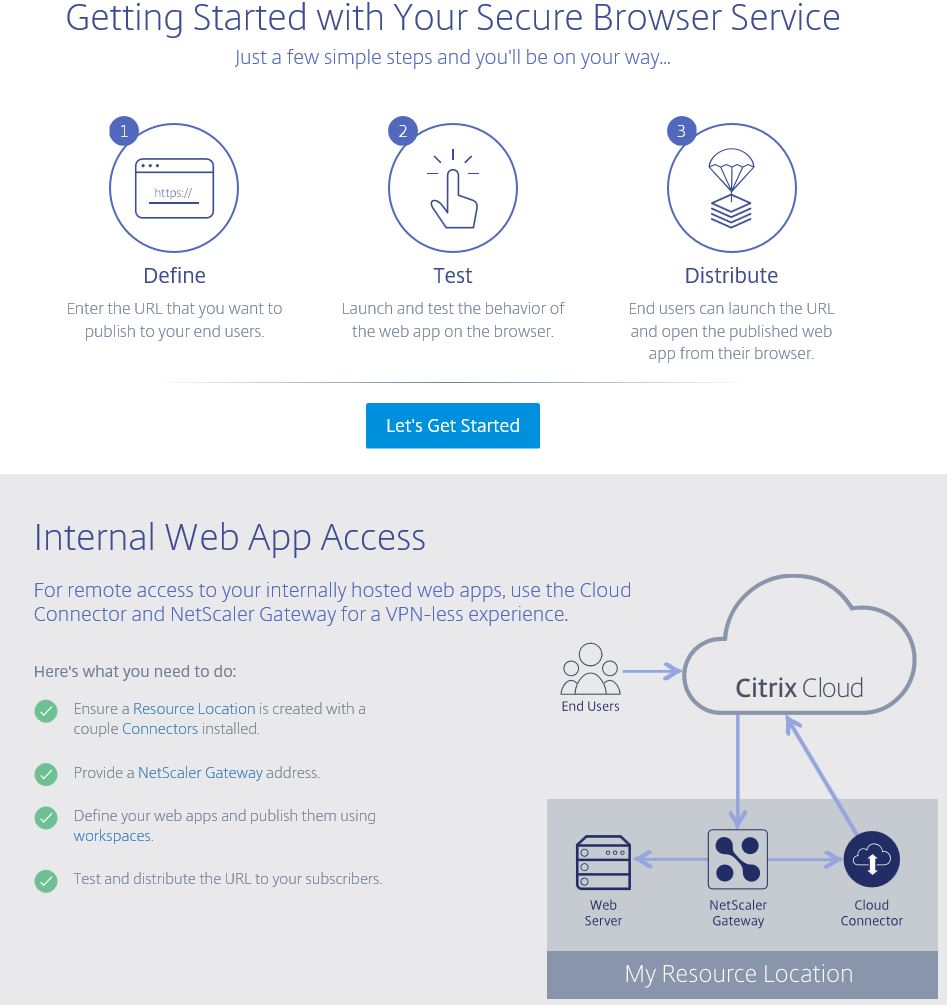 You can publish the following:
- External Unauthenticated – Externally unauthenticated web application. This could be a SaaS application without authentication or with authentication that is not linked to your Active Directory.
- External Authenticated – Externally accessibly, authenticated by your internal Active Directory.
- Internal Accessed via NetScaler Gateway – The web application is internal, so the Secure Browser VDA initiates a connection through your on-premise (or could be cloud based) NetScaler Gateway.
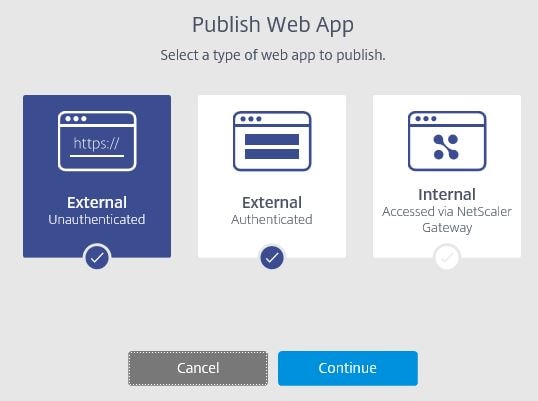 Note that the External Authenticated or Internal are not available for creation right now until we create a Resource Location. However for now I will create an External Unauthenticated site.
 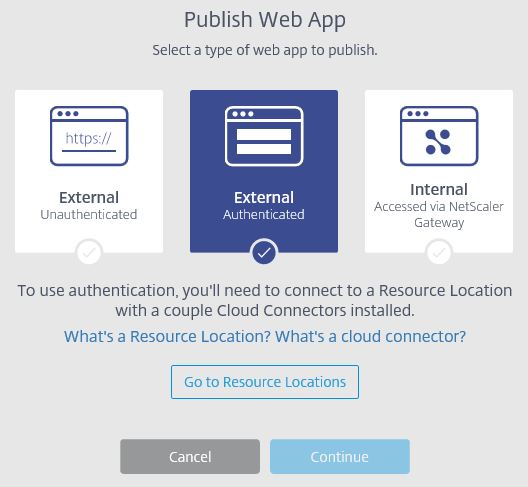 Choose a browser, you can choose Chrome or IE11 x32/x64.
  Choose a region.
 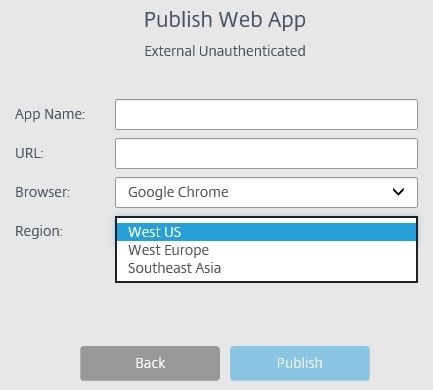 Enter a name and URL for your external web application and click Publish.
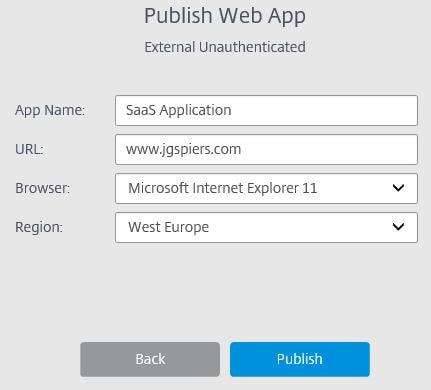 The web application will now appear as below.
 If you click the dots to the right, you can test the application by clicking Launch Web App.
  A new tab will open and start to launch the session.
  Once the session launches you should be directed to your published application.
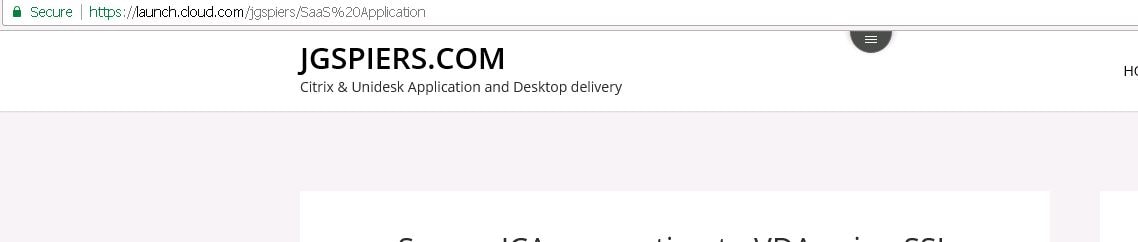 By default clipboard redirection is enabled, so if we highlight some text and use CTRL + C on the keyboard a popup box will display saying the text has been copied to the device clipboard.
 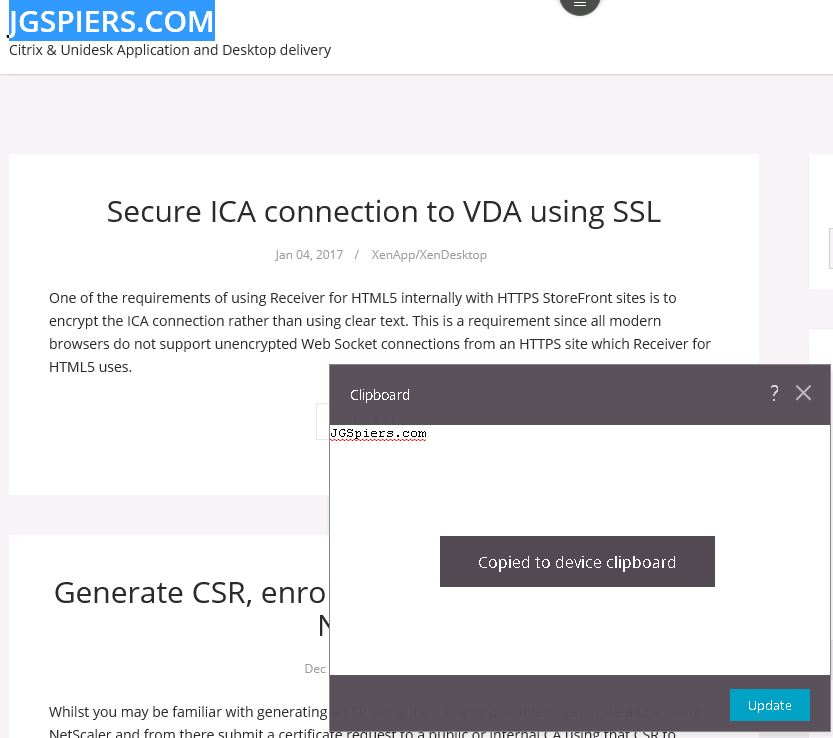 Within the Secure Browser session, the same toolbar that is available on-premise via Receiver for HTML5 is available here. Click Preferences.
 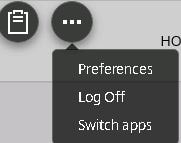 Click Display Resolution.
 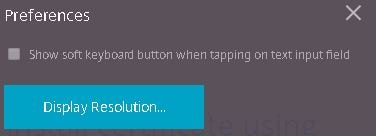 You can adjust the resolution to fit your needs.
 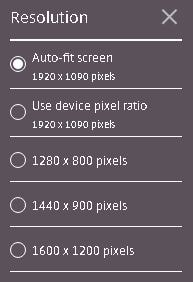 Back on the Citrix Cloud portal, you can turn off clipboard redirection, or enable/disable printing using the PDF printer that comes with Receiver for HTML5.
 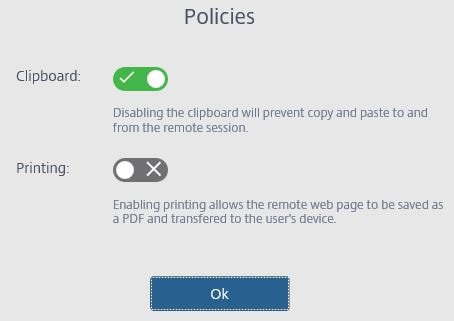 If you disable clipboard redirection, the clipboard icon dissapears the next time you launch the Secure Browser session.
 ![]() As mentioned before, External Authenticated and Internal web applications cannot be added until we add a Resource Location, and a connection to NetScaler Gateway for Internal apps. A Resource Location can contain different resources depending on which Citrix Cloud services you are using. A Cloud Connector must exist within your Resource Location to allow Citrix Cloud to discover your Active Directory instance for authentication. Authentication is then used for the internal or external authenticated web applications using Secure Browser Service. The Connector acts as the bridge between your Resource Location and Citrix Cloud, and this is where the traffic securely transits between the two locations. Traffic is always initiated from the Cloud Connector and will never be initiated from Citrix Cloud. Connectors should be installed in pairs to ensure availability. Click GO to Resource Locations and download the Citrix Cloud Connector. Keep this web page open for later.
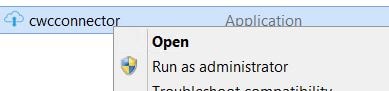
As mentioned before, External Authenticated and Internal web applications cannot be added until we add a Resource Location, and a connection to NetScaler Gateway for Internal apps. A Resource Location can contain different resources depending on which Citrix Cloud services you are using. A Cloud Connector must exist within your Resource Location to allow Citrix Cloud to discover your Active Directory instance for authentication. Authentication is then used for the internal or external authenticated web applications using Secure Browser Service. The Connector acts as the bridge between your Resource Location and Citrix Cloud, and this is where the traffic securely transits between the two locations. Traffic is always initiated from the Cloud Connector and will never be initiated from Citrix Cloud. Connectors should be installed in pairs to ensure availability. Click GO to Resource Locations and download the Citrix Cloud Connector. Keep this web page open for later. 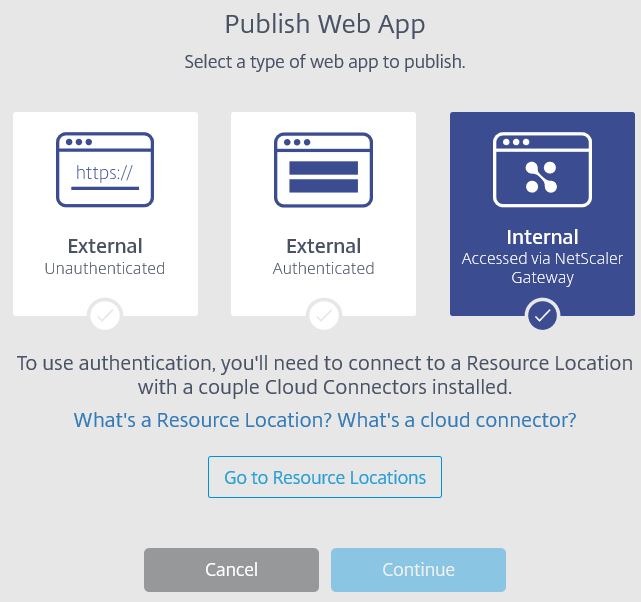 Once the Connector is downloaded run the application installer as an administrator on a Windows Server 2012 R2 or Windows Server 2016 machine that is domain joined.
Cloud Connector requirements:
- .NET 4.5.1 or later.
- AD Domain joined machine for install.
- Active Directory schema version 2008 R2 or later.
- Correct UTC time or else Cloud connection will fail.
- 40GB of disk space and 4GB RAM.
Note: Turn off IE ESC (Enhanced Security Configuration) before installing the Connector.

 A quick connectivity test to Citrix Cloud will be performed.
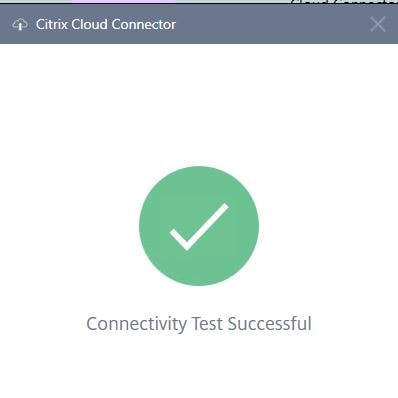 You will then be asked to sign in.
 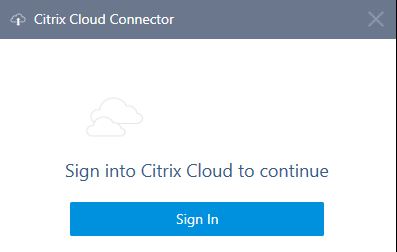 Enter your Citrix Cloud credentials and click Sign In.
 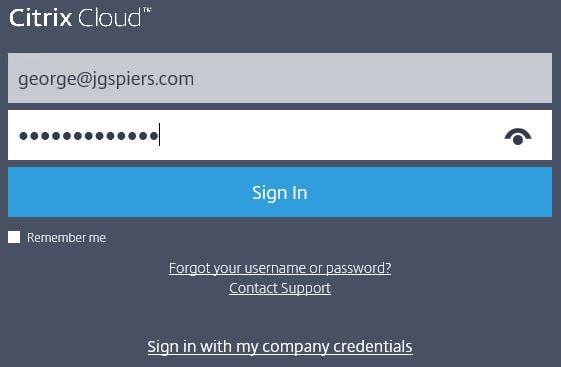 The Cloud Connector will go through the install motions.
 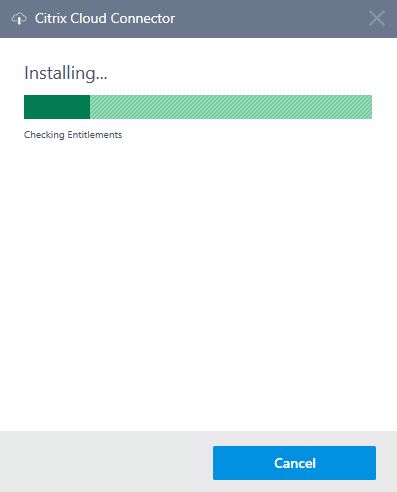 A Service Connectivity test will run.
  Once it completes, click Close and navigate back to the Citrix Cloud portal.
Note: Install logs can be found in C:\ProgramData\Temp\CitrixLogs\CloudServicesSetup.
Note: For future reference, operational logs are stored for the Connector in C:\ProgramData\Citrix\WorkspaceCloud\Logs.  Click Refresh.
 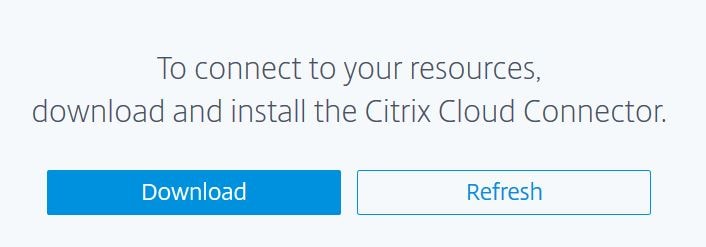 Your resource location should now come up, and the connector appears as below. From here you can add more Citrix Cloud Connectors or Resource Locations. I will stick with the one Connector for now. Since we have a Resource Location added, I can add an internal web application. Browse back to the Secure Browser Service management portal.
 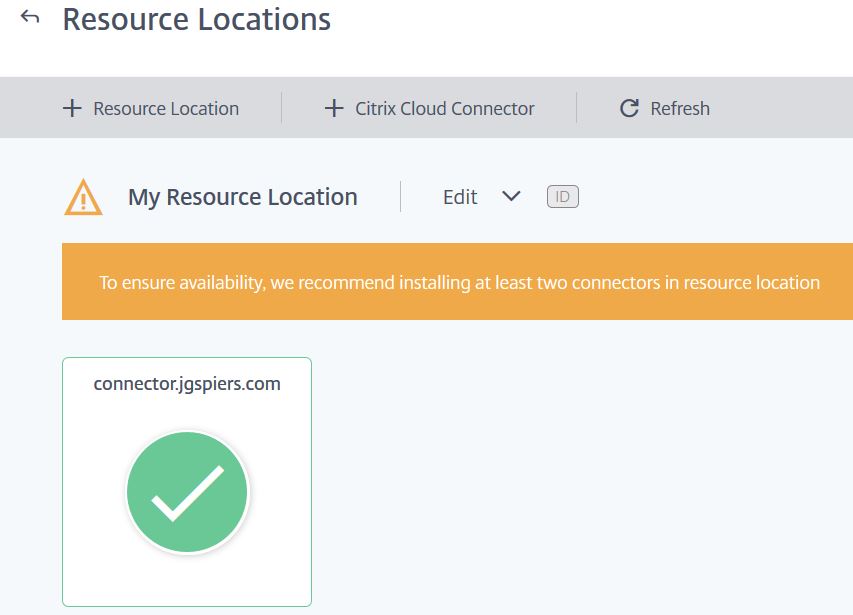 This time choose Internal Accessed via NetScaler Gateway.
 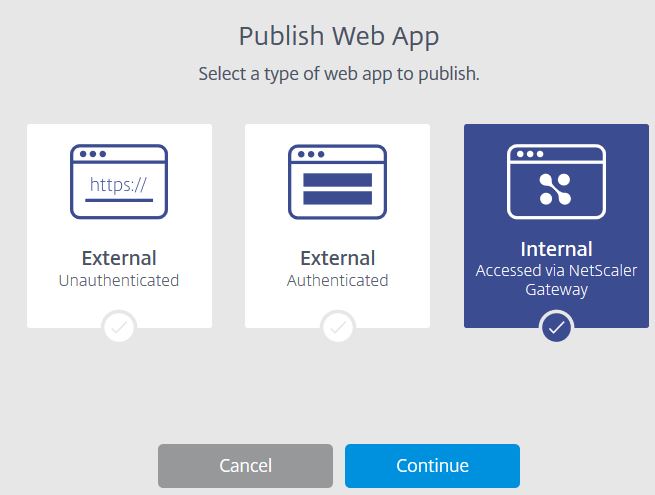 Enter a name and the URL to your internally hosted web app. Choose a region. You are made to use the Google Chrome browser as internal web apps are only supported by the Google Chrome browser at this time. Click Publish.
 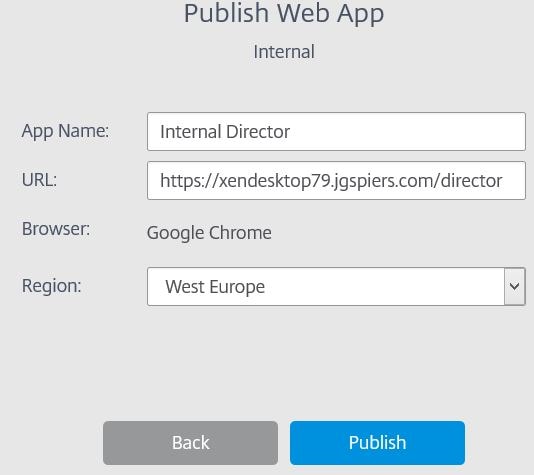 The internal web application creation is complete. Before users log on, you must assign users to the service using a workspace. Click on the Workspaces hyperlink.
 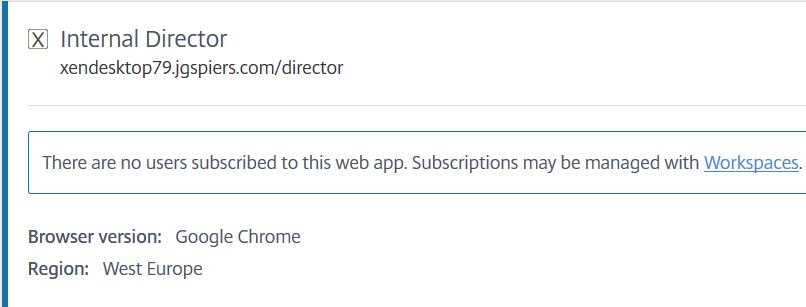 Click the + sign to add a new workspace.
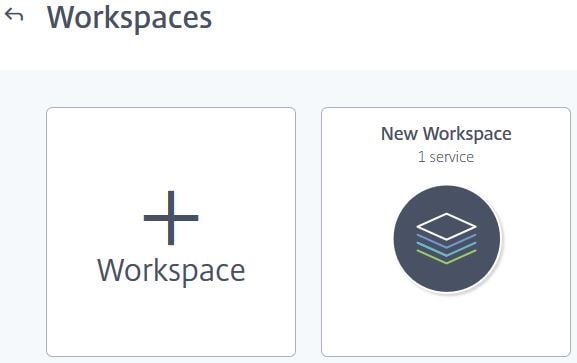
 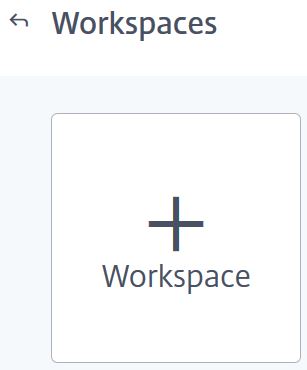 Give the workspace a name, replacing New Workspace. Click to add the internal web application service to this workspace. Click Create Workspace.
  Now that the workspace is created, we can manage it further and assign users to it. Click on the workspace.
 Click on Subscribers. Enter a user or group in to the search box and then add them to the access list. Click Publish when done.
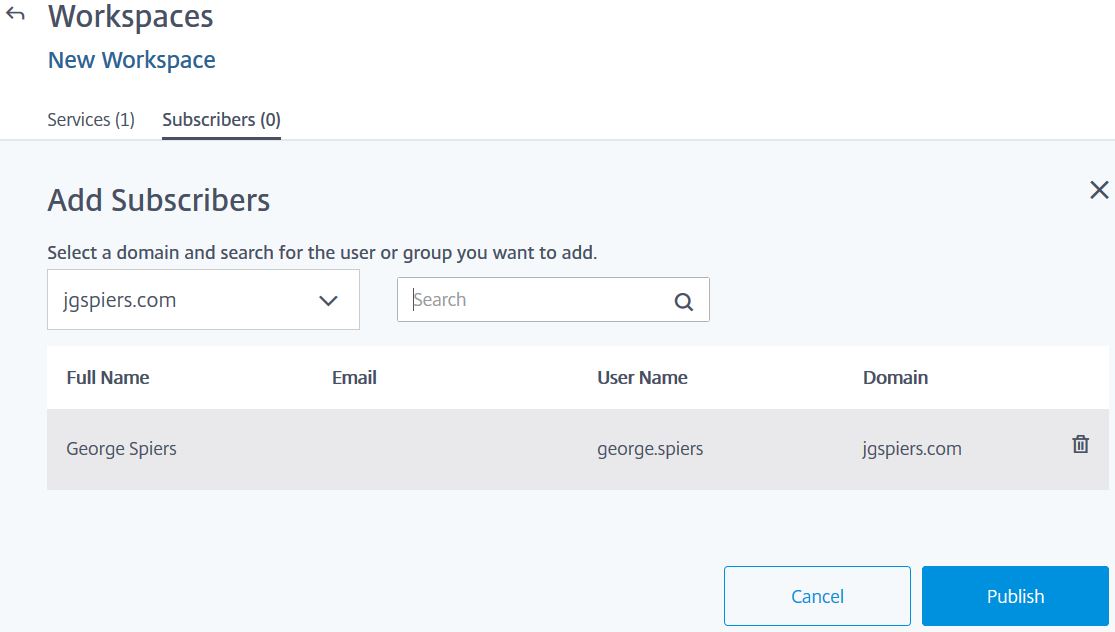 For our internal connections to succeed, the cloud Citrix hosted VDA needs to route through your NetScaler Gateway. In my case, this is on-premise. On the on-premise NetScaler, the STA servers need to match my connector names. So, as below, I have added connector.jgspiers.com to the Virtual Server STA list which is a Citrix Cloud Connector. Save the NetScaler configuration and return to the Citrix Cloud portal.
 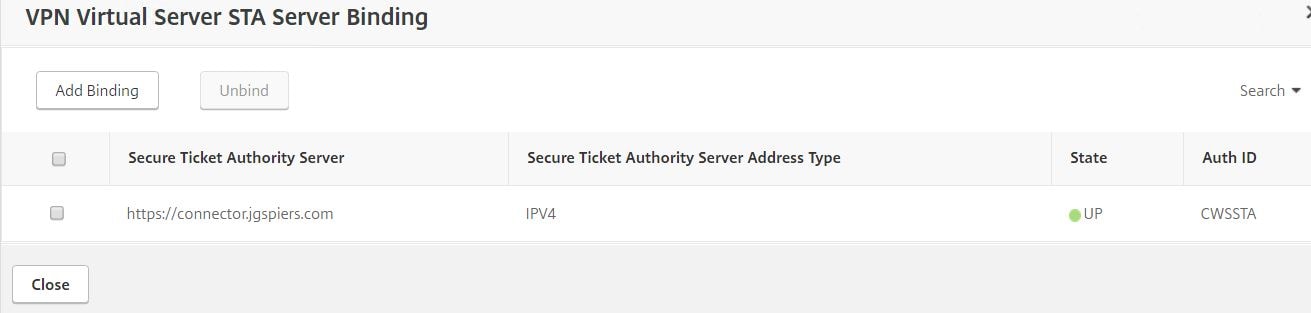 Navigate to the Secure Browser Service management portal and click on Settings. Enter your NetScaler Gateway FQDN. This must be externally accessible. Append the URL with the port :443. Click Save.
  Now, browse to the internal web application external URL which will be in the form of https://launch.cloud.com/xx. Enter credentials of an account who has access to this web application. In my case, user JGSPIERS\george.spiers. Enter the Active Directory credentials and click Log On.
 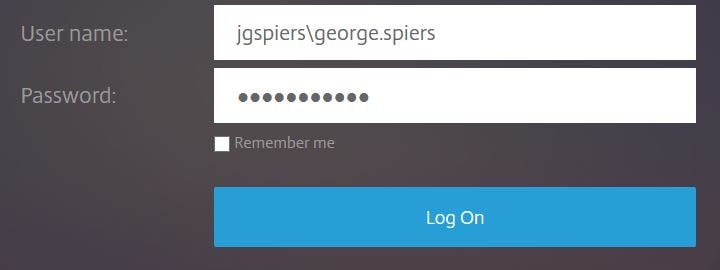 The published application should launch and in my case, connect to my internal Director web site. Users can use the back and forward buttons of their local browser to navigate between web pages in a Secure Browser session. Navigation does not work in Firefox and Safari web browsers or on iOS using Google Chrome.
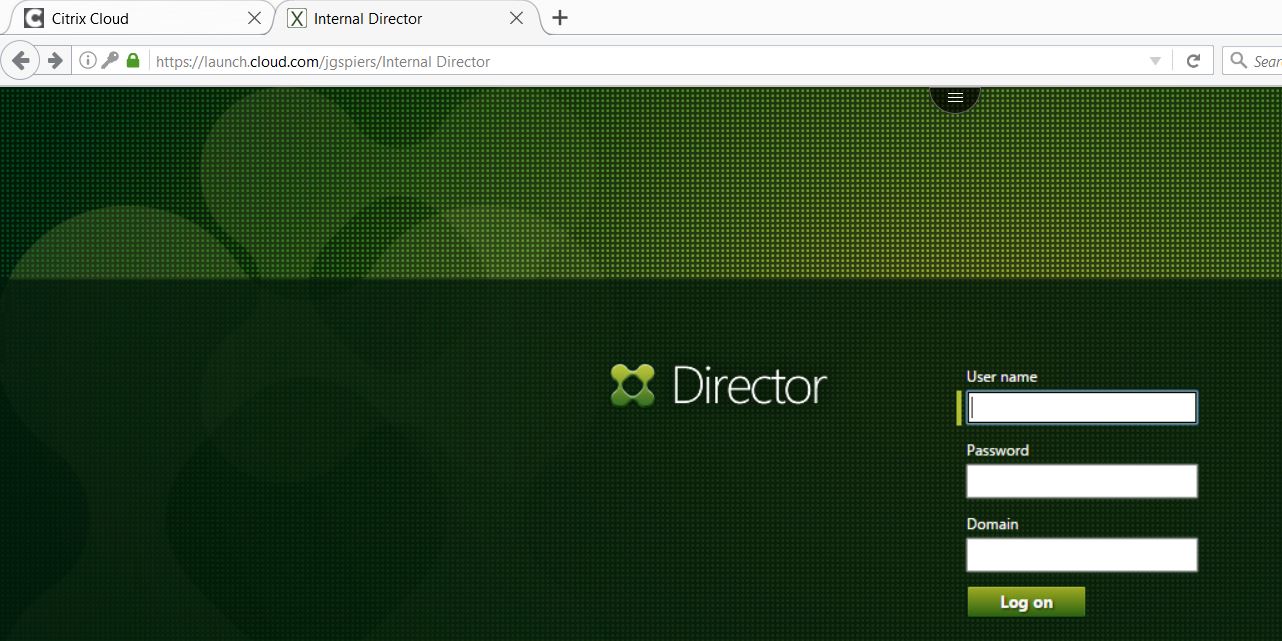
If you look at the active ICA connections on NetScaler you will see some anonymous connections from an Azure IP.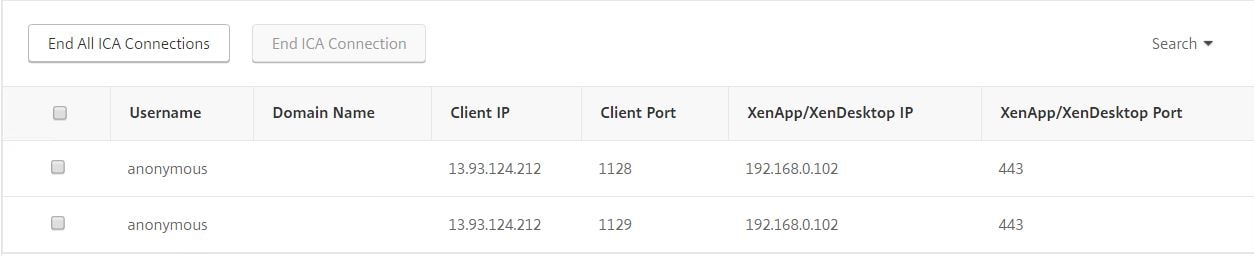 Within the Citrix Cloud portal locate the internal web app, click the dots and click Policies.
 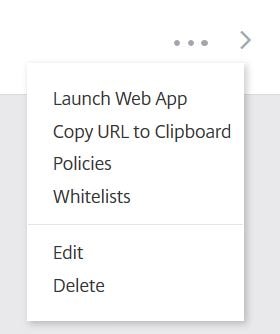 Here you can disable/enable clipboard, printing and watermark. Enable Watermark and click Ok.
 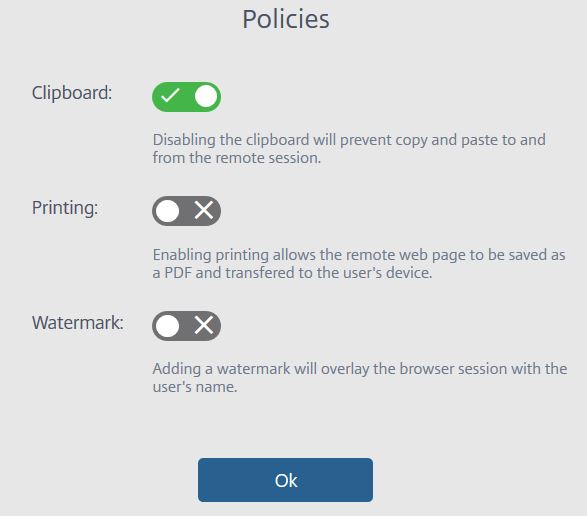 The next time a user connects to the internal web application their screen is watermarked with the logged on user name. This would deter users from taking camera pictures or screenshots of sensitive data. Watermarking is available for External Authenticated and Internal web applications. If watermarking is enabled, the ability to print is disabled.
 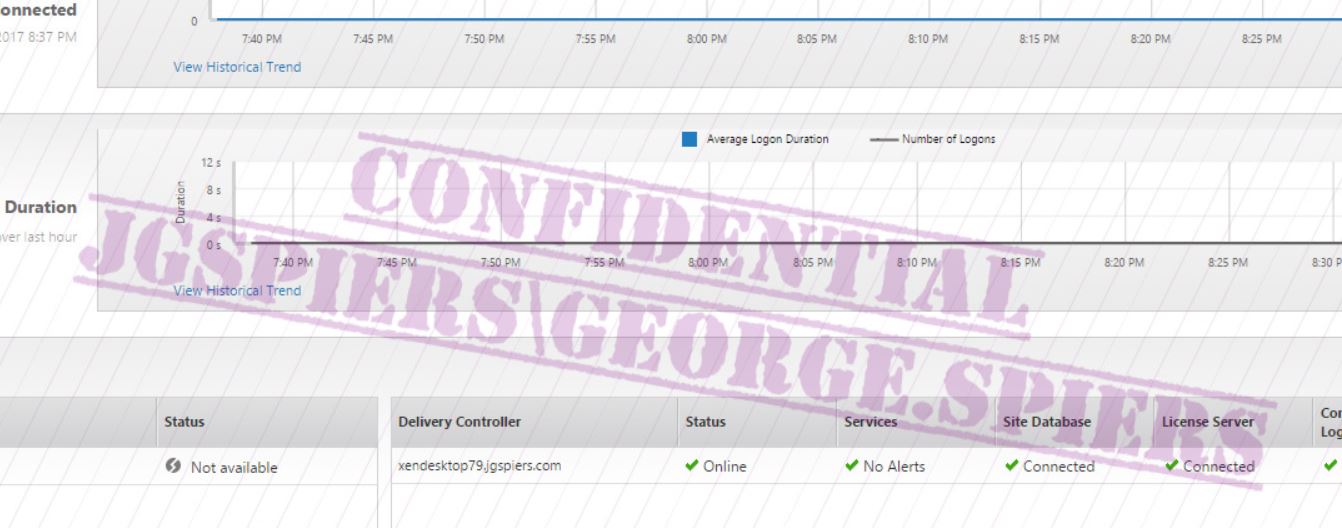 Whitelists define which URLs a user can browse to whilst in a Secure Browser session. By default all website requests other than xendesktop79.jgspiers.com are sent directly to the internet.
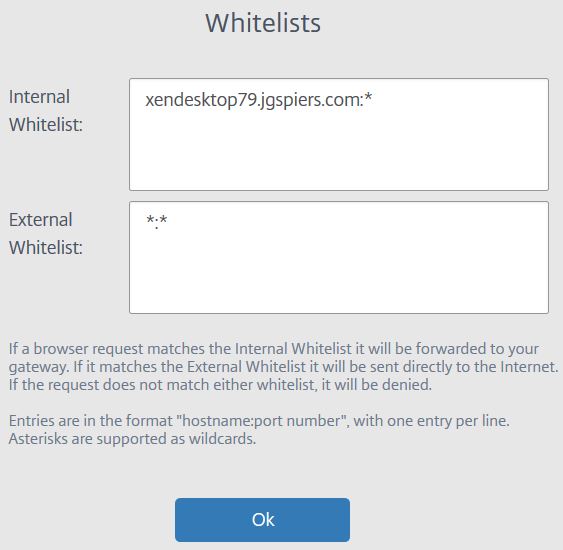 The Usage tab in the Secure Browser Service portal allows you to view who has been connecting to web applications over a period of time. Click Export to CSV to generate a report.
 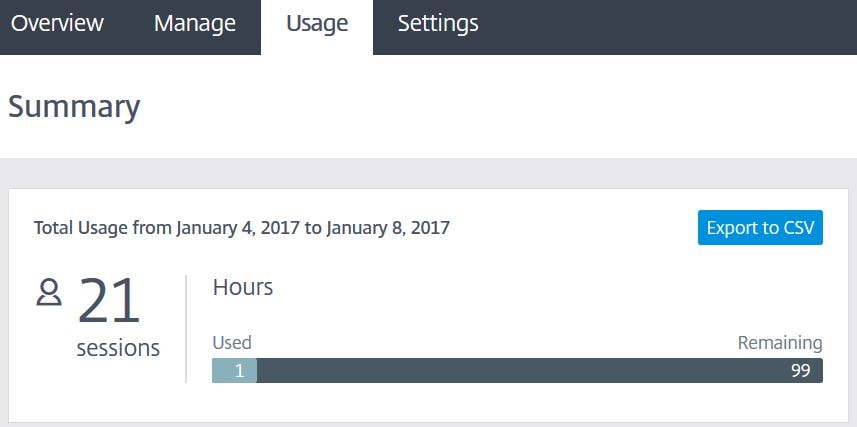 Click OK.
 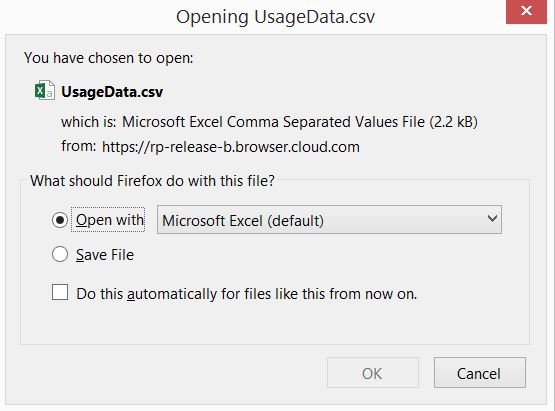 The report shows user name, web application name, start time, duration and IP address of the client connecting.
Additional Notes:
To deal with legacy web applications and compatibility with more modern browsers Microsoft have a feature of Internet Explorer called Enterprise Mode which allows Internet Explorer 11 to operate as if it was IE8 or IE9 for example. Enterprise Mode uses an XML file which contains the list of websites that should be used with Enterprise Mode.
What is Enterprise Mode – https://technet.microsoft.com/en-us/itpro/internet-explorer/ie11-deploy-guide/what-is-enterprise-mode
M. Scheltens
March 28, 2017Very impressive!
Hugo Sánchez
October 25, 2018Good one – Thanks for sharing